
To set up your room safely for patient transfers with a lift, start by clearing pathways and removing obstacles like rugs and cords. guarantee good lighting and maintain even, dry floors to prevent slips. Arrange furniture to create spacious, unobstructed transfer zones, and position electrical outlets within easy reach. Keep safety equipment nearby and communicate clearly during the transfer. For more tips on optimizing your space, explore these helpful ideas further.
Key Takeaways
- Clear pathways of at least 36 inches wide to ensure safe wheelchair and lift access.
- Remove clutter, rugs, and obstacles to prevent trips and falls during transfers.
- Install proper lighting and visibility aids to enhance safety and reduce transfer errors.
- Secure wall supports and use level, stable flooring for structural stability during lifting.
- Regularly assess and maintain transfer areas, assistive devices, and electrical safety measures.
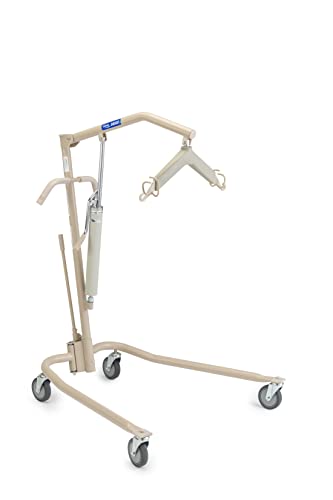
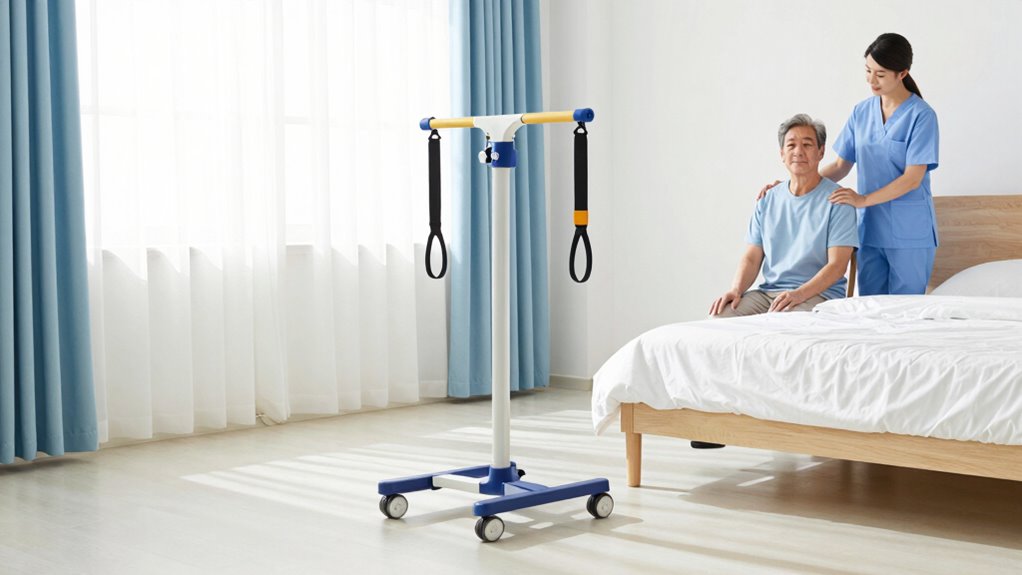
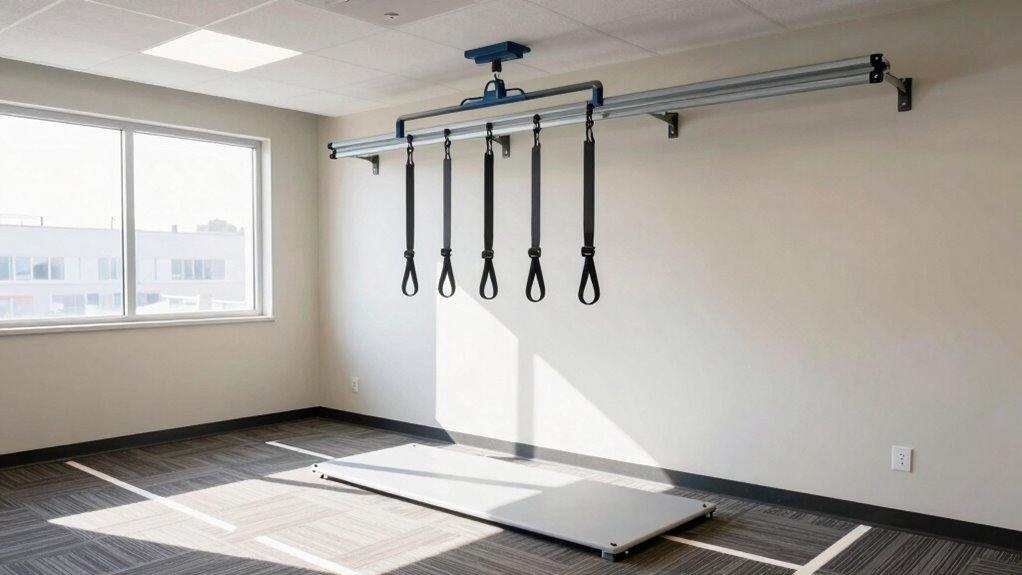
Invacare Hydraulic Patient Lift, Lightweight Transfer Lift Chair with 450 lb Weight Capacity, Bent Mast for Safer Transfers, 6-Point Padded Swivel Bar, Floor-to-Bed Height Range for Fall Recovery
PROVEN ERGONOMIC BENT MAST DESIGN: Unlike traditional straight-mast lifts, the Invacare 9805P features a clinical-grade bent mast and…
As an affiliate, we earn on qualifying purchases.
As an affiliate, we earn on qualifying purchases.
Why Proper Room Setup Is Critical for Safe Patient Transfers
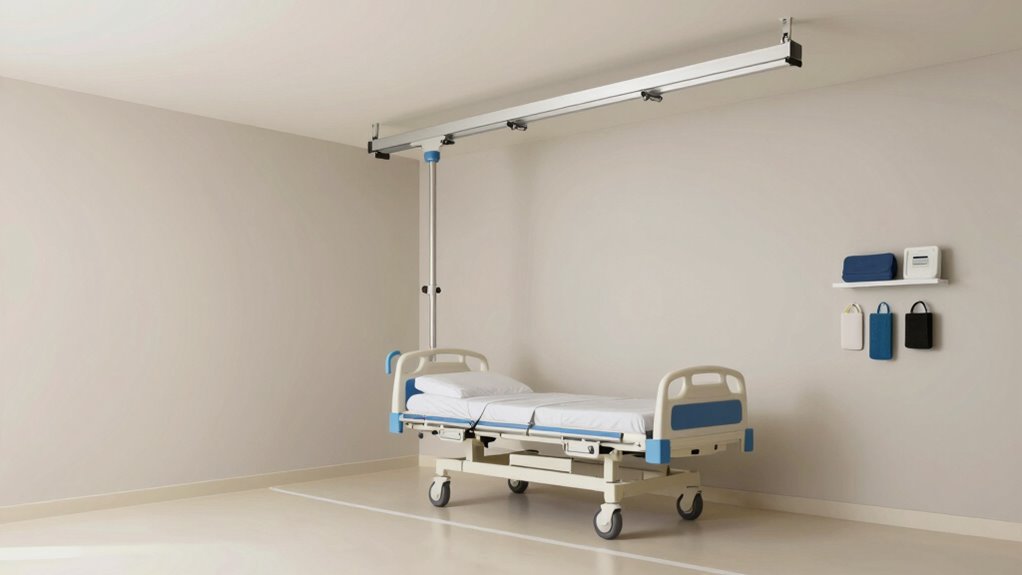
Proper room setup is essential for ensuring safe patient transfers with home patient lifts. When your space is well-organized, it promotes patient comfort by reducing anxiety and making the process smoother. A clean, clutter-free environment minimizes trip hazards and provides clear pathways, which are crucial for safety. Additionally, paying attention to room aesthetics can help create a calming atmosphere, easing patient stress during transfers. Proper placement of furniture and equipment ensures the lift operates efficiently and reduces physical strain on caregivers. Incorporating proper room organization techniques ensures that every transfer is as smooth and safe as possible. Furthermore, understanding hazard prevention strategies can significantly lower the risk of accidents during transfers. Implementing safe transfer practices can further enhance safety and confidence during patient handling, especially when considering the benefits of proper room setup for both patients and caregivers. Regularly assessing and adjusting the layout and accessibility of the room can also contribute to ongoing safety improvements.
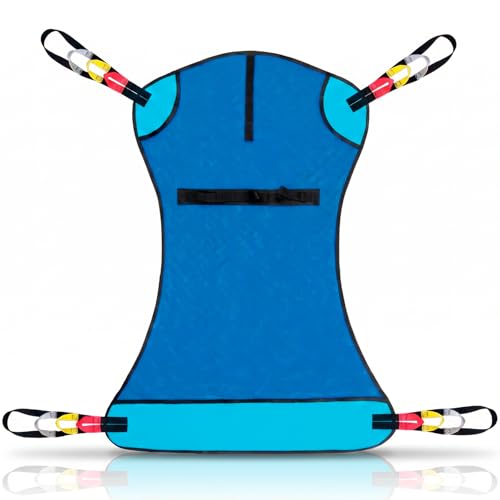
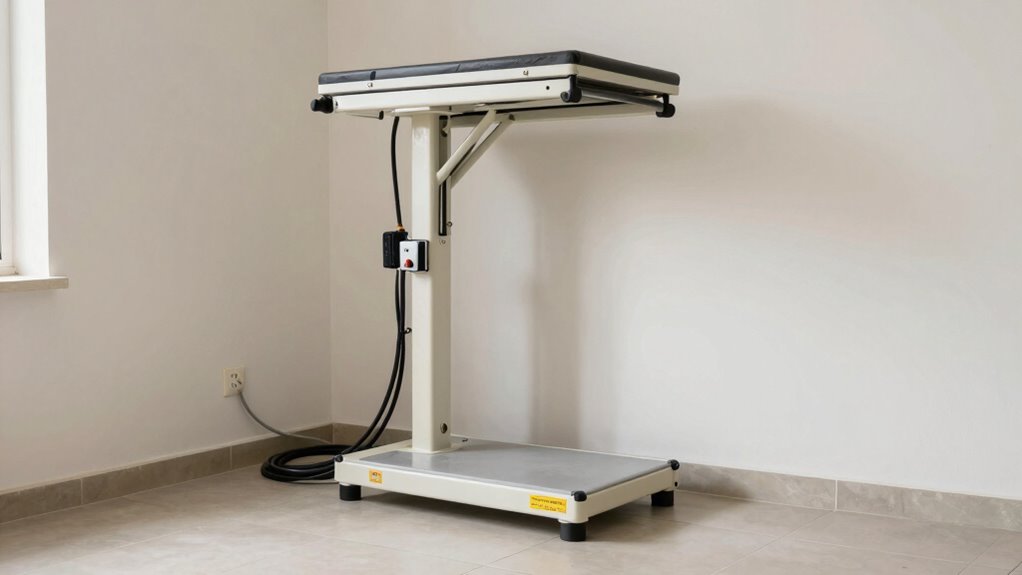
Vive Patient Lift Sling – Full Body Mesh Transfer Sling for Showering & Home Use – Hoyer Lift Pad for Elderly, Disabled, Bariatric – Patient Transfer Assist Device Blanket for Bed Positioning, Lifting
LIFT, REPOSITION AND TRANSFER: Aiding in lifting and repositioning patients and loved ones, the Vive light transfer sling…
As an affiliate, we earn on qualifying purchases.
As an affiliate, we earn on qualifying purchases.
Choosing the Right Location: Clear, Accessible, and Spacious Areas

To choose the best spot for your patient lift, start by clearing the area of clutter and obstacles that could cause accidents. Make sure the space is well-lit so you can see clearly during transfers, and verify there’s enough room to move safely. A spacious, accessible area makes transfers smoother and reduces the risk of injury for both of you. Incorporating Room setup tips and Free Floating principles can help create a more flexible and adaptable environment for safer transfers. Ensuring the space has clear pathways can further enhance safety and ease of movement during transfers.
Minimize Clutter and Obstructions
Choosing the right spot for your home patient lift is essential for safety and ease of use. To guarantee smooth transfers, clear the area of clutter and obstructions. Remove unnecessary furniture, decorative elements, and equipment that could block movement or cause tripping hazards. A tidy space not only improves safety but also enhances room aesthetics, making the environment more welcoming. Keep pathways wide and free of cords or rugs that might slip or catch on the lift. Regularly check the area for new obstacles or clutter buildup. Proper ventilation considerations are also vital to prevent stuffiness and ensure a comfortable environment during transfers. Adequate space planning helps optimize the transfer process and minimizes risks. By maintaining a clutter-free zone, you create a safer, more efficient transfer space that reduces stress for both you and your loved one. Additionally, incorporating consistent organization can make routine transfers quicker and less stressful. Prioritizing a tidy environment helps assure every transfer is as safe and smooth as possible.
Ensure Adequate Lighting
Ensuring your home patient lift area has adequate lighting is essential for safe transfers. Proper lighting placement helps you see clearly and avoid accidents. Position light sources so there are no shadows or dark spots around the transfer zone. Use bright bulbs with sufficient brightness to illuminate the entire area without causing glare. Ideally, choose fixtures that provide even, consistent light coverage. You might consider adjustable lamps or ceiling lights to optimize visibility. Adequate lighting not only helps you monitor the patient but also allows for precise movements during transfers. Remember, well-lit spaces reduce the risk of slips, trips, and missteps, making the entire process safer for everyone involved. Proper lighting is a simple, effective way to enhance safety and confidence during transfers.
Maintain Sufficient Space
Selecting a location with ample space is essential for safe and efficient patient transfers. Proper space management guarantees you have enough room to maneuver the lift comfortably and reduces the risk of accidents. Clear pathways free from clutter help prevent tripping hazards and make furniture positioning easier. Choose a room with enough open area to accommodate the patient, lift, and your movements without feeling cramped. Keep furniture arranged to maximize open space and avoid blocking access points. Regularly reassess the setup as needs change, ensuring the area remains spacious. Maintaining good space management practices not only enhances safety but also creates a more comfortable environment for everyone involved. By maintaining sufficient space, you create a safer environment, streamline transfers, and reduce stress for both you and the patient. Good space management is key to successful, safe patient handling at home, especially when integrating connected equipment and other smart tools designed to enhance safety and efficiency.

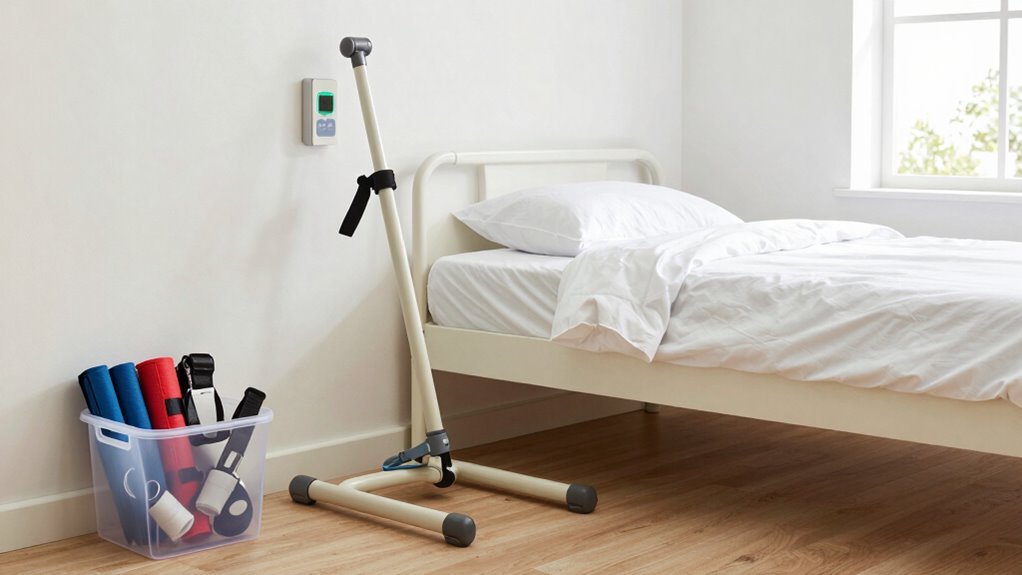
Vive Gait Belt (350lbs) Transfer Belt with Handles – Medical Nursing Safety Patient Assist – Bariatric, Elderly, Handicap, Physical Therapy – PT Gate Strap Quick Release Metal Buckle, Grabbing Teeth
EASY MOVEMENT & TRANSFERS FROM A TRUSTED BRAND: Safely assist patients or loved ones with ease using our…
As an affiliate, we earn on qualifying purchases.
As an affiliate, we earn on qualifying purchases.
Ensuring Adequate Lighting and Visibility in the Transfer Zone
Proper lighting in the transfer zone is essential for safe and effective use of home patient lifts. You want to guarantee the area has adequate illumination to prevent accidents and make the transfer process smoother. Install proper lighting fixtures, such as ceiling lights or wall-mounted lamps, to eliminate shadows and dark spots. Use visibility aids like motion sensors or adjustable lamps if needed, so you can quickly adapt to changing conditions. Keep the transfer zone well-lit at all times, especially during nighttime transfers. Bright, even lighting helps you see the patient clearly, assess their position accurately, and operate the lift with confidence. Good visibility reduces risks, making transfers safer for everyone involved. Proper lighting ensures consistent, safe conditions and minimizes the chance of errors or injuries. Incorporating additional lighting solutions like task lighting or adjustable lamps can further enhance visibility and safety during transfers. Ensuring adequate illumination is a key step in creating a safe environment for all transfer activities. Additionally, understanding the importance of sustainable foraging practices can inspire you to use energy-efficient lighting options that reduce environmental impact.
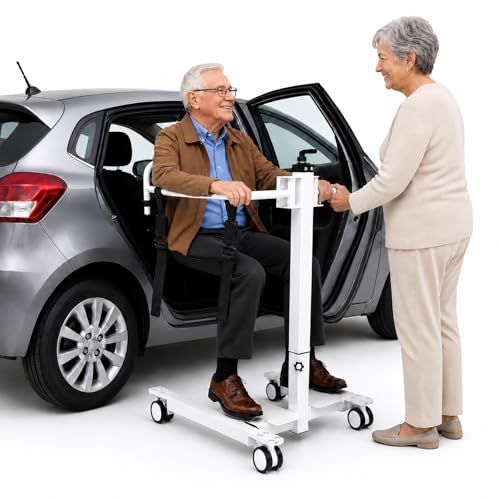
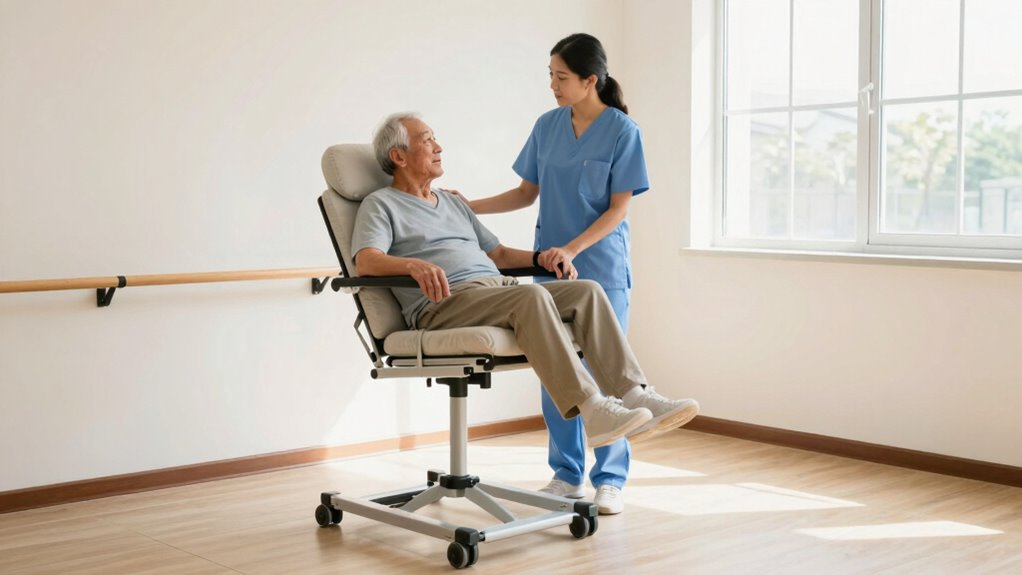
Patient Lift Transfer Chair for Home, Adjustable Transfer Aid, 220 lbs
Caregiver-Assisted Home Transfers: Designed to help caregivers move a seated user between bed, sofa, wheelchair, toilet, shower and…
As an affiliate, we earn on qualifying purchases.
As an affiliate, we earn on qualifying purchases.
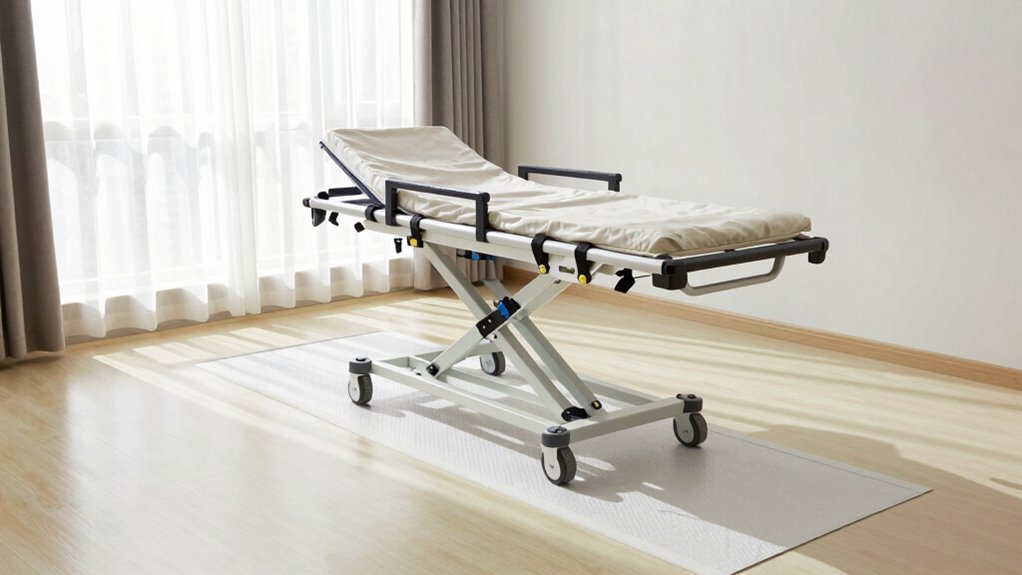
Preparing the Floor: Removing Obstacles and Ensuring Stability

Before using a patient lift, you need to clear the pathway of any obstacles that could cause accidents. Make sure the floor is even and secure so the lift stays stable during transfer. Taking these steps helps guarantee a safe and smooth transfer for both of you. Additionally, selecting the right performance upgrades can enhance stability and safety during transfers, especially for heavier loads. Ensuring the support breakfast amenities are available can also provide extra comfort and reassurance during the process. Proper flooring surfaces, such as non-slip mats or reinforced flooring, can further improve safety and stability during patient transfers. Using Suprem fabric in the environment, such as in slip-resistant mats or coverings, can also contribute to safer transfer conditions. For optimal safety, consider portable power options to ensure reliable operation of powered lifts in various locations.
Clear the Pathway
Have you checked the pathway for obstacles before moving a home patient lift? Ensuring a clear, unobstructed route helps improve patient comfort and reduces risks during transfers. Remove rugs, cords, and small furniture that could cause slips or trips. Make sure the floor is dry and even to provide a stable surface for the lift. Proper staff training is essential to recognize potential hazards and handle equipment safely. A tidy pathway not only safeguards the patient but also makes the caregiver’s job easier and more efficient. Take a moment to assess the area from different angles, adjusting furniture if needed. Clear pathways foster a safer environment, promote smoother transfers, and boost confidence for everyone involved. Regularly inspecting the floor condition can help identify and address hazards before they become problematic.
Secure the Floor Surface
Ensuring the floor surface is secure is essential for safe patient transfers. You want to check that the flooring has good floor traction and slip resistance to prevent accidents. Remove any loose rugs, mats, or clutter that could cause slipping or tripping. Make certain the floor is even and free of cracks or uneven spots that might compromise stability. If the surface feels slick or polished, consider adding non-slip mats or tape for better grip. By creating a stable, slip-resistant environment, you reduce the risk of falls or slips during transfers. Paying attention to floor safety protocols and maintaining a hazard-free area helps ensure a safer transfer process. Taking these simple precautions helps keep everyone safe and ensures the patient transfer process is smooth and secure. Always double-check the floor before beginning any lift or transfer.
Optimal Furniture Arrangement for Smooth Transfers

To facilitate smooth transfers with home patient lifts, arranging your furniture thoughtfully is essential. Focus on strategic furniture placement to create clear pathways, minimizing obstacles during transfers. Keep essential furniture, like chairs and tables, away from the transfer area to prevent accidents. Consider removing or relocating decorative accessories that might clutter the space or cause tripping hazards. Use lightweight or easily movable furniture to adjust the room layout as needed. Guarantee the transfer path is wide enough for the lift and wheelchair, ideally at least 36 inches. A tidy, well-organized space not only enhances safety but also boosts confidence during transfers. Proper furniture arrangement helps you navigate transfers smoothly, reducing stress for everyone involved and making daily routines safer and more comfortable.
Selecting Appropriate Wall and Floor Supports for Lifts
Choosing the right wall and floor supports is essential for the safety and stability of your home patient lift. Wall supports should be sturdy and securely anchored, capable of handling the weight and force exerted during transfers. Reinforced wall supports or those attached to wall studs are ideal, as they provide reliable stability. For floor supports, ensure you select a level, solid surface that can bear the lift’s weight without wobbling or shifting. You might consider using reinforced flooring or installing support plates designed for heavy loads. Always verify the strength ratings of wall supports and floor supports before installation. Properly selected supports prevent accidents and ensure smooth, secure transfers, giving you peace of mind and safety for everyone involved.
Managing Electrical Outlets and Power Sources Safely
Ensuring your electrical outlets are properly placed is key to safe lift operation. Always use surge protectors to prevent power surges that could damage equipment or cause hazards. By managing your power sources carefully, you keep yourself and your loved ones safe during lifts.
Proper Outlet Placement
Proper outlet placement is essential for safe and effective use of home patient lifts. You should position outlets within easy reach of the lift’s power cord, avoiding stretch or tension that could cause tripping or electrical hazards. Place outlets at a height that prevents water exposure or accidental contact, especially in bathrooms or near sinks. Ensure outlets are grounded and meet electrical safety standards to reduce the risk of shocks or short circuits. Avoid overloading circuits by limiting the number of devices plugged into a single outlet or circuit. Good outlet placement minimizes the need for extension cords, which can be tripping hazards and compromise electrical safety. Properly positioned outlets help create a safer environment during transfers, reducing the risk of accidents or electrical issues.
Surge Protector Usage
Using a surge protector is a smart way to safeguard your home’s electrical outlets when operating patient lifts. Proper surge protector placement guarantees the device stays accessible and reduces the risk of tripping hazards. Always choose a surge protector with enough outlets to handle your equipment’s power needs and avoid overloading it. Electrical safety considerations also involve plugging the surge protector directly into a grounded outlet and avoiding extension cords, which can cause overloads or fires. Keep the surge protector away from water and moisture to prevent electrical shocks. Regularly inspect it for damage or wear, and replace it if necessary. By following these guidelines, you help ensure safe, reliable power sources that support smooth and secure patient transfers.
Setting Up Transfer Aids and Safety Equipment Within Reach
To safely transfer a patient, you need to have transfer aids and safety equipment within easy reach. Proper placement guarantees quick access and reduces injury risk. Keep essential items like a transfer belt and mobility aids near the bed or chair, so you can grab them without stretching or reaching awkwardly. Organize tools in a way that’s convenient and logical, preventing delays during transfers. Use the following table as a guide:
| Item | Placement Tip |
|---|---|
| Transfer belt | Near the patient’s usual transfer spot |
| Walker or cane | Within arm’s reach at bedside |
| Non-slip footwear | Ready at the bedside or closet |
| Safety straps | Close to the transfer area |
| Assistive grips | Mounted at strategic locations |
Clear organization helps make transfers safer and smoother for everyone involved.
Tips for Communicating Clearly During Transfers
Clear communication is essential during transfers to guarantee the safety and comfort of both the patient and caregiver. Use clear verbal cues, such as simple instructions like “sit back” or “lift your foot,” to guide your patient. Speak in a calm, steady tone to reduce anxiety and ensure understanding. Along with verbal cues, pay attention to non-verbal signals—like a patient’s facial expressions or body movements—that can indicate discomfort or confusion. Consistent eye contact and gestures help reinforce instructions. Confirm understanding by asking the patient to repeat instructions if needed. Avoid rushing; clear, deliberate communication minimizes errors and promotes a smoother transfer. Remember, effective communication builds trust and confidence, making the transfer safer and more comfortable for everyone involved.
Regular Room Assessments to Maintain Safe Transfer Environments
Regular room evaluations are crucial for maintaining a safe environment for transfers, as they help identify potential hazards before they cause accidents. Regularly check the bed height to ensure it’s at a comfortable level for transfers, reducing strain and risk. Pay attention to caregiver positioning, making sure you have a stable stance and clear access around the bed. Keep pathways free of clutter to prevent trips, and verify that assistive devices like patient lifts are in good condition. Consider lighting and signage to improve visibility. By routinely examining these factors, you create a safer transfer space. Remember, small adjustments during evaluations can markedly reduce injury risk for both you and your loved one. Consistency is key to maintaining a secure, comfortable environment.
Frequently Asked Questions
How Often Should Room Setups Be Re-Evaluated for Safety?
You should re-evaluate your room setup regularly, ideally every 3 to 6 months, or whenever there’s a change in the patient’s condition. Conducting routine room assessments and safety audits helps identify hazards and guarantees safe transfer procedures. Stay proactive by scheduling these evaluations consistently, especially after any modifications or incidents. This keeps your environment safe and adapts to evolving needs, reducing the risk of accidents during patient transfers.
What Are Common Mistakes to Avoid During Room Preparation?
Think of room setup like tuning a musical instrument—you want everything in harmony. Avoid equipment hazards by checking cords and anchors, and steer clear of layout errors that block pathways or cause clutter. Don’t forget to secure all equipment properly, and make certain the transfer area is spacious and well-lit. These mistakes can turn a safe transfer into a risky performance, so double-check your setup before each use.
How Can I Train Caregivers on Proper Room Setup Procedures?
You can train caregivers on proper room setup by conducting hands-on training sessions that focus on caregiver training and room assessment. Show them how to evaluate the space for safety, accessibility, and equipment placement. Use real scenarios to demonstrate correct procedures, encourage questions, and provide checklists to guarantee all safety factors are covered. Regularly review and update their training to keep skills sharp and knowledge current.
Are There Specific Colors or Signage That Improve Transfer Safety?
Think of your room as a traffic intersection—clear signs and colors keep everyone moving safely. Bright, contrasting colors for pathways and safety zones, like red for hazards or green for safe zones, catch the eye instantly. Use large, visible signage with bold lettering and symbols to guide caregivers and patients. This color coding and signage visibility help prevent accidents, making transfers smoother and safer for everyone involved.
What Maintenance Checks Are Recommended for Lift Equipment and Room Features?
You should regularly perform lift inspections to guarantee your equipment functions safely, checking for signs of wear or damage. Test emergency procedures, like lowering the lift manually, to confirm they work properly. Keep room features clear of obstacles, and schedule routine maintenance checks with professionals. These proactive steps help prevent accidents, extend your lift’s lifespan, and ensure safe, reliable transfers for everyone involved.
Conclusion
Did you know that proper room setup can reduce transfer-related injuries by up to 50%? By choosing a clear, well-lit space, removing obstacles, and organizing your aids within reach, you create a safer environment for everyone involved. Regularly evaluating your setup guarantees continued safety and confidence during transfers. Remember, a little preparation goes a long way in making transfers smoother and safer for both you and your loved ones.