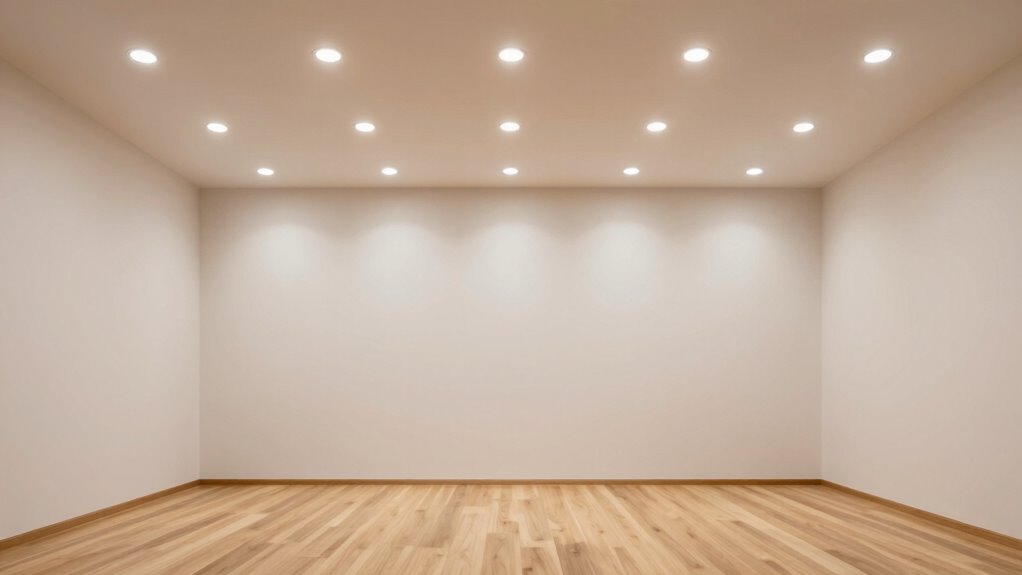
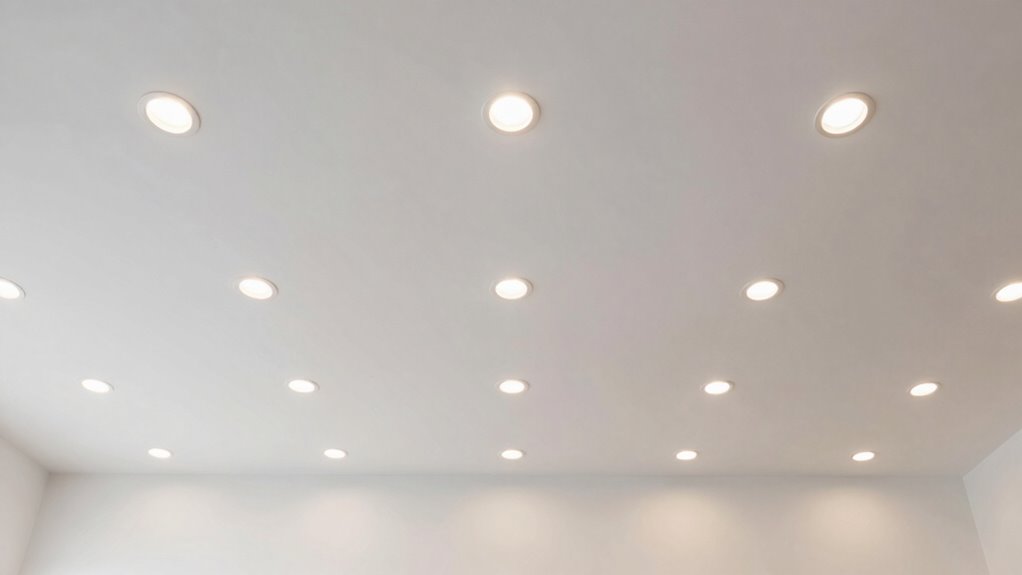
To eliminate dark corners with recessed lighting, follow a simple spacing formula: divide your ceiling height by two to determine the distance between fixtures. For example, in a 10-foot ceiling, space the lights about 5 feet apart. Proper spacing guarantees even light distribution and reduces shadows. Keep fixtures closer than or equal to ceiling height for best results. Continue exploring these calculations to perfect your lighting layout.
Key Takeaways
- Use the ceiling height divided by two as a baseline for fixture spacing to ensure even illumination.
- Consider the beam angle of your recessed lights to determine optimal spacing for balanced light distribution.
- Maintain fixture spacing at or below ceiling height to prevent dark corners and shadows.
- Mark and measure precisely, aligning fixtures with a level to achieve uniform coverage.
- Adjust fixture angles and test lighting to identify dark spots, refining spacing accordingly.

Amico 12 Pack 6 Inch 5CCT Ultra-Thin LED Recessed Ceiling Light with Junction Box, 1050LM Brightness, Dimmable Canless Wafer Downlight, 12W, ETL&FCC
5 CCT-in-1: 5 color temperature(2700K, 3000K, 3500K, 4000K, 5000K) is selectable to you, which successfully eliminates the hassle…
As an affiliate, we earn on qualifying purchases.
As an affiliate, we earn on qualifying purchases.
What Are the Benefits and Basics of Recessed Lighting?

Recessed lighting offers a sleek and unobtrusive way to illuminate a space, making it a popular choice for modern interiors. These lighting fixtures are installed into the ceiling, providing a clean and streamlined look. One major benefit is their versatility—they suit any room style and can highlight specific areas or create ambient light. Recessed lights are also energy-efficient, especially when paired with LED bulbs, reducing your energy bills and environmental impact. They distribute light evenly, minimizing shadows and dark corners. Plus, their low profile design keeps ceilings uncluttered and open. Whether you want to highlight artwork, brighten a kitchen, or set a relaxing mood, recessed lighting offers practical, stylish illumination with the added advantage of energy savings. Additionally, proper spacing and layout are essential to avoid creating dark spots and ensure uniform lighting coverage throughout the space.
recessed lighting spacing calculator
As an affiliate, we earn on qualifying purchases.
As an affiliate, we earn on qualifying purchases.
How Can You Calculate the Correct Spacing for Recessed Lights?
Wondering how to determine the right spacing for your recessed lights? Proper lighting design guarantees your space is bright enough without over-illuminating, which can waste energy. To calculate correct spacing, start by considering the height of your ceiling—typically, divide the ceiling height by two to get a general distance between fixtures. For example, in a 10-foot ceiling, spacing lights about 5 feet apart is a good rule of thumb. Keep in mind that spacing influences both light distribution and energy efficiency; evenly spaced lights minimize dark spots and reduce the need for extra fixtures. Incorporating energy-efficient lighting principles can help refine your layout for optimal results. Use this approach as a guideline, then adjust based on the room’s purpose and your aesthetic preferences. This method helps achieve balanced illumination while conserving energy.

Sigalux BR30 Indoor LED Flood Bulbs for Recessed Cans, 16.5W (100W Replacement), 1400LM, 5000K Daylight, Smooth Dimming, CRI 80, 110° Wide Beam, E26 Medium Base, Energy-Saving Lighting, 6 Pack
【Smooth, Flicker-Free Dimming】Enjoy stable dimming control from 10%–100% without noise or flicker. Easily set the right ambiance for…
As an affiliate, we earn on qualifying purchases.
As an affiliate, we earn on qualifying purchases.
How Does the Recessed Lighting Spacing Formula Work, and How Can You Use It?
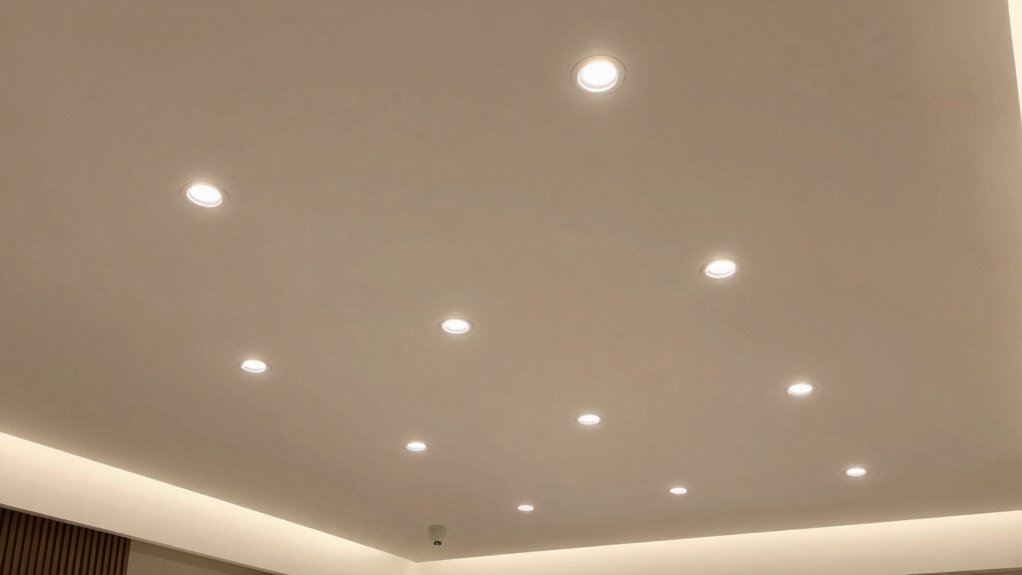
Understanding how the recessed lighting spacing formula works can help you create a balanced and efficient lighting plan. This formula guides you in placing lights evenly to achieve ideal lighting uniformity, reducing dark spots and shadows. Typically, the spacing is calculated based on the ceiling height and the beam angle of your fixtures. By maintaining the recommended distance—often equal to or slightly less than the ceiling height—you ensure consistent light distribution. Proper spacing not only enhances lighting uniformity but also boosts energy efficiency, as evenly distributed light reduces the need for additional fixtures. Additionally, lighting layout planning plays a crucial role in maximizing illumination and minimizing energy waste, creating a comfortable and visually appealing space. Considering natural light integration can further improve overall lighting quality and reduce dependency on artificial sources. Being mindful of lighting efficiency principles can help you optimize your setup for both performance and savings. Incorporating spacing guidelines into your plan ensures a more effective and safe lighting environment.

Ensenior 4 Pack 6 inch Gimbal Led Recessed Light, 5CCT 2700K-5000K, 360°+90° Rotatable, Dimmable, Aluminum, CRI90+, 1300LM 12W 120V, Eyeball Recessed Lighting, Directional Can Light, ETL&FCC
360° Rotation & 90° Tilt – Ensenior 6 inch LED gimbal recessed light offers a full 360° rotation…
As an affiliate, we earn on qualifying purchases.
As an affiliate, we earn on qualifying purchases.
What Are Common Mistakes in Planning Recessed Lighting, and How Can You Avoid Them?
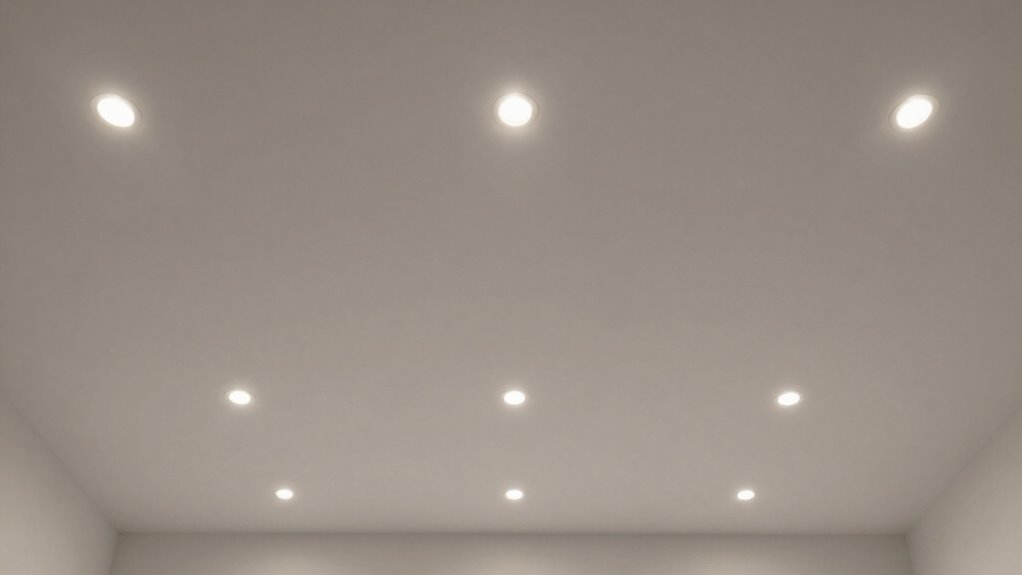
One common mistake in planning recessed lighting is neglecting to account for ceiling height and beam angles when determining fixture placement. This oversight can lead to uneven lighting and unwanted glare, undermining your lighting design’s effectiveness. Placement pitfalls often occur when fixtures are too close together or too far apart, creating dark spots or overly bright areas. To avoid this, consider your ceiling height and the beam spread of your chosen fixtures. Properly spaced lights ensure even illumination and reduce shadows. Remember, understanding how light distributes helps you prevent common errors that compromise your overall lighting plan. Taking these factors into account makes your recessed lighting more functional, visually appealing, and aligned with your room’s needs. Additionally, lighting distribution principles can guide you in achieving a balanced and harmonious lighting layout.
Practical Tips for Installing and Optimizing Your Recessed Lighting Layout
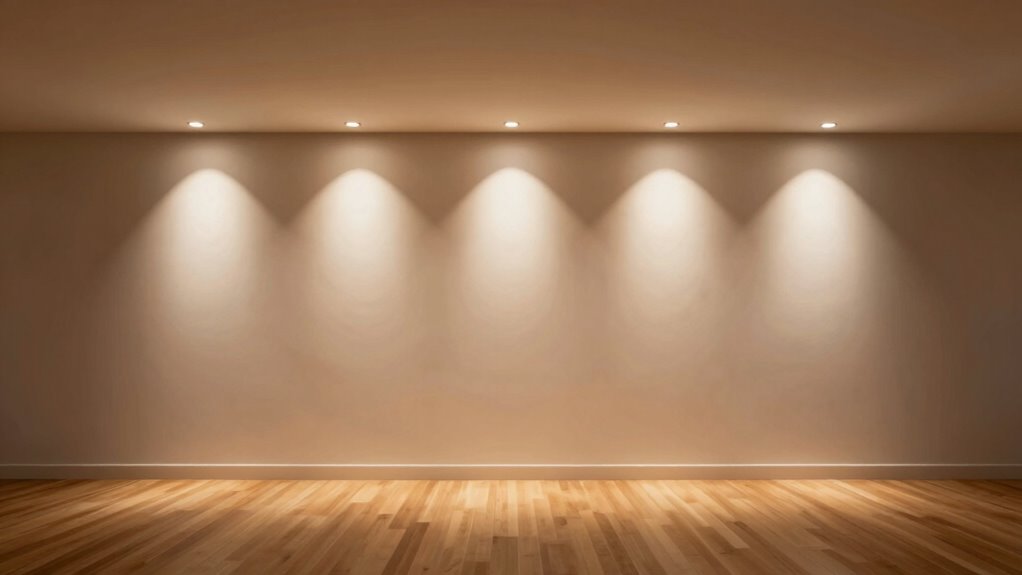
To install and optimize your recessed lighting layout effectively, start by planning your wiring and fixture placement carefully before drilling or cutting into the ceiling. Consider your ceiling height, as taller ceilings may require more spaced lighting fixtures to ensure even illumination. Measure and mark where each fixture will go, keeping in mind the spacing formula to avoid dark spots. Use a level to ensure fixtures are aligned properly for a clean look. When installing, double-check that wiring is secure and accessible. Adjust the angle of adjustable fixtures to maximize light spread and reduce shadows. Finally, test your setup with the lights on to identify any dark corners or uneven lighting, making tweaks as needed for a polished, well-lit space. Implementing simple organizing strategies can help keep your lighting system maintenance straightforward and effective. Incorporating proper spacing based on your ceiling height ensures a balanced light distribution and eliminates dark spots. Additionally, paying attention to fixture placement can further improve overall lighting coverage and ambiance.
Frequently Asked Questions
How Does Ceiling Height Affect Recessed Lighting Placement?
Your ceiling height directly impacts recessed lighting placement because taller ceilings require lights spaced further apart to guarantee even light distribution. If your ceiling is high, you’ll need larger or more powerful fixtures to avoid dark corners and maintain balanced illumination. Conversely, lower ceilings need closer spacing to prevent over-illumination or glare. Adjusting spacing based on ceiling height ensures ideal light distribution and a well-lit, comfortable space.
Can Recessed Lighting Be Used for Accent or Task Lighting?
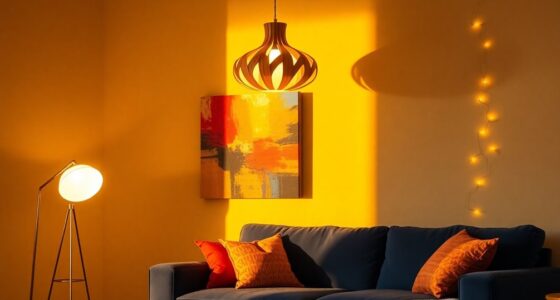
Dark corners can be brightened, and moods can be transformed with recessed lighting. Yes, you can use it for accent or task lighting by choosing decorative fixtures that highlight artwork or provide focused illumination for tasks. This dual purpose enhances your space’s ambiance and functionality, making your home both stylish and practical. Proper placement guarantees your lighting serves its purpose while adding a touch of elegance.
What Are the Best Bulbs for Energy-Efficient Recessed Lighting?
For energy-efficient recessed lighting, you should choose LED options, as they consume less power and last longer. Smart bulbs are also a great choice because they let you control brightness and color remotely, saving even more energy. Look for bulbs labeled as dimmable and with high lumens-to-watt ratios. This way, you’ll get bright, efficient lighting without sacrificing control or style.
How Do You Troubleshoot Uneven or Insufficient Lighting?
Imagine your room as a canvas, but uneven lighting leaves dark spots. First, check if your lighting dimmers are compatible; incompatible dimmers can cause flickering or uneven brightness. Adjust the color temperature to match your space’s mood, ensuring a warm or cool glow as needed. Replace bulbs with higher wattage or better quality ones if needed, and make sure all fixtures are properly installed and clean for consistent, even illumination.
Are There Specific Safety Precautions During Installation?
During installation, you should prioritize fire safety by ensuring all wiring connections are secure and insulated to prevent electrical fires. Follow local electrical codes meticulously, including proper mounting and clearance requirements. Turn off power before starting, and use appropriate tools and safety gear. Avoid overloading circuits to reduce fire risks. Regularly inspect the fixtures and wiring for signs of wear or damage, maintaining a safe environment and compliant installation.
Conclusion
By applying the right spacing formula, you can create a balanced, well-lit space free of dark corners. Remember, proper planning can reduce energy costs by up to 30% and extend the lifespan of your fixtures. With careful calculation and attention to detail, you’ll achieve a professional look that enhances your room’s ambiance and functionality. So, take your time, follow the tips, and enjoy a beautifully illuminated space tailored perfectly to your needs.