
To make surround sound “click,” you need to understand your AV receiver’s ports and settings. Connect your devices using HDMI or optical cables to the correct inputs, and make sure you use HDMI ports that support ARC or 4K pass-through. Properly connect and position your speakers, then calibrate the system for balanced audio. Exploring these ports and settings helps create immersive sound—keep exploring to learn how to optimize every component for superior performance.
Key Takeaways
- Use HDMI ports labeled for ARC or eARC to enable seamless audio return and surround sound synchronization.
- Connect speakers to designated speaker terminals, ensuring correct wiring and polarity for proper channel separation.
- Enable surround sound modes and calibrate speakers through receiver settings or auto-setup to optimize audio performance.
- Select appropriate audio output formats (e.g., Dolby Atmos, DTS:X) in the receiver menu for immersive sound.
- Ensure firmware updates and proper port configuration to enhance compatibility and achieve optimal surround sound “click.”
What Is an AV Receiver and Why Does It Matter?

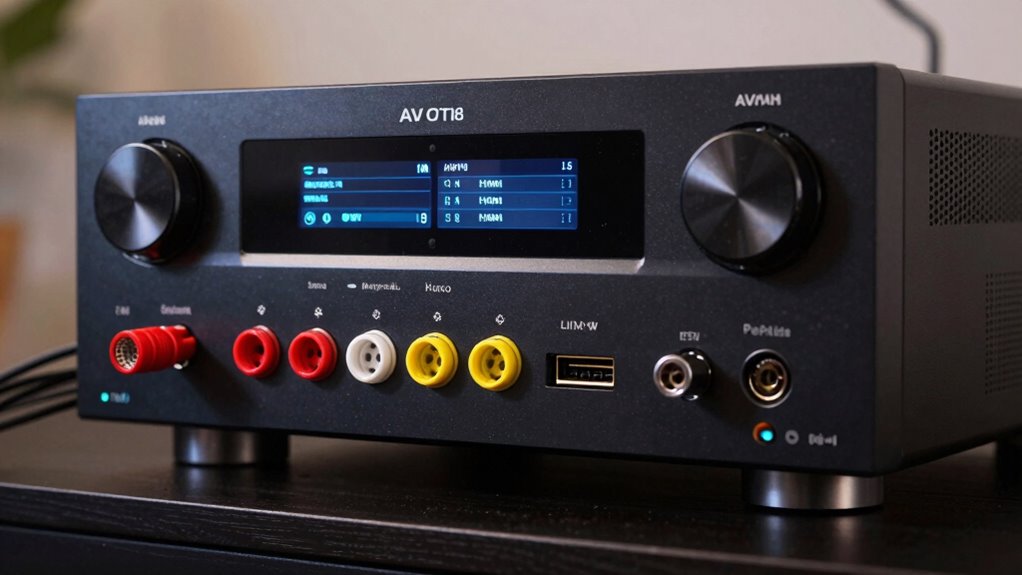
An AV receiver is the central hub for your home theater system, responsible for connecting and powering all your audio and video components. It manages the flow of sound and images, ensuring everything works seamlessly. Without it, your surround sound and high-quality video wouldn’t come together properly. An important feature is audio calibration, which fine-tunes sound settings for your room’s acoustics, delivering immersive audio. This process adjusts speaker levels and delays so that sound reaches your ears perfectly synchronized, enhancing your viewing experience. Your home theater depends on the AV receiver to encode, decode, and amplify signals, making sure you get crisp visuals and clear, balanced sound. Choosing the right AV receiver matters — it’s the backbone of a truly engaging entertainment setup, much like mastering the right system components is essential in deep-sky imaging. Proper audio calibration ensures your system performs at its best by tailoring sound to your unique environment. Additionally, understanding the ports and settings on your receiver helps optimize your setup for the best possible sound and picture quality, including the input options that connect your various devices. Recognizing the importance of connection versatility can make setup easier and improve overall performance.
How to Connect Your Devices to the AV Receiver
Connecting your devices to the AV receiver is straightforward, but it’s important to identify the right ports for each component. For wired devices like Blu-ray players, gaming consoles, and cable boxes, use HDMI or optical audio ports to guarantee high-quality sound and video. To connect your smart device or smartphone, consider using wireless streaming options such as Wi-Fi or Bluetooth, which allow seamless smart device integration without clutter. Many AV receivers support built-in Wi-Fi or Bluetooth, making it simple to stream music or mirror your device’s screen. Ensure your wireless streaming setup is secure and properly configured. Understanding your AV receiver’s capabilities can also be achieved by understanding the capabilities of your AV receiver to handle high-quality audio and video signals. Additionally, familiarizing yourself with home entertainment system setup can help you troubleshoot common connectivity issues and optimize your overall experience. Being aware of audio and video signal quality can help ensure you’re getting the best performance from your system. To maximize your setup, consider reviewing the device compatibility features of your AV receiver to ensure all your components work seamlessly. By matching your devices to the appropriate ports and features, you’ll optimize your setup for effortless connectivity and enhanced home entertainment.
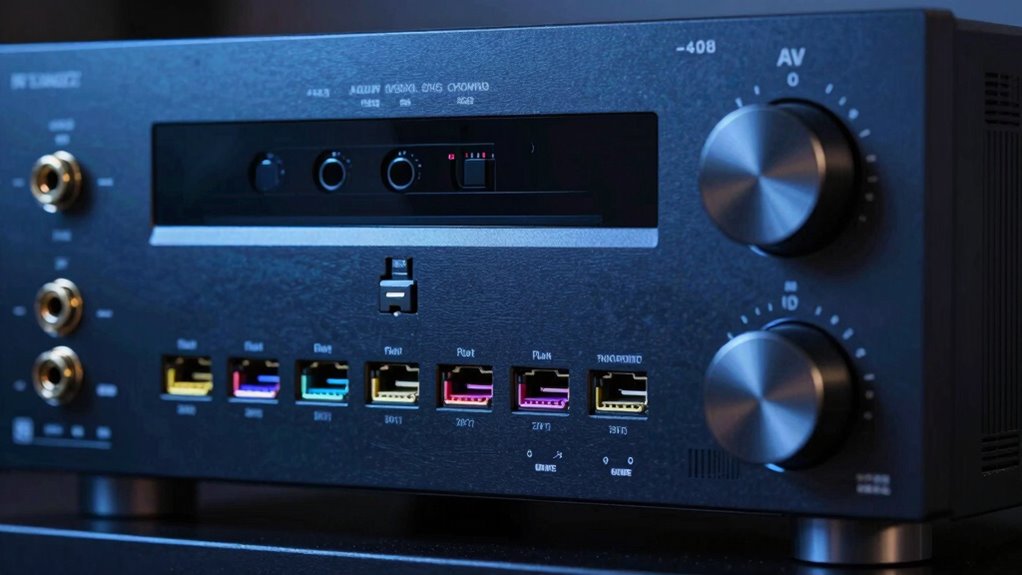
Identify and Connect the Ports on Your Receiver
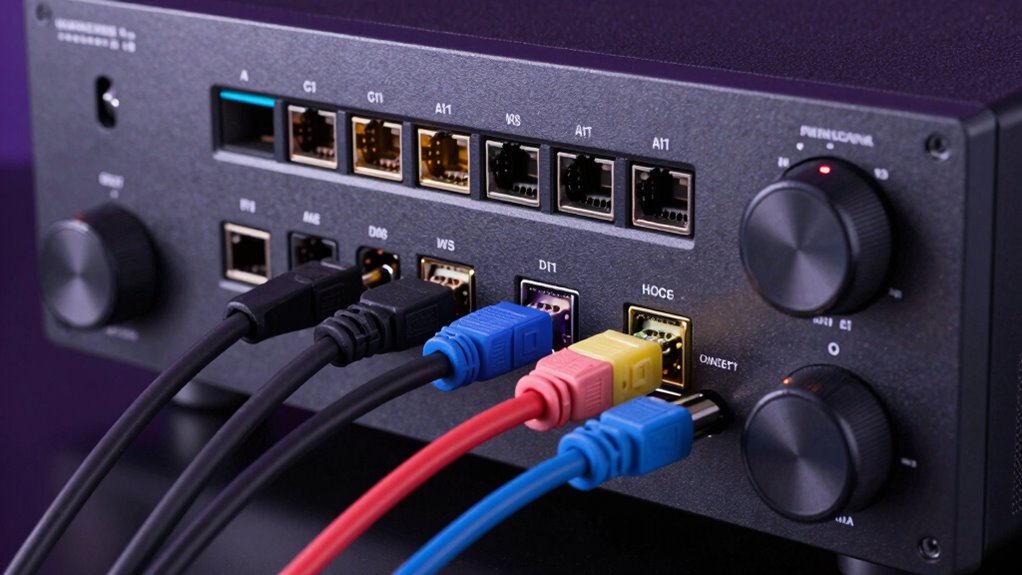
To effectively connect your devices, you need to familiarize yourself with the various ports on your AV receiver. Start by examining the port labeling, which clearly indicates each port’s purpose, like HDMI, optical, or RCA inputs. Knowing what each port is for helps you connect devices correctly and avoid confusion. Good cable management is essential here; keep cables organized and labeled to prevent tangling and make future adjustments easier. Take your time to identify the ports before connecting, ensuring each device goes to the right place. Properly labeled ports make troubleshooting simpler and reduce the risk of incorrect connections. Clear labeling and organized cables streamline setup, helping you enjoy your surround sound experience without unnecessary hassle. Additionally, understanding the European cloud innovation can inspire more sustainable and secure home entertainment solutions.
How to Set Up and Connect Your Speakers for Surround Sound
Setting up your speakers correctly is key to getting immersive surround sound. You should consider ideal placement and follow wiring guides to guarantee everything connects smoothly. Proper setup makes a noticeable difference in your home theater experience. Incorporating connected equipment and ensuring compatibility with your AV receiver can further optimize your system’s performance. Additionally, understanding the contrast ratio and its influence on image quality can enhance your overall viewing experience. Being familiar with the home theater environment can also help you achieve optimal sound and picture quality. Paying attention to speaker calibration settings can fine-tune your audio for the best possible surround sound experience. Also, paying attention to system integration ensures all components work harmoniously together for a seamless setup.
Speaker Placement Tips
Proper speaker placement is essential for achieving immersive surround sound, so take the time to position your speakers carefully. For the best experience, use wireless speakers to reduce clutter and simplify setup, especially if running wires isn’t feasible. Place front left and right speakers at ear level, equidistant from your listening position, forming a triangle. The center channel should sit directly above or below your TV for clear dialogue. Surround speakers should be slightly behind and to the sides of your seat, angled toward you. Ceiling mounts are excellent for overhead speakers, creating a true surround effect. Be sure to keep speakers away from walls and corners to prevent sound distortion. Proper placement ensures balanced sound and a more engaging listening experience. Speaker placement techniques can provide additional guidance on optimal positioning for surround sound, and experimenting with speaker angles can help fine-tune your setup for the best acoustics. Additionally, understanding the speaker types and their functions can help you choose the right configuration for your space. Incorporating soundproofing methods can also improve overall audio quality by reducing unwanted echoes and external noise.
Wiring and Connection Guides
Are you unsure how to connect your speakers to get the best surround sound? First, identify each speaker’s connection type—wired or wireless connectivity options. For wired setups, use high-quality speaker cables, guaranteeing correct polarity, and connect each speaker to the appropriate output on your AV receiver. For wireless speakers, follow the manufacturer’s instructions to pair them via Wi-Fi or Bluetooth. Proper power management is essential—avoid overloading circuits and ensure your receiver has adequate ventilation. If your receiver supports wireless connectivity, consider a wireless setup to reduce cable clutter and simplify placement. Always double-check connections before powering on your system. This careful wiring and connection process guarantees superior sound quality and a seamless surround sound experience, especially when considering thermal behavior and proper ventilation to maintain optimal performance. Additionally, understanding power requirements can help prevent system failures and ensure reliable operation. Being aware of system compatibility can also streamline the setup process and prevent connection issues.
Calibrating Your System for the Best Audio Experience
To get the best sound from your system, proper calibration is key. You’ll want to focus on speaker placement strategies and how to adjust the equalizer for ideal audio quality. These steps ensure your setup delivers clear, balanced sound every time you watch or listen.
Speaker Placement Strategies
Achieving the best audio experience starts with strategic speaker placement. You want your speakers to be positioned for ideal soundstage and clarity. Place front left and right speakers at ear level, angled slightly toward you, and avoid corners to reduce bass boom. Surround speakers should be slightly behind and to the sides, at ear level or higher. Use soundproofing techniques and room acoustic treatments to minimize reflections and external noise, enhancing sound quality.
| Speaker Type | Placement Tip |
|---|---|
| Front Left/Right | Ear level, angled toward listening spot |
| Center Channel | Directly above or below TV |
| Surround Speakers | Slightly behind, at ear level or higher |
Proper placement is key to a balanced, immersive sound experience.
Equalizer Adjustment Techniques
Proper equalizer adjustment is essential for tailoring your AV system’s sound to your room and preferences. Start by selecting an EQ preset that matches your listening environment, such as “Movie” or “Music,” to provide a good baseline. Then, fine-tune the bass frequencies for ideal bass enhancement, ensuring the sound isn’t overpowering or lacking depth. Use your receiver’s manual controls or automatic calibration tools to identify problematic frequencies and adjust accordingly. Focus on balancing the bass, mids, and treble, so the sound feels natural and immersive. Remember, subtle tweaks often make the biggest difference. Experiment with small adjustments, listening critically after each change, until you achieve a rich, well-rounded audio experience that suits your preferences.
Understanding AV Receiver Inputs, Outputs, and HDMI Ports
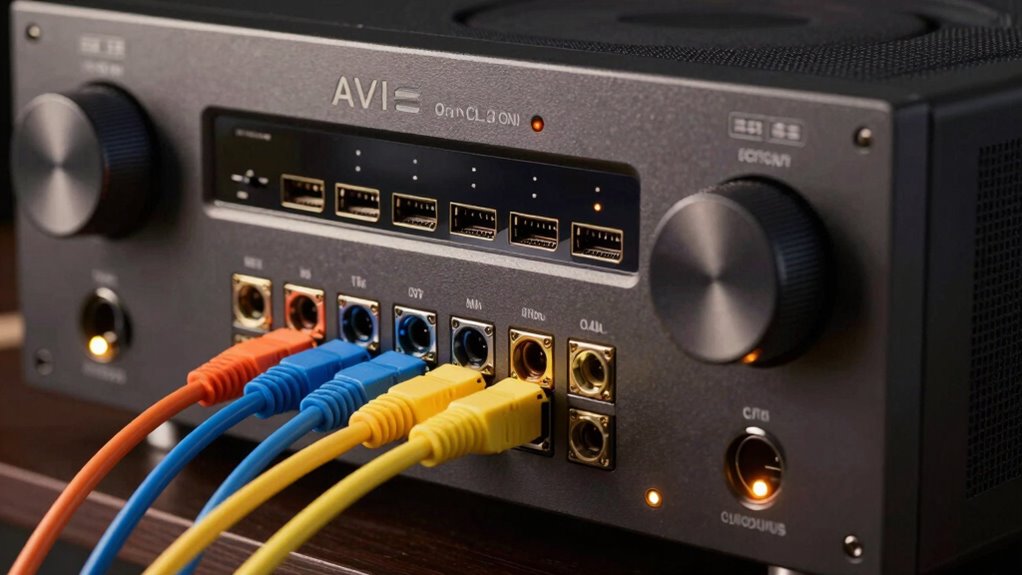
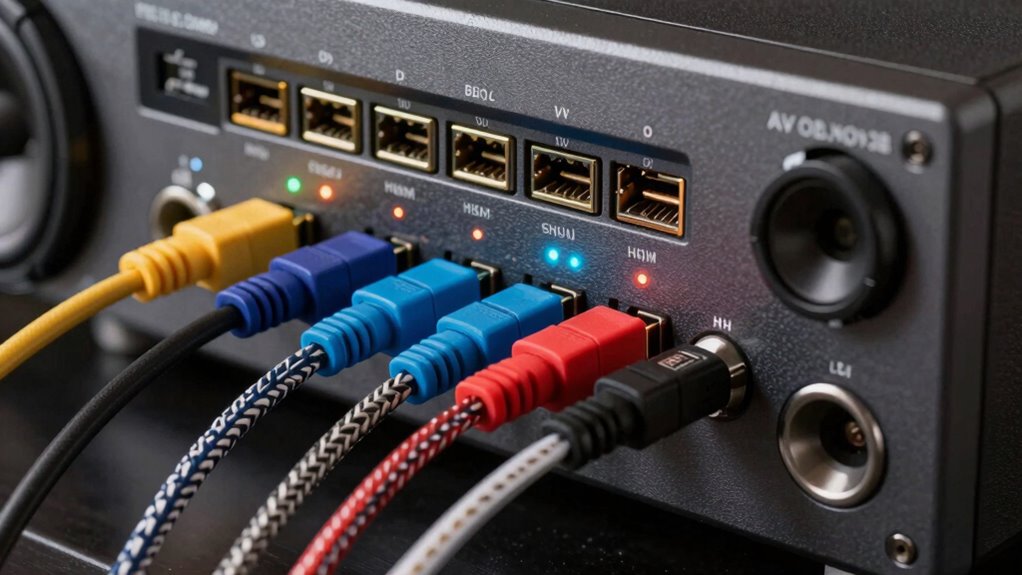
Understanding AV receiver inputs, outputs, and HDMI ports is essential for setting up your home theater system effectively. Properly managing cables and labeling ports helps keep your setup organized and simplifies future adjustments. Your receiver typically features various inputs for devices like Blu-ray players, gaming consoles, and streaming boxes, as well as output options for speakers and displays.
Proper cable management and labeling optimize your AV receiver setup and performance.
Here are some key points to contemplate:
- Input Ports: Connect your external devices, ensuring correct cable management and clear port labeling.
- Output Ports: These send signals to speakers and displays, so verify compatibility and correct connections.
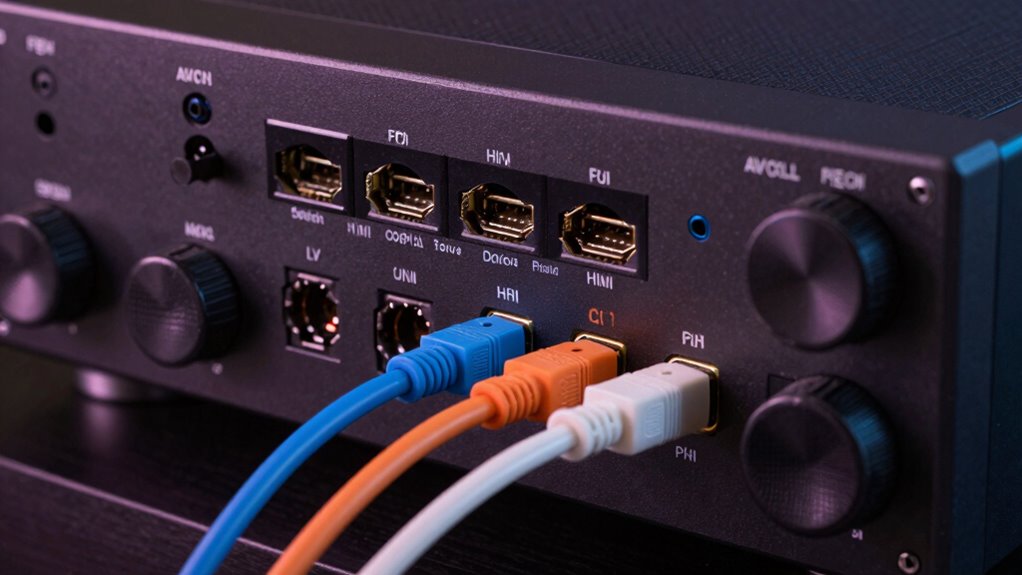
- HDMI Ports: Central for high-quality audio/video, identify which ports support features like ARC or 4K pass-through.
Knowing these helps you optimize your system’s performance and maintain neat cable management.
Troubleshooting Common Connection and Sound Issues
Even with well-organized connections, connection and sound issues can still arise, disrupting your home theater experience. If your audio feels out of sync, an audio delay might be the culprit. Many times, adjusting the receiver’s audio delay settings can fix this. If you experience no sound or strange noises, try power cycling your AV receiver—turn it off, unplug it for a minute, then plug it back in and turn it on. This simple step resets the system and often clears minor glitches. Double-check all connections, ensuring cables are secure and plugged into the correct ports. If issues persist, verify that the source device is working properly and that your receiver’s input settings match the connected device. These troubleshooting steps often resolve common connection and sound problems quickly.
Next Steps: Advanced Settings and Future Upgrades
Once you’ve mastered the basic setup and troubleshooting, it’s time to explore advanced settings on your AV receiver. Fine-tuning audio calibration ensures peak sound quality, so consider adjusting speaker distances, levels, and crossover points. This step enhances your surround sound experience and makes the most of your system’s capabilities. Looking ahead, plan for future upgrades by exploring compatibility options for new speakers, higher-resolution audio formats, or additional zones. Here are some key areas to focus on:
- Audio calibration tools – Use automatic or manual calibration features to optimize sound.
- Room acoustics adjustments – Fine-tune equalization settings for better audio clarity.
- Future upgrade pathways – Check for firmware updates and compatibility with new devices or formats.
Frequently Asked Questions
How Do I Update My AV Receiver’s Firmware?
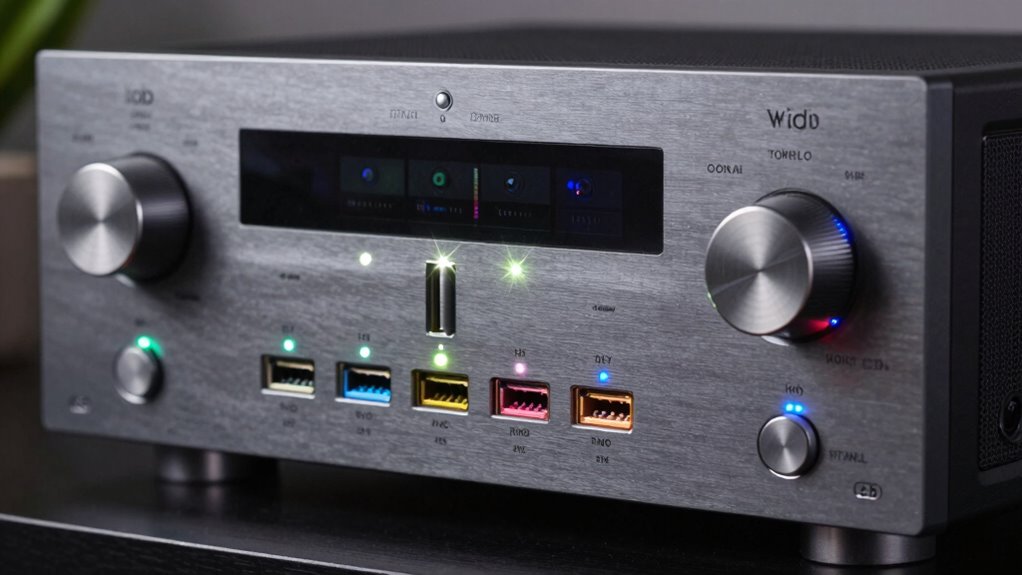
To update your AV receiver’s firmware, first check your receiver’s model compatibility and visit the manufacturer’s website. Download the latest firmware file onto a USB drive, then insert it into your receiver’s USB port. Follow the on-screen instructions or menu prompts to initiate the firmware update. Make sure your receiver stays powered on during the process to avoid any issues. This keeps your receiver compatible with new features and improves performance.
Can I Connect Multiple Speakers to One Port?
You can’t connect multiple speakers to one port because most AV receiver ports are designed for a single speaker or specific wiring configurations. Interestingly, proper speaker wiring and port compatibility are essential to avoid damage and guarantee maximum sound quality. If you want multiple speakers, use a speaker selector or amplifier that distributes the signal correctly, maintaining the integrity of your system and preventing potential issues.
What Is the Difference Between HDMI ARC and eARC?
HDMI ARC and eARC both connect your TV to audio devices, but eARC offers higher bandwidth and supports advanced formats like Dolby Atmos and DTS:X. eARC also reduces lip-sync issues with faster, more reliable data transfer. While HDMI ARC is common on older devices, eARC is found on newer models, providing richer sound quality and seamless integration for your surround sound setup.
How Do I Disable Certain Ports for Security or Privacy?
To disable certain ports for security or privacy, access your AV receiver’s settings menu, often through its web interface or on-screen display. Use port management options to turn off or restrict specific ports, preventing unauthorized access. This enhances network security by controlling data flow and reducing vulnerabilities. Regularly update your firmware and review port activity logs to maintain ideal security and guarantee your privacy stays protected.
Are There Compatibility Issues With Certain Gaming Consoles?
Imagine you’re trying to connect a newer PlayStation 5 to an older AV receiver. You might face gaming console compatibility issues due to port limitations, such as missing HDMI 2.1 support. Some receivers lack the necessary ports or features for the latest consoles, causing connection problems or reduced performance. To avoid this, check your receiver’s port compatibility with your gaming console before buying, ensuring seamless gaming and superior audio quality.
Conclusion
Think of your AV receiver as the conductor of your home theater orchestra. When all the ports and settings are correctly tuned, your surround sound comes together seamlessly, creating an immersive experience. Just like a conductor ensures every instrument plays in harmony, your receiver coordinates your devices and speakers for perfect audio. Mastering these basics transforms your setup from chaos to symphony—bringing movies and music vividly to life in your own living room.