
To prevent a remodeling disaster when planning your walk-in shower, focus on six key measurements: the space dimensions (length, width, height), door and entry sizes for easy access, shower pan and wall heights for safety, fixture placement for comfort, tile and grout line measurements for a seamless look, and clearances for accessories and safety bars. Ensuring accuracy in each measurement helps avoid costly mistakes and guarantees your shower fits perfectly. Keep going to learn how to get these measurements just right.
Key Takeaways
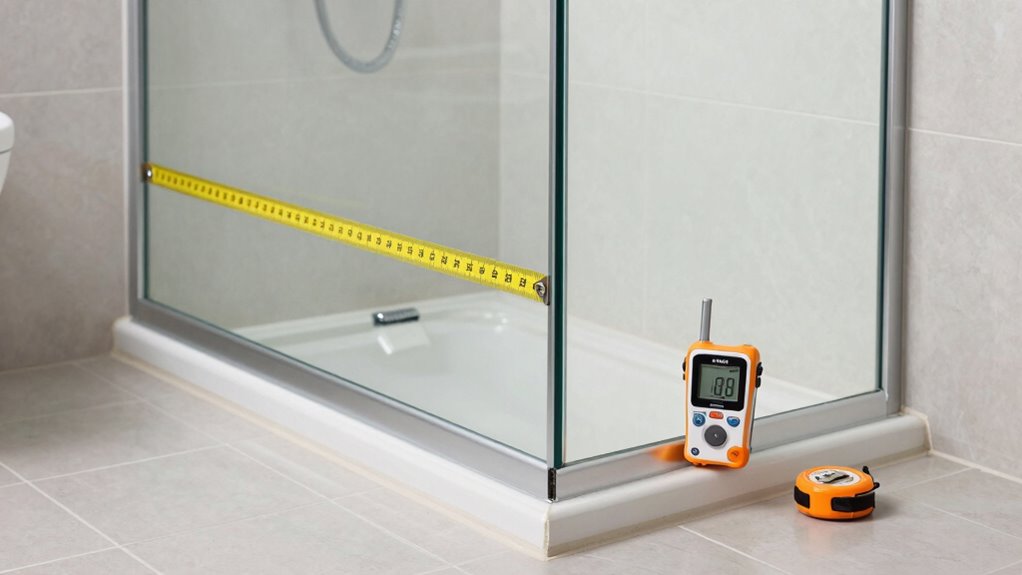
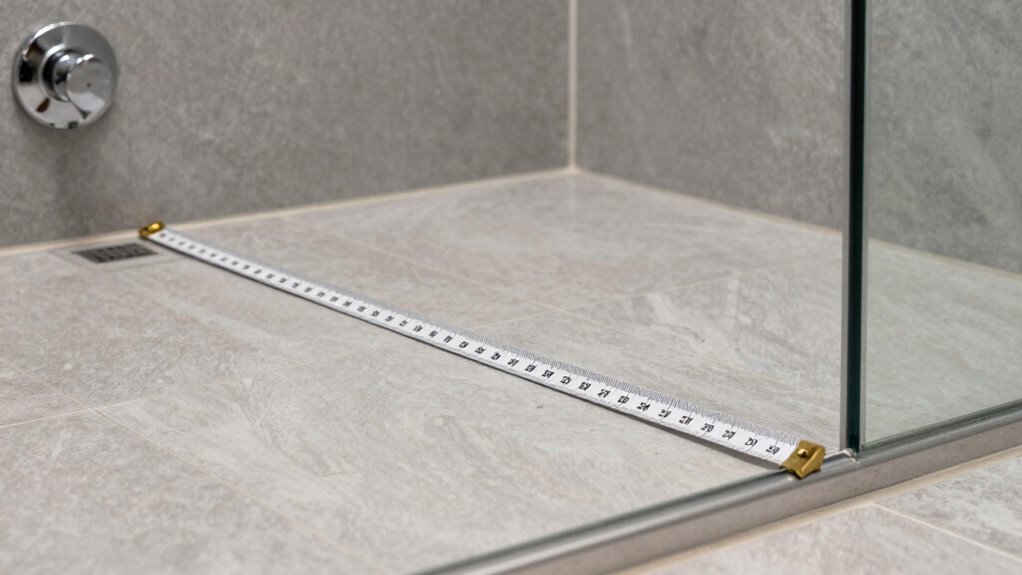
- Measure the shower area’s length, width, and height accurately to ensure proper fit and layout.
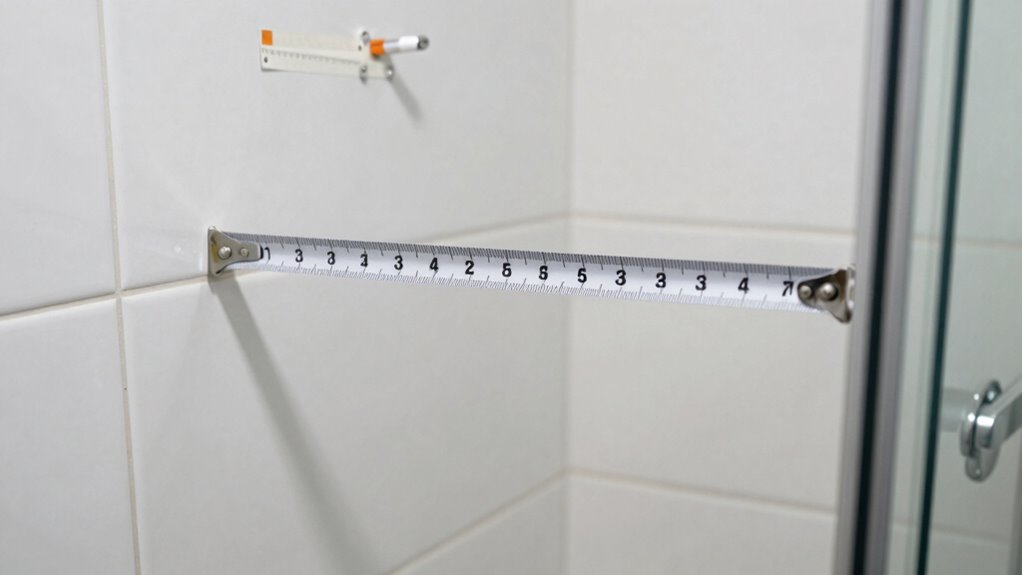
- Confirm doorway width and framing space for accessible, functional entry and exit.
- Determine precise locations for fixtures, shelves, and grab bars based on user height and comfort.
- Verify tile sizes and grout line measurements to maintain consistent patterns and avoid uneven surfaces.
- Check drain placement and shower pan slope to ensure effective drainage and waterproofing.

Aheaplus Closet System Closet Organizer, Wood Closet Organizer System, Walk-in Closet or Small Closets Wardrobe, Clothes Rack with Hanging Rods, 4FT Closets, Set of 2, White
【Set of 2 pcs of 2FT Closet System】The 24-inch stand-alone closet organizer is your go-to storage solution, blending...
As an affiliate, we earn on qualifying purchases.
Why Accurate Measurements Are Key to a Perfect Walk-In Shower Fit
Accurate measurements are essential because they guarantee your walk-in shower fits perfectly and functions properly. When planning, you need to consider key design considerations, such as available space, door placement, and accessibility. Precise measurements help you select the right material specifications, ensuring your chosen tiles, glass, or panels will fit without gaps or overlaps. Taking accurate measurements early prevents costly mistakes later, saving you time and money. It also allows you to coordinate with contractors or suppliers effectively, ensuring everyone works with the same data. Remember, even small discrepancies can affect the overall look and function of your shower. By prioritizing accurate measurements, you set the foundation for a successful, seamless installation that matches your design vision. Proper planning with reliable measurements minimizes potential installation errors and helps you select the right tools and materials for your project. Additionally, understanding measurement accuracy and how to perform it correctly reduces the risk of errors during installation. Recognizing the importance of home technology in modern renovations can further streamline your planning process. Incorporating digital measurement tools can enhance precision and efficiency throughout your project.

Closet System with 6 Drawers, 5-14FT Custom Closet Organizer System with 8 Expandable Hanging Rods&Adjustable Shelves, Modular Wood Closet Systems Tower for Walk in Closet Storage, 2 Sets, White
【 Closet System of 2 Sets】Fastgo closet system with 6 drawers, 8 shelves and 8 hanging rods is...
As an affiliate, we earn on qualifying purchases.
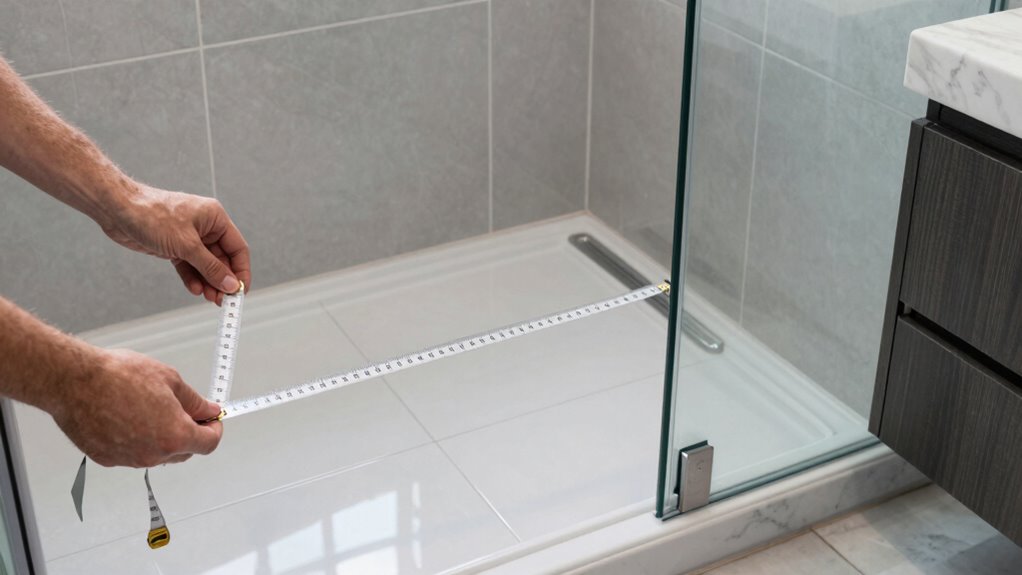
How to Measure Your Walk-In Shower Space Step-by-Step
To start measuring your walk-in shower space, gather the tools you’ll need, like a tape measure and a pencil. Carefully measure the length, width, and height of the area, ensuring you get accurate readings. Accurate measurements are essential for proper planning, as they help prevent measurement errors that could lead to costly mistakes later on. It’s also helpful to understand material properties to choose appropriate fixtures and finishes that will last. Additionally, considering ventilation considerations can improve the overall comfort and safety of your shower space. Understanding airflow and moisture management can further prevent issues like mold and mildew. Finally, record your measurements and double-check them to avoid any mistakes later on.
Gather Necessary Tools
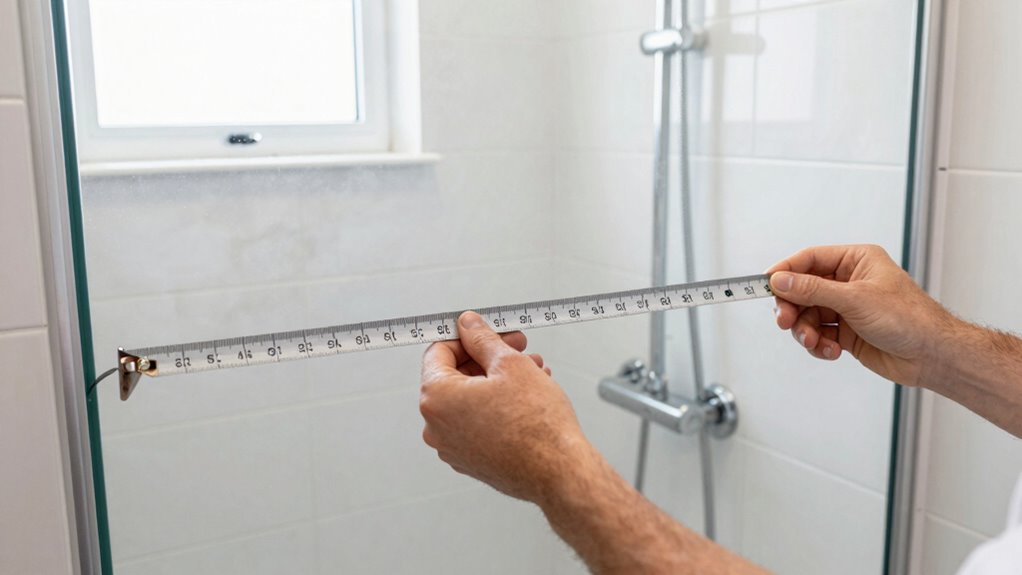
Before you start measuring your walk-in shower space, gather all the necessary tools to guarantee a smooth process. You’ll need reliable measurement tools like a tape measure, a ruler, and a pencil for marking. Consider using calibration techniques, such as measuring a known length first, to ensure accuracy. A level can help verify that surfaces are even, and a square ensures right angles. Keep a notebook nearby to record your measurements clearly. Using proper measurement tools and calibration techniques prevents errors that could lead to costly mistakes later. Having everything ready before you begin saves time and reduces frustration. Double-check that your tools are in good condition and accurate—this step is vital for precise measurements and a successful shower remodel. Accurate measurements are essential to avoid costly errors during installation. Additionally, understanding proper measurement techniques can help ensure your project stays on track, and practicing measurement accuracy can further improve your results. Incorporating sound measurement practices can help you achieve a perfect fit and avoid unnecessary adjustments later.
Measure Existing Space
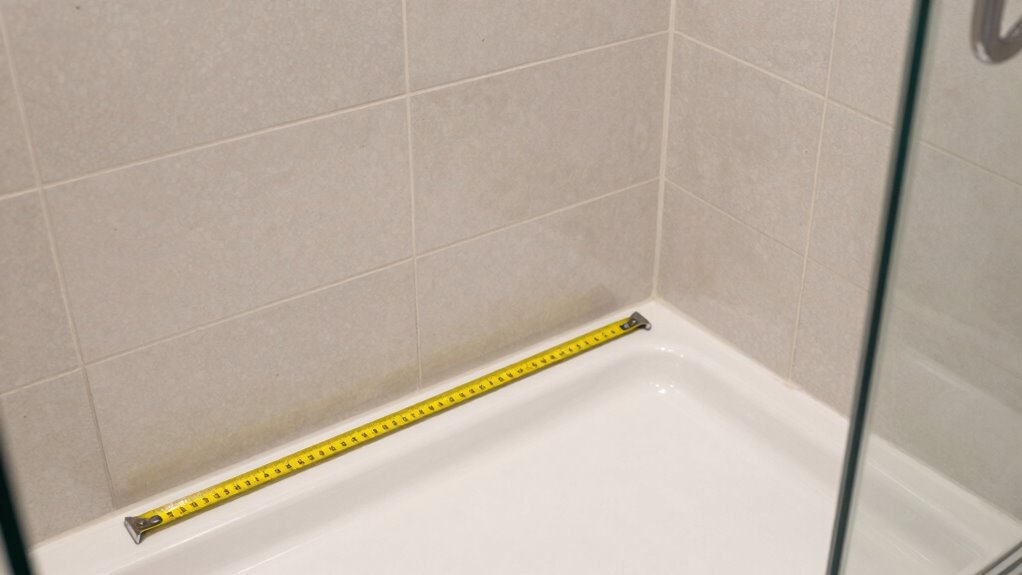
Measuring your existing walk-in shower space is a crucial step to guarantee your new design fits perfectly. Start by measuring the length, width, and height of the shower area using a tape measure. Be sure to include any built-in seats or ledges that might affect your layout. When measuring tile layout, mark the center points of each wall to ensure even tile placement and avoid awkward cuts. Pay close attention to grout lines, as they influence tile size and spacing. Measure the distance between grout lines to determine tile sizes and confirm they’ll fit within your space without excessive cuts. Record all measurements carefully, noting any irregularities or obstacles that could impact installation or tile patterning. Accurate measurements prevent surprises during installation and help you plan an efficient, precise remodel. Additionally, understanding pool terminology can assist in recognizing key features that may influence your shower design. Recognizing installation guidelines ensures your project adheres to safety standards and reduces potential errors.
Record and Verify Data
How can you guarantee your measurements are accurate and reliable? First, record each dimension carefully using a tape measure, noting the length, width, and height of your shower space. Double-check your measurements to catch any errors. Verify the placement of features like drain positions, existing fixtures, and wall studs. When documenting, include details about tile patterns to ensure your design aligns perfectly with the space. Accurate measurements are essential for proper waterproofing techniques, preventing leaks or damage later. Use a level to confirm vertical and horizontal measurements are true, and record everything clearly. Keeping detailed, verified data helps you avoid costly mistakes during installation, ensuring your walk-in shower fits perfectly and functions reliably for years to come. Additionally, consulting waterproofing best practices can further safeguard your project from future issues, especially considering that paint sprayer maintenance plays a crucial role in ensuring tools remain in optimal condition during ongoing projects. Incorporating measurement verification methods can also enhance the accuracy of your data throughout the process, and considering the importance of precise measurements can help you anticipate potential challenges before construction begins. Implementing proper documentation techniques ensures nothing gets overlooked during the planning phase, reducing the risk of errors during installation.

Vomavex Closet System with 4 sets, 101.9" Closet Organizer Systems with 6 Drawers & 8 Hanging Rods & Adjustable Shelves, Walk in Closet Standing Closet System, Corner Closet System Set, White
【 4-in-1 Closet System, Custom/DIY as you like】- This Closet System sets includes 4 Separate closet Units: One...
As an affiliate, we earn on qualifying purchases.
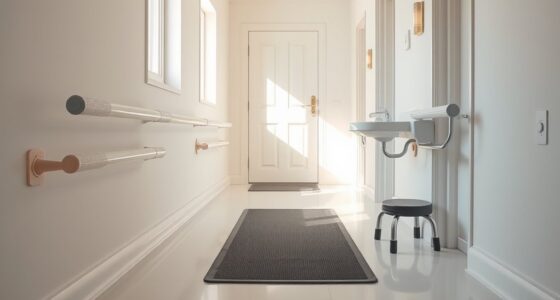
How to Determine Door and Entry Clearances for Easy Access
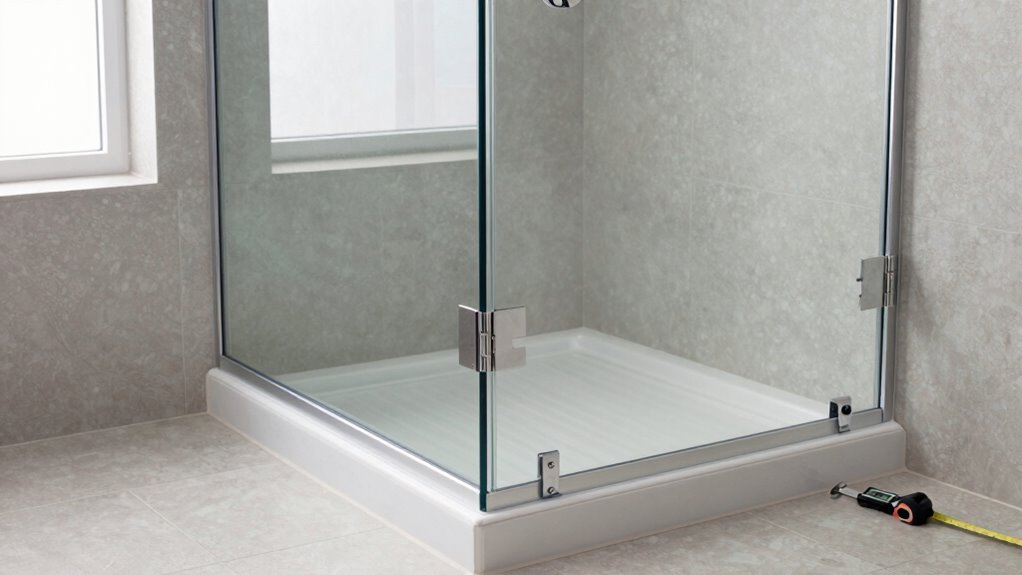
To guarantee easy access to your walk-in shower, you need to accurately determine the door and entry clearances. Start by considering framing considerations; ensure the doorway width allows comfortable entry for all users, including those with mobility challenges. The standard minimum doorway opening is 24 inches, but 30 inches provides more ease. Don’t forget ventilation requirements—adequate space around the door helps maintain airflow, preventing moisture buildup. You also want to leave enough clearance to open and close the door smoothly without hitting fixtures or walls. Measure the total width of the entry, factoring in the door swing or sliding mechanism. Additionally, home security system effectiveness can influence your planning, as securing your bathroom and entry points adds an extra layer of safety. Paying attention to airflow considerations in your planning ensures proper ventilation and reduces potential moisture issues. Properly assessing doorway dimensions is essential to avoid costly adjustments during remodeling. Considering smart home integration features, such as automated locks or sensors, can further enhance safety and convenience in your bathroom space. By paying attention to framing considerations and ventilation needs, you create a functional, accessible entry that minimizes remodeling surprises.

Sokiche Closet Organizer System of 4 Sets with 3 Drawers, 9 Hanging Rods & 8 Shelves, 157" Walk in Closet System, Corner Closet Organizer, Modular Standalone Closet, White
【4-in-1 Modular Closet, Customize Any Style You Want】- This closet system includes 4 independent cabinets—1 corner unit plus...
As an affiliate, we earn on qualifying purchases.
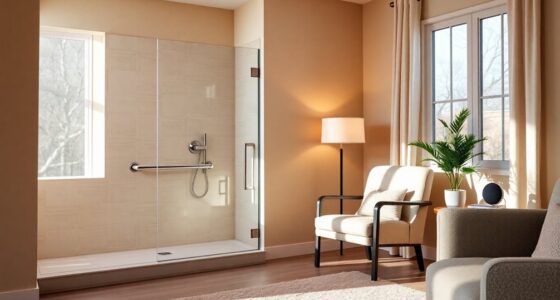
How to Calculate Shower Pan and Wall Heights for Comfort and Safety
Ensuring your shower pan and wall heights are correctly set is essential for both comfort and safety. Proper measurements prevent water from escaping and ensure the shower feels comfortable. When calculating the shower pan height, consider tile patterns—if you plan to use large tiles, adjust the height to avoid uneven cuts and maintain a seamless look. For the wall height, factor in waterproofing techniques; a proper waterproof membrane should extend above the shower’s highest point to prevent leaks. Keep in mind that the slope of the shower pan, typically 1/4 inch per foot, ensures proper drainage. Accurate measurements and attention to tile patterns and waterproofing details help create a safe, functional, and visually appealing shower space.
How to Measure for Fixtures and Accessories to Maximize Functionality
To make your walk-in shower as functional as possible, you need to focus on precise fixture placement. Properly spaced accessories guarantee easy access and prevent clutter. Taking accurate measurements now will save you time and effort during installation.
Precise Fixture Placement
Accurate measurement is essential when planning the placement of fixtures and accessories in your walk-in shower, as it directly impacts both functionality and comfort. Proper fixture placement ensures easy access and safe use, so measure carefully before installation. Determine the ideal height for showerheads, ensuring they’re within comfortable reach and provide adequate water coverage. For accessories like soap dishes, shelves, and grab bars, consider user height and daily usage patterns. Position them where they won’t obstruct movement or cleaning. Use a tape measure to mark precise locations on the wall, and double-check measurements to avoid errors. Thoughtful accessory positioning minimizes awkward reaches and enhances safety. Remember, well-measured fixture placement creates a more functional, user-friendly shower environment.
Optimal Accessory Spacing
Properly spacing your fixtures and accessories is key to maximizing both functionality and safety in your walk-in shower. You want enough room for comfortable movement and easy access to shower glass panels and accessories. Measure carefully to guarantee items like soap dishes, shelves, and grab bars are neither crowded nor awkwardly placed. Consider the tile spacing, which influences the placement of fixtures to avoid uneven surfaces or gaps. When planning fixture placement, keep in mind the ideal distance from the shower entrance and between items for smooth operation.
- Place the shower head at a comfortable height for all users
- Guarantee shelves don’t interfere with shower glass or cause clutter
- Position grab bars within easy reach without crowding tiles
Common Measurement Mistakes That Can Ruin Your Shower Remodel
Measuring your shower space incorrectly can lead to costly mistakes and delays in your remodel. One common error is misjudging the available space, which affects your design trends and material choices. For example, choosing oversized tiles or fixtures without accurate measurements can make the area feel cramped or unbalanced. Failing to account for door clearances or niche placements can cause accessibility issues or force you to redo work. Another mistake is relying on outdated or inaccurate measurements, leading to mismatched components. Always double-check your dimensions and consider future needs, such as grab bars or seating. Proper measurements ensure your walk-in shower aligns with your vision, fits your space, and prevents costly rework. Precision in measurement is key to a successful, stress-free remodel.
Frequently Asked Questions
How Do I Account for Wall Thickness in Measurements?
When measuring for your walk-in shower, account for wall thickness by subtracting it from the overall dimensions to guarantee a proper fit. Remember to include tile spacing, which can add to the final size, and leave enough plumbing clearance for fixtures. Double-check measurements on-site, and consult with a professional if needed, so your shower fits perfectly without surprises, ensuring smooth installation and long-lasting results.
What Tools Are Best for Precise Shower Measurements?
Think of your tools like a painter’s brush for accuracy. Use a tape measure with a lock feature for consistent readings, a level to ensure your walls are straight, and a waterproof tape for precise edge measurements, especially around the shower door. A laser distance meter is a game-changer for quick, exact measurements, making your project smoother and preventing costly mistakes. Rely on these tools to make your shower planning a masterpiece.
How Do I Measure for Uneven or Sloped Floors?
To measure for uneven flooring or a sloped floor slope, start by using a level or a laser level across multiple points in the shower area. Mark any high and low spots, then measure the difference between them with a tape measure. This helps you understand the extent of uneven flooring, ensuring your shower base fits properly and prevents water pooling or leaks. Accurate measurements are essential for a seamless, functional installation.
Should I Include Space for Shower Seat Installation?
Yes, you should include space for shower seat installation to improve accessibility and comfort. Planning for a shower seat as an accessibility enhancement guarantees it’s secure and easy to use. Measure carefully to allocate enough room, typically 17-19 inches from the wall, and consider fold-down options if space is limited. Including this feature makes your shower more functional and accommodating for all users.
How Do I Plan for Future Accessibility Modifications?
Think of your shower as a future-proof fortress—plan now for easy upgrades. You should prioritize grab bar placement, ensuring they’re within reach and sturdy. Also, consider door clearance; leave enough space to add or adjust accessibility features later. By designing with flexibility, you create a shower that adapts seamlessly to your changing needs, making future modifications smoother and safer without tearing everything apart.
Conclusion
Think of your walk-in shower as a carefully crafted symphony—you’re the conductor. When you measure accurately, every note falls into place, creating harmony between space and function. Avoid common pitfalls, and your remodel will flow smoothly like a well-rehearsed performance. With the right measurements, you’ll guarantee your shower is both a sanctuary and a masterpiece, transforming your bathroom into a space that feels tailored just for you.