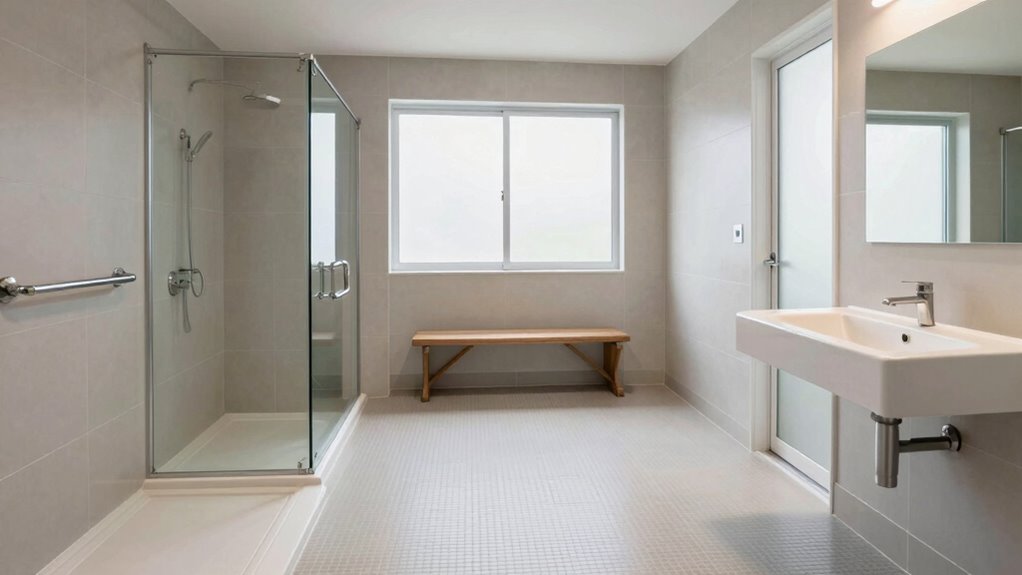
Your bathroom isn’t truly accessible until you check its layout for adequate space and proper fixture placement. Guarantee there’s at least a 5-foot turning radius, wide clear pathways, and fixtures at accessible heights. Grab bars should be properly positioned near the toilet and shower, with non-slip surfaces throughout. Avoid tight spaces or obstructed routes that can cause falls. To create a safe, functional, and inviting bathroom, focus on these critical layout details—you’ll discover how to improve safety and usability.
Key Takeaways
- Confirm a minimum 5-foot diameter clear turning space for wheelchair maneuverability within the bathroom.
- Ensure fixtures like the toilet and sink are positioned at accessible heights with adequate clearance.
- Check that door swings do not obstruct pathways or reduce accessible space, considering sliding doors if needed.
- Verify non-slip flooring and textured surfaces to prevent slips, especially in wet zones.
- Ensure all grab bars are correctly placed near fixtures for safety and that pathways are free of obstacles.
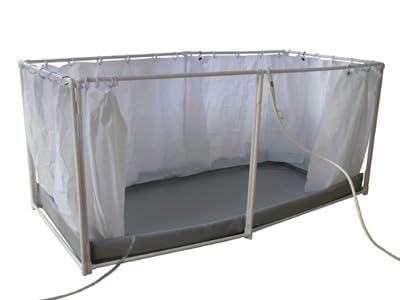
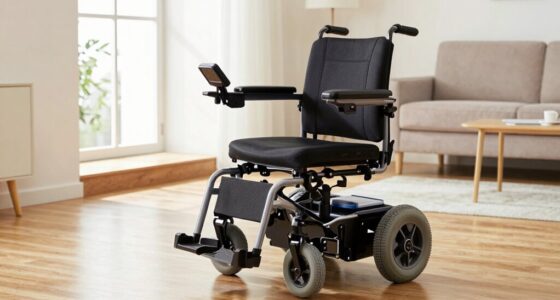
Lite Shower Wheelchair Accessible Portable Shower Stalls (Recliner)
ALERT, DUE TO HEALTH AND SAFETY THESE ARE NONRETURNABLE ITEMS PLEASE BE SURE PRIOR TO PURCHASE
As an affiliate, we earn on qualifying purchases.
As an affiliate, we earn on qualifying purchases.
Is Your Bathroom Layout Truly Accessible? How to Evaluate It
To determine if your bathroom layout is truly accessible, you need to evaluate how well it accommodates your mobility needs. Start by considering bathroom aesthetics alongside functionality, ensuring the space looks inviting without sacrificing practicality. A well-designed layout should minimize obstacles that hinder movement, making it easier to navigate comfortably. Plumbing considerations are equally important; check that pipes and fixtures are properly positioned to allow for easy access and maintenance. Look for features like grab bars, accessible sinks, and open space around the toilet and shower. If elements feel cramped or awkward, it’s time to rethink the arrangement. Incorporating universal design principles can help you create a space that supports safety, comfort, and style for everyone. Additionally, assessing the layout’s compliance with accessibility standards ensures your bathroom meets safety and usability benchmarks. Ensuring that the layout accounts for proper circulation space can significantly improve overall functionality. An accessible bathroom balances aesthetics with function, ensuring safety, comfort, and style all go in hand. Incorporating features from professional architectural solutions can also enhance the overall accessibility and design quality of your bathroom.

12 Pack 12" x 12" Interlocking Rubber Bathroom Flooring Tiles Non-Slip Splicing Waterproof Mat Modular Interlocking Cushion Mat for Drain, Deck, Pool, Patio, Balcony, Shower, Kitchen, Yard (Gray)
【Safe & Durable Material】12 inch interlocking rubber floor tiles are constructed of blend of premium PVC, non-toxic and…
As an affiliate, we earn on qualifying purchases.
As an affiliate, we earn on qualifying purchases.
Measuring Your Bathroom: Space Requirements for Accessibility
To make your bathroom accessible, start by measuring the space needed for a clear turning radius, typically at least 60 inches in diameter. Guarantee fixtures like the toilet and sink are positioned to allow easy movement without obstruction. Properly measuring these areas helps create a layout that’s both functional and comfortable for all users. Additionally, consider the placement of body jewelry measurements to ensure that any accessories do not hinder movement or accessibility. Incorporating Universal Design principles can further optimize the space for users with diverse needs. Understanding water flow rates in your fixtures can also help ensure the space remains practical and efficient for everyday use. Paying attention to accessibility standards can help you meet safety and usability requirements effectively.
Clear Turning Space
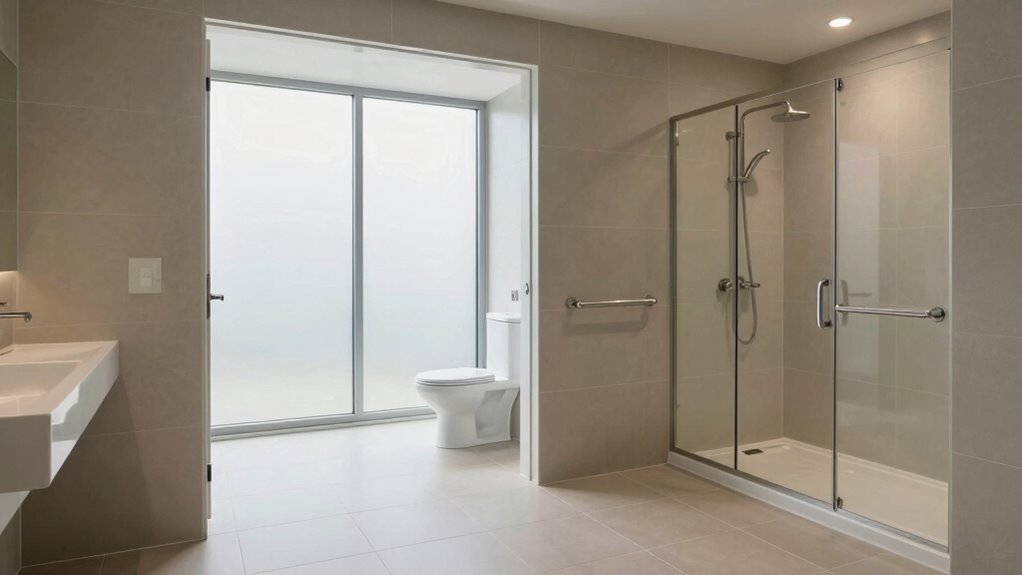
Have you checked if your bathroom has enough space for a wheelchair to turn around comfortably? Clear turning space is vital for safety and independence. You need at least a 5-foot diameter circle of unobstructed space, so the wheelchair can rotate smoothly. When measuring, consider the door swing — ensure doors don’t block this area when opened, or opt for sliding doors. Proper lighting placement is also essential; well-lit areas prevent missteps and make navigation easier. Avoid clutter near the turning space, and keep pathways clear of obstacles. Remember, a spacious layout not only meets accessibility standards but also enhances safety for everyone. By paying attention to door swing, lighting placement, and accessible design principles, you create a bathroom that’s truly functional and accessible.
Proper Fixture Placement
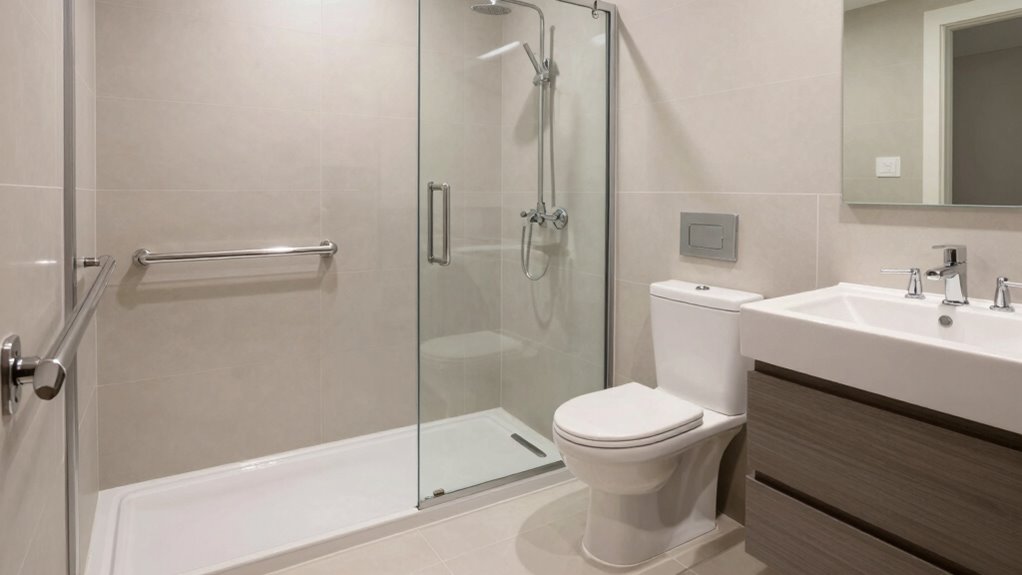
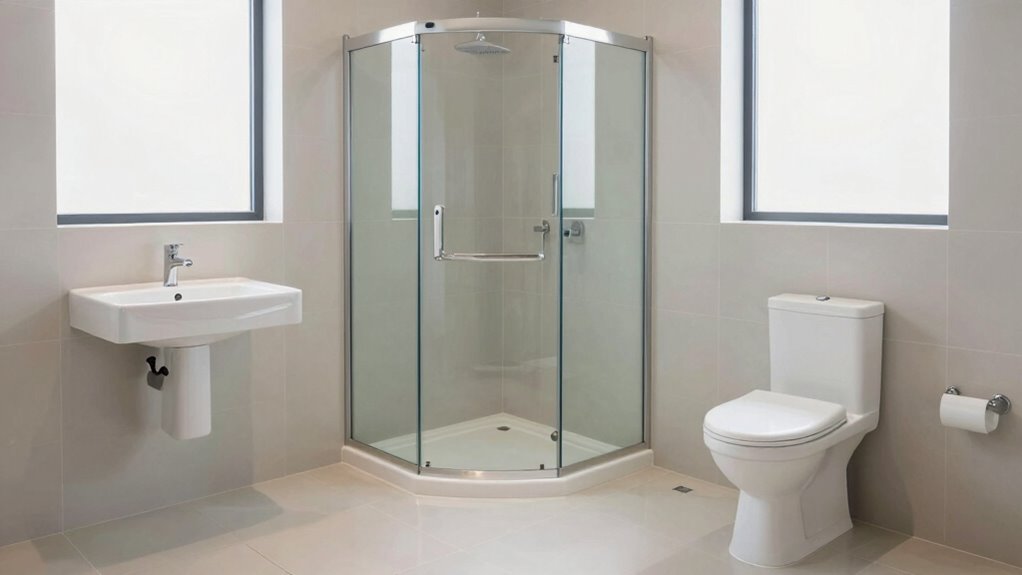
Ensuring proper fixture placement is essential for creating an accessible bathroom layout. Start by choosing a toilet height that’s comfortable and compliant, typically around 17-19 inches from the floor. This makes transfers easier for users with mobility challenges. When positioning the toilet, leave at least 16-18 inches of clear space from the center to any side wall or obstacle. For sink placement, guarantee it’s accessible without obstruction, ideally installed at a height of 30-34 inches from the floor. The sink should have enough knee clearance—at least 27 inches deep and 8 inches from the front edge—to allow for comfortable use. Additionally, space requirements are crucial for designing an effective accessible bathroom layout. Proper fixture placement also involves considering reach ranges, ensuring all controls and features are within easy reach for users of various abilities. Incorporating clear floor space helps accommodate mobility devices and enhances overall accessibility. It’s also important to verify that the door swing does not interfere with fixture placement and accessibility.
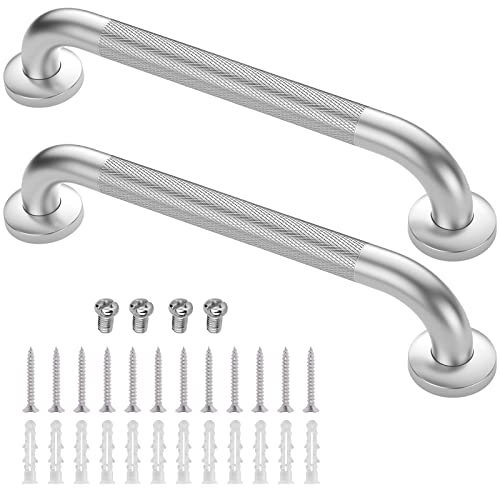
Grab Bars for Shower, 2 Pack 16 Inch Anti-Slip Safety Shower Handle for Senior, Stainless Steel Shower Grab Bars, Handicap Elderly Bathtub and Toilet Bathroom Assist
SUPERB MATERIAL: The shower grab bars for seniors is made of stainless steel which is waterproof, rustproof and…
As an affiliate, we earn on qualifying purchases.
As an affiliate, we earn on qualifying purchases.
Designing Your Bathroom Layout for Wheelchair and Mobility Access

To create a wheelchair-friendly bathroom, you need clear pathways and enough space for easy movement. Position fixtures like the sink, toilet, and shower so they’re accessible without obstruction. Also, choose non-slip surfaces to guarantee safety and prevent falls. Considering safe installation practices can help ensure that fixtures are both accessible and secure for everyday use. Incorporating universal design principles into your layout can further enhance safety and usability for all users. Paying attention to thermal behavior and material choices can also promote a safer environment by reducing hazards related to temperature extremes. Additionally, selecting appropriate power tools and equipment during renovation can facilitate safer and more efficient modifications. Being aware of home safety and accessibility features can help you optimize your bathroom for long-term safety and independence.
Clear Pathways and Space
Are your bathroom’s pathways wide enough to comfortably accommodate a wheelchair or mobility aids? Ensuring ample space is essential for easy navigation without sacrificing bathroom aesthetics. Aim for at least 36 inches of clearance in main walkways, allowing smooth turns and movement. This field-of-view consideration helps you plan a layout that balances accessibility and style. Incorporating universal design principles can make your bathroom more adaptable for everyone’s needs. This not only improves functionality but also maintains a clean, uncluttered look. Keep plumbing aesthetics in mind by hiding pipes or choosing sleek, accessible fixtures that don’t obstruct pathways. Clear pathways help prevent accidents and create a sense of openness, making your bathroom more welcoming. Remember, spacious layouts benefit everyone, making daily routines safer and more comfortable. Prioritize wide, unobstructed routes to truly enhance accessibility without compromising your bathroom’s style.
Accessible Fixtures Placement
Placing fixtures thoughtfully can make a significant difference in creating a functional and accessible bathroom. Proper fixtures placement guarantees that wheelchair users can move easily and reach essential items without obstacles. Accessibility considerations include positioning the toilet, sink, and shower within easy reach and leaving enough space for turning. For example, placing the toilet 16-18 inches from the wall with grab bars nearby enhances safety. The sink should be mounted at a height of 34-36 inches, with clearance underneath for wheelchair access. The shower area must have a fold-down seat and a handheld showerhead. Use the table below to visualize ideal fixtures placement for accessibility:
| Fixture | Ideal Position | Accessibility Considerations |
|---|---|---|
| Toilet | 16-18 inches from the wall | Grab bars, enough clearance for transfer |
| Sink | 34-36 inches high, open underneath | Knee clearance, reachable controls |
| Shower | Corner or accessible area | Seat, handheld shower, low threshold |
| Storage | Reachable height, organized | Easy to access without bending |
Ensuring proper fixtures placement can significantly improve overall bathroom accessibility and safety.
Non-Slip Surface Options
Choosing the right non-slip surfaces is essential for creating a safe and accessible bathroom, especially for wheelchair users and those with mobility challenges. Safety flooring with high slip resistance reduces fall risks and boosts confidence during daily routines. When selecting flooring, consider these options:
- Textured vinyl or rubber mats that provide excellent slip resistance in wet areas.
- Porcelain or ceramic tiles with a matte or textured finish to prevent slipping.
- Treated safety flooring designed specifically for accessibility, combining durability with slip resistance.
These choices ensure your bathroom maintains traction underfoot, minimizing accidents. Prioritizing slip resistance not only enhances safety but also promotes independence. Slip-resistant surfaces are a critical component in designing a fully accessible bathroom, helping to prevent slips and falls. With proper safety flooring, you create a more confident, secure environment for everyone.
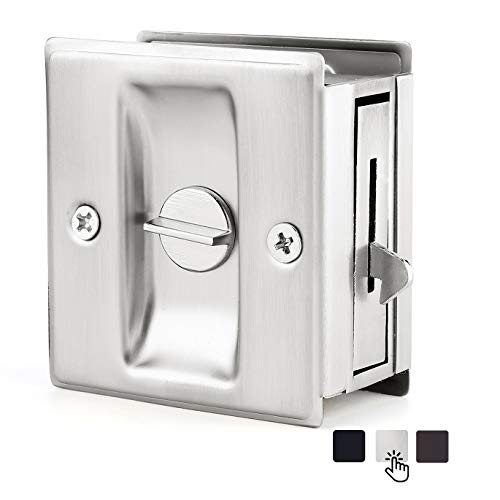
HOMOTEK Privacy Pocket Door Lock Hardware with Pull – Replace Old Or Damaged Sliding Door Locks Quickly and Easily, 2-3/4”x2-1/2”, for 1-3/8” Thickness Door, Brushed Nickel
Elegant Privacy Control: Enjoy smooth privacy with a lock suited for both left and right-handed doors; features a…
As an affiliate, we earn on qualifying purchases.
As an affiliate, we earn on qualifying purchases.
Where to Place Fixtures and Grab Bars for Maximum Safety
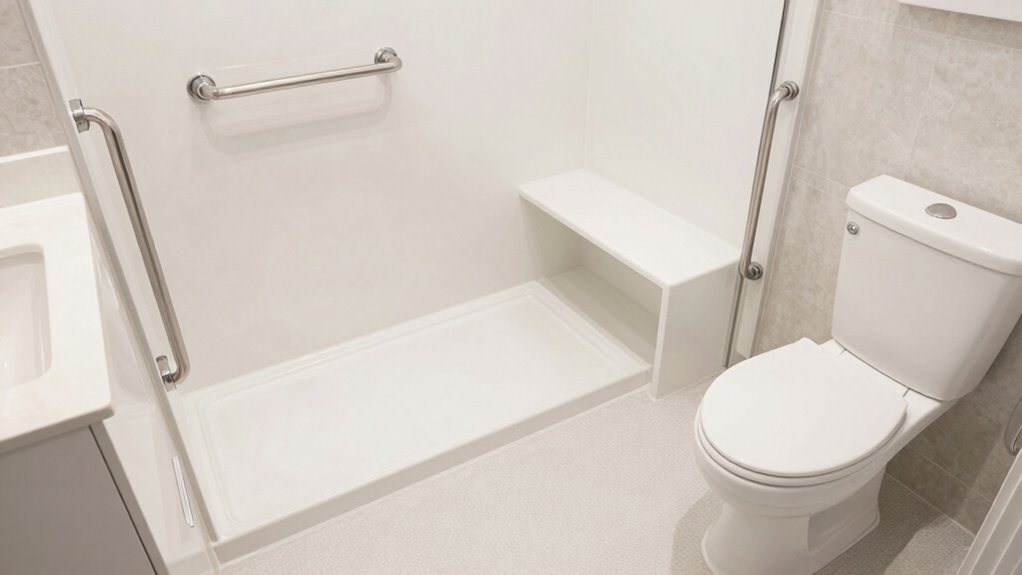
To make certain of maximum safety in your bathroom, it’s essential to carefully consider where you install fixtures and grab bars. Proper grab bar placement ensures support where you need it most, typically near the toilet, shower, and bathtub. For fixture positioning, place them at accessible heights—usually between 33 and 36 inches from the floor—to prevent slips and falls. Install grab bars horizontally for stability and vertically for additional support, especially around the toilet and shower entrance. Keep in mind that fixture placement should allow easy reach without stretching or bending. Avoid obstructing pathways or creating tight spaces. Thoughtful positioning helps promote independence and reduces accident risks, making your bathroom safer and more functional for everyone.
Making Sure There’s Space to Turn Around and Move Freely
Guaranteeing there’s enough space to turn around and move freely in your bathroom is vital for safety and accessibility. Adequate maneuvering space prevents accidents and accommodates mobility aids. A proper turning radius ensures you can comfortably pivot without obstruction. To achieve this, consider these key points:
- Maintain a clear area of at least 5 feet in diameter for turning.
- Ensure unobstructed pathways that allow easy navigation around fixtures.
- Check that the maneuvering space around the toilet, sink, and shower is sufficient for your needs.
Common Layout Mistakes That Reduce Bathroom Accessibility

Many common bathroom layout mistakes can substantially hinder accessibility and safety. One mistake is poor bathtub placement, which can block pathways or make it difficult to transfer safely. Ideally, the bathtub should be positioned to maximize space and allow easy access from a wheelchair or walker. Another mistake involves mirror height; if the mirror is placed too high, it becomes unusable for those seated or with limited reach. Proper mirror placement should consider users of different heights and mobility levels. Additionally, cluttering the space near key features or placing fixtures too close together can create hazards. These layout errors reduce maneuverability and increase fall risks. To ensure your bathroom is truly accessible, avoid these common mistakes and plan your layout with safety and ease of use in mind.
Tips for Redesigning Your Bathroom for Better Accessibility
Redesigning your bathroom for better accessibility starts with thoughtful planning. Focus on choosing bathtub styles that prioritize safety, like walk-in or curbless models, to prevent falls. When selecting vanity designs, opt for floating or lowered options that make it easier to access essentials without strain. To guarantee your space is functional and comfortable, consider these tips:
- Select grab bars that blend seamlessly with your bathtub and vanity to enhance safety without sacrificing style.
- Use wide, unobstructed pathways to allow easy wheelchair or walker movement.
- Incorporate adjustable-height fixtures and accessible storage to improve convenience and usability.
Frequently Asked Questions
Can I Modify My Existing Bathroom Layout for Better Accessibility?
Yes, you can modify your existing bathroom layout for better accessibility. Start by consulting a professional early in your renovation timeline to make certain your ideas are feasible. A skilled contractor can help you select the right modifications, like wider doorways or grab bars, that suit your needs. Good communication and planning will ensure the process runs smoothly and results in a bathroom that’s safer and more accessible for everyone.
What Budget Considerations Are Involved in Accessible Bathroom Redesign?
You might think accessible bathroom redesign costs are overwhelming, but a proper cost analysis and budget planning make it manageable. You should consider expenses like grab bars, widened doorways, and adjustable fixtures, which vary in price. Setting a clear budget early helps you prioritize essential modifications without overspending. By balancing needs and costs, you’ll ensure your bathroom becomes both accessible and affordable, avoiding surprises along the way.
Are There Specific Regulations or Standards I Need to Follow?
Yes, you need to follow specific regulations and standards for accessible bathrooms. Focus on regulatory compliance with local building codes, which specify requirements for features like grab bars, door widths, and slip-resistant flooring. Make sure your redesign meets ADA (Americans with Disabilities Act) guidelines if applicable, ensuring safety and accessibility. Staying updated on these standards helps avoid legal issues and creates a bathroom that’s truly usable for everyone.
How Do I Ensure Safety for Elderly or Disabled Users?
You guarantee safety by installing sturdy grab bars near the toilet and shower, providing reliable support. Bright, easy-to-reach lighting controls illuminate every corner, reducing fall risks. Emergency alarms can be positioned within easy reach for quick help. Plumbing upgrades prevent leaks, avoiding slips. Picture a bathroom where every feature, from grab bars to alarms, works seamlessly, creating a secure space that empowers elderly or disabled users to move confidently and comfortably.
What Are the Best Materials for Durable, Non-Slip Bathroom Surfaces?
You should opt for waterproof tiles with textured surfaces to prevent slips, ensuring safety. Non-slip coatings are also a smart choice for added grip on surfaces like shower floors and around tubs. Look for materials rated for moisture, durability, and traction, such as ceramic or porcelain tiles with slip-resistant finishes. These choices make your bathroom safer for everyone, especially elderly or disabled users, reducing fall risks effectively.
Conclusion
Don’t let your bathroom be a forgotten corner of your castle. By evaluating your layout with a keen eye and applying these tips, you guarantee safety and independence for all. Remember, even in this age of innovation, a well-designed space still echoes the wisdom of old castles—prioritizing accessibility and comfort. So, take action today; your bathroom should be a sanctuary, not a trap. After all, every hero deserves a safe haven.