
To prevent drips and orange peel with your airless sprayer, start by setting the right pressure and using the correct tip size for your project. Keep the spray at a steady distance from the surface, usually about 12 inches, and maintain consistent motion. Adjust your spray flow and pattern based on the texture of your surface. Fine-tuning these settings will help you achieve a flawless finish—if you want to master every detail, there’s more to explore.
Key Takeaways
- Match pressure, tip size, and spray pattern to surface type for even, drip-free coverage.
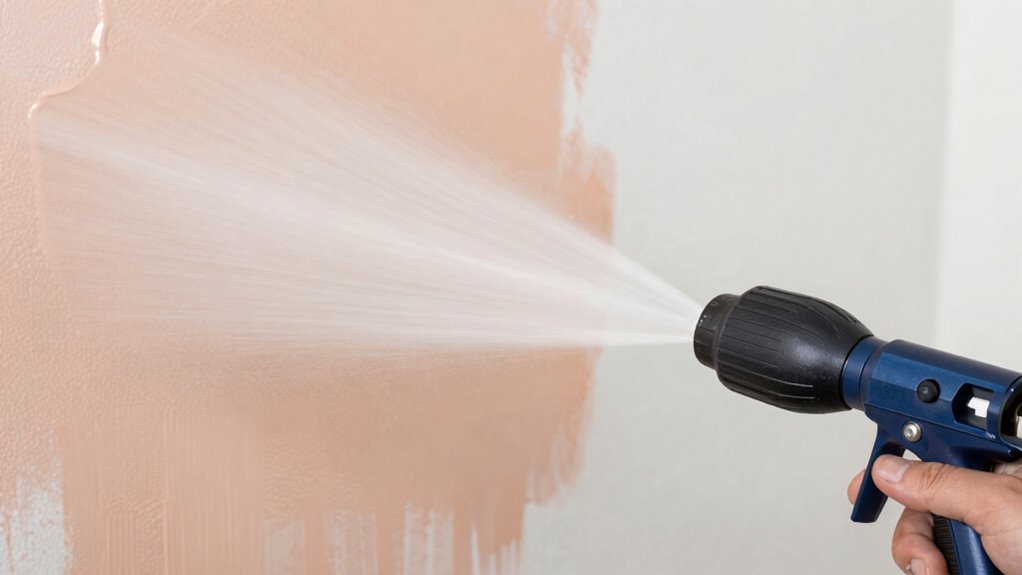
- Keep spray gun about 12 inches from the surface and maintain consistent distance.
- Use steady, overlapping strokes and regularly calibrate nozzles for uniform application.
- Thin thick paints and tweak pressure gradually, testing on scrap surfaces first.
- Proper surface prep and adjusting spray flow prevent orange peel and ensure a flawless finish.
Why Proper Airless Sprayer Settings Are Key to Perfect Results
Proper airless sprayer settings are essential because they directly impact the quality and efficiency of your painting job. Correct settings help guarantee good paint adhesion, which is vital for a smooth, durable finish. Environmental factors like humidity, temperature, and wind can influence how paint interacts with surfaces, making proper adjustments even more important. When your sprayer is set correctly, you reduce the risk of uneven coverage, drips, and a rough “orange peel” texture. Proper settings also help control overspray and paint wastage, saving you time and materials. Additionally, utilizing innovative cloud-based tools can assist in adjusting your sprayer settings based on environmental data for optimal results. Paying attention to air purifier maintenance and ensuring proper airflow can also enhance the overall painting process by reducing airborne dust that may settle on wet paint. By monitoring spray pattern adjustments, you can fine-tune your technique to achieve a professional finish and avoid common issues like streaks or uneven texture. Being aware of environmental conditions allows you to adapt your settings for consistent, high-quality results every time.
How to Choose the Right Pressure and Tip Size for Your Project
Choosing the right pressure and tip size is essential for a smooth finish and efficient project. You need to match the pressure to the surface you’re working on and select a tip size that provides the right spray pattern. Properly adjusting these settings will help you achieve a professional-looking result with less overspray and waste. Incorporating effective filtration and pump protection and adjustable settings can further optimize your spraying process for better control and results. Additionally, testing the paint consistency before application ensures optimal performance and reduces issues such as clogging. Understanding the science behind spray technology can help you make more informed adjustments for optimal results. Being aware of how spray equipment functions and the relevant factors involved can greatly improve your overall spraying technique. Moreover, maintaining your equipment regularly and understanding the adjustment procedures will extend its lifespan and ensure consistent application quality.
Matching Pressure to Surface
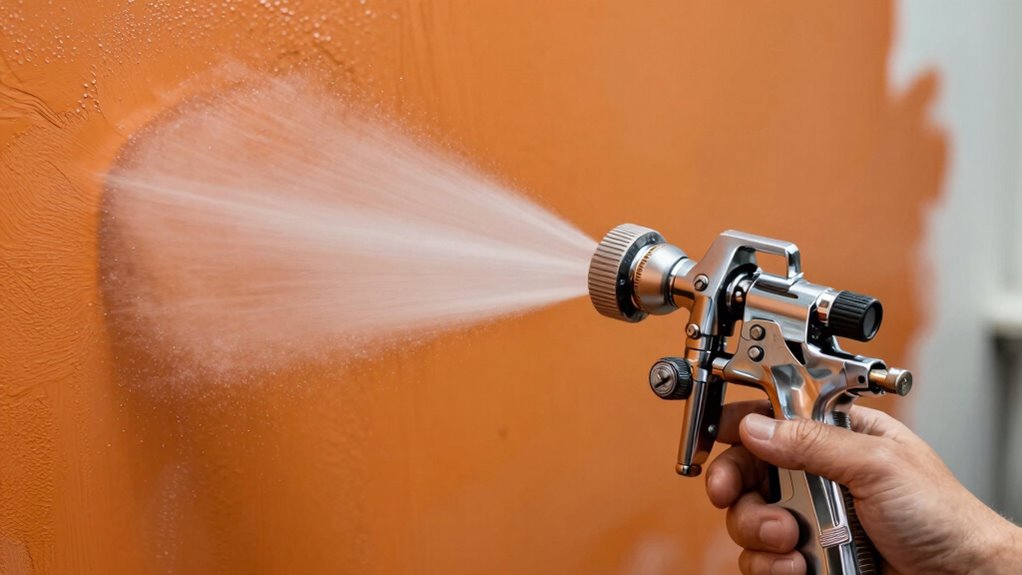
To achieve a smooth, even finish, you need to match the pressure of your airless sprayer to the surface you’re working on. Proper surface preparation ensures the surface is clean, dry, and free of debris, which helps you spray more evenly. Adjusting pressure correctly prevents drips and orange peel texture, giving you a professional look. Higher pressure may be necessary for rough or porous surfaces, while lower pressure works best on smooth or delicate ones. Always follow safety precautions—wear protective gear and test spray on scrap material first. Matching pressure to the surface minimizes overspray and material waste, and helps you control the spray pattern. This careful adjustment results in a consistent, high-quality finish without damaging the surface or creating unwanted textures. Understanding surface preparation and how it interacts with spray settings enhances your overall results. Additionally, being aware of your sprayer’s capacity ensures you operate within optimal parameters for the best finish. Proper pressure regulation is essential to avoid common issues like drips and orange peel, ensuring a professional result every time. Regularly adjusting your pressure based on surface texture can further improve your spray consistency and reduce the need for touch-ups. Using the right essential oils for your specific project can also help in maintaining the integrity of delicate surfaces during spraying.
Selecting Correct Tip Size
Selecting the right tip size for your airless sprayer is key to achieving a professional finish. The spray nozzle determines the spray pattern and coverage, so choosing the correct size is essential. Start by considering paint viscosity: thicker paints need a larger tip size to flow smoothly. A smaller tip creates a finer finish but can clog with viscous paint, while a larger tip handles thicker coatings better. Additionally, understanding project requirements helps ensure you select the optimal tip size for your specific application. Here are three tips to help you choose:
- Match the spray nozzle size to your paint’s viscosity—use larger tips for thicker paints.
- Consult manufacturer guidelines for recommended tip sizes based on your project.
- Test spray on a scrap surface to check for drips or orange peel before starting your main project.
Getting the right tip size ensures efficient application and a smooth finish.
Adjusting Settings for Finish
Adjusting the pressure and tip size on your airless sprayer is essential for achieving a smooth, professional finish. Proper sprayer maintenance ensures your equipment operates at peak settings, helping prevent drips and orange peel textures. Start by selecting the right tip size for your project; larger tips dispense more material, ideal for thicker paints, while smaller tips provide detail work. Choosing the correct tip size can significantly impact your results and ease of use. Adjust the pressure to control the spray pattern; too high can cause overspray and rough finishes, too low might result in uneven coverage. If your paint is too thick, consider paint thinning as recommended by the manufacturer to improve flow. Fine-tuning these settings ensures even application, reduces waste, and delivers a flawless finish. Regular maintenance and correct paint consistency are key to successful spraying. Understanding sprayer settings can significantly improve your results and help you avoid common issues like drips and orange peel. Additionally, familiarizing yourself with pressure regulation techniques can further enhance your control over the spraying process. Properly matching spray equipment to your specific project needs is also crucial for optimal results and minimizing issues. Being aware of how adjusting spray parameters affects the final look allows for better control and a more professional outcome.
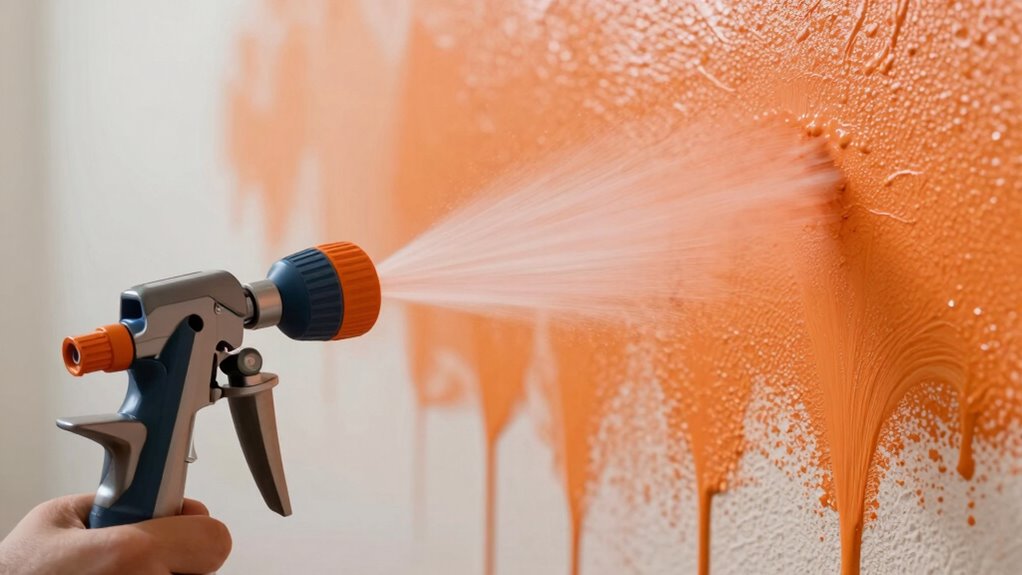
Adjusting Your Spray Flow to Avoid Drips and Texture
To prevent drips and uneven texture, you need to control your spray flow effectively. Adjust your spray pattern and maintain the proper distance from the surface to get a smooth finish. Keeping these points in mind helps you achieve a professional look without over-spraying or pooling. Additionally, monitoring your spray pressure ensures consistent flow and reduces the risk of drips and orange peel textures. Understanding professional techniques can further improve your results and help you troubleshoot common spraying issues. Using proper equipment tailored to your project can also significantly impact your spraying quality and finish.
Control Spray Volume
Ever wonder how to control your spray flow to prevent drips and uneven texture? Adjusting your spray volume is key. Start by checking your spray nozzle, ensuring it’s the right size for your project. Next, consider the paint viscosity; thinner paint flows more smoothly, reducing the risk of drips. Finally, tweak the pressure settings on your airless sprayer to regulate the spray flow. Here are some tips to help you get it right:
- Use a smaller spray nozzle for finer control.
- Thin thick paint to improve flow and avoid clogging.
- Adjust pressure gradually, testing on a scrap surface before working on your project.
Controlling spray volume helps you achieve a smooth, even finish without excess texture or drips.
Adjust Spray Pattern
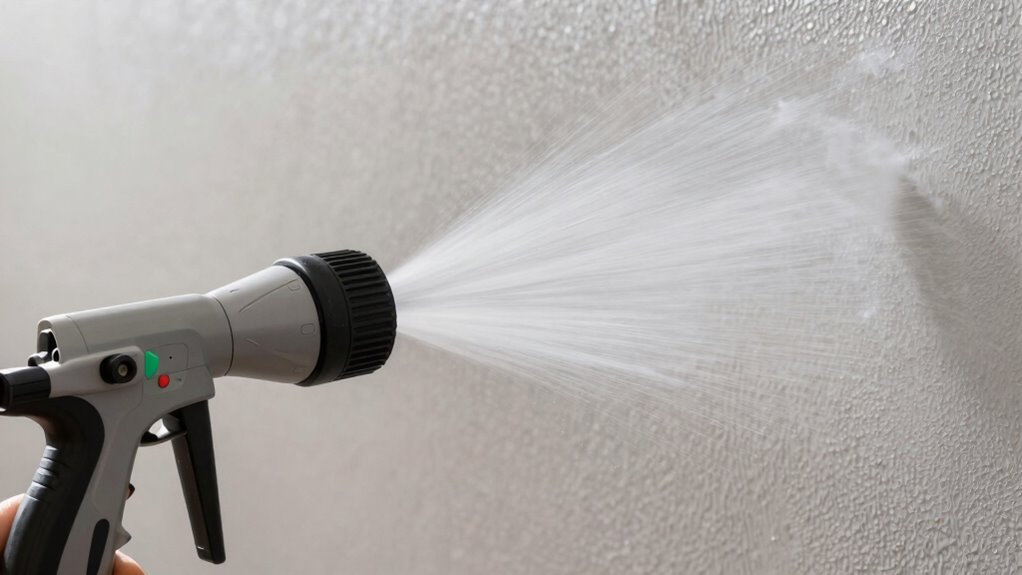
Since the spray pattern determines how the paint covers the surface, it’s essential to set it correctly to prevent drips and uneven textures. Proper nozzle alignment ensures a consistent spray pattern, reducing the risk of orange peel or runs. Adjusting your spray pattern involves aligning the nozzle so that the paint disperses evenly across the surface. Use the following table as a quick reference:
| Step | Action | Tip |
|---|---|---|
| Check Nozzle Alignment | Ensure nozzle points straight ahead | Misalignment causes uneven coverage |
| Adjust Spray Pattern | Turn the adjustment knob or switch | Creates a smooth, even coat |
| Test Spray | Spray on scrap surface before work | Fine-tunes pattern for best results |
Aligning the nozzle correctly and adjusting the spray pattern helps achieve a professional finish without drips or texture issues.
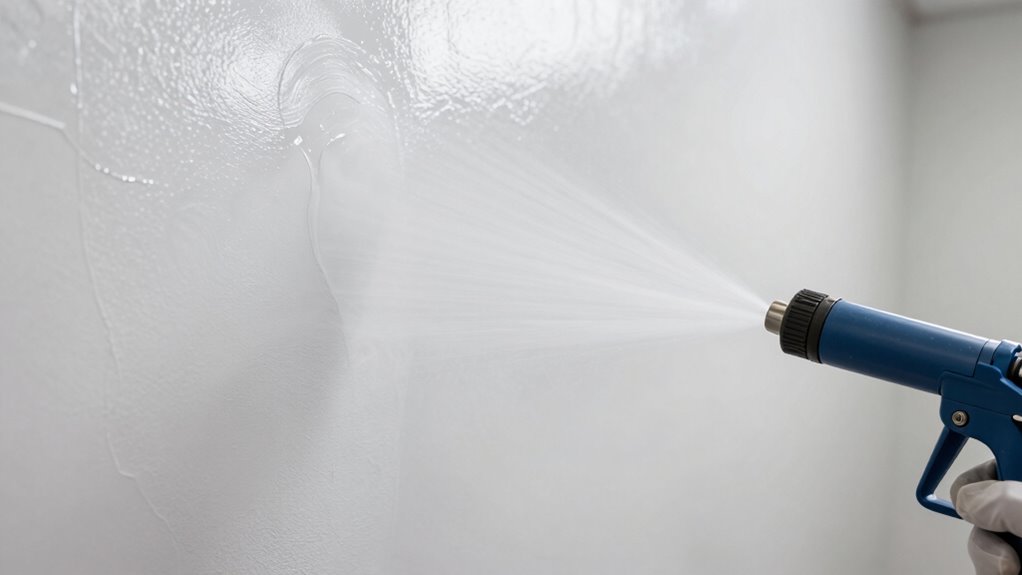
Maintain Proper Distance
Maintaining the correct distance between your spray gun and the surface is essential for achieving an even coat and preventing drips or textured finishes. Proper sprayer ergonomics help you control flow and minimize fatigue, ensuring consistent spraying. Keep the spray tip about 12 inches from the surface, adjusting as needed for texture or detail work. Use paint mixing techniques to keep the paint at the right consistency, which also affects how far you should hold the gun. To maintain ideal distance:
- Regularly check your spray gun’s position to avoid getting too close or too far.
- Keep your wrist steady and use your arm for movement, reducing strain and uneven spray.
- Practice consistent distance during the entire project for uniform coverage and smooth results.
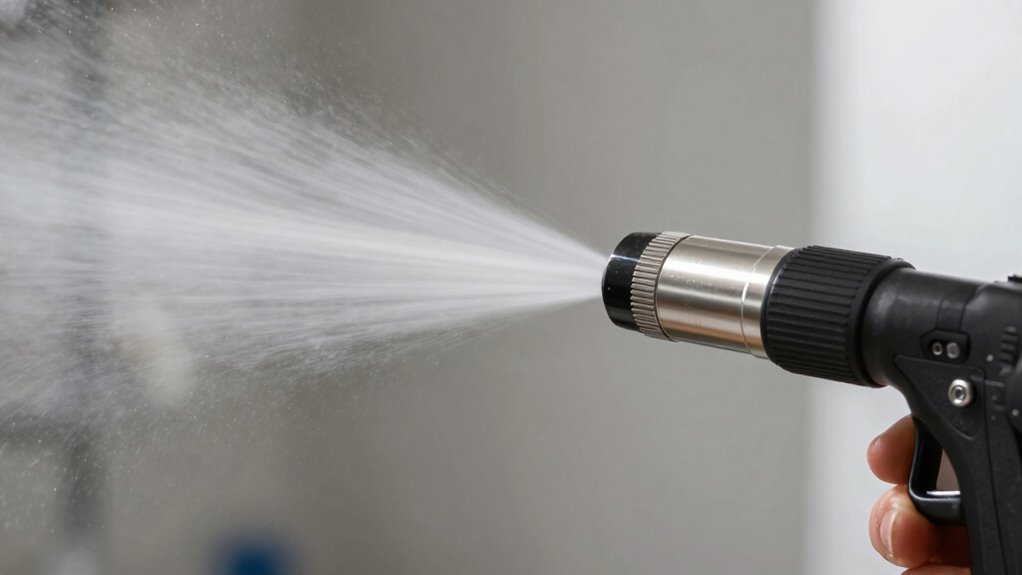
Techniques for Consistent Pattern and Even Coverage
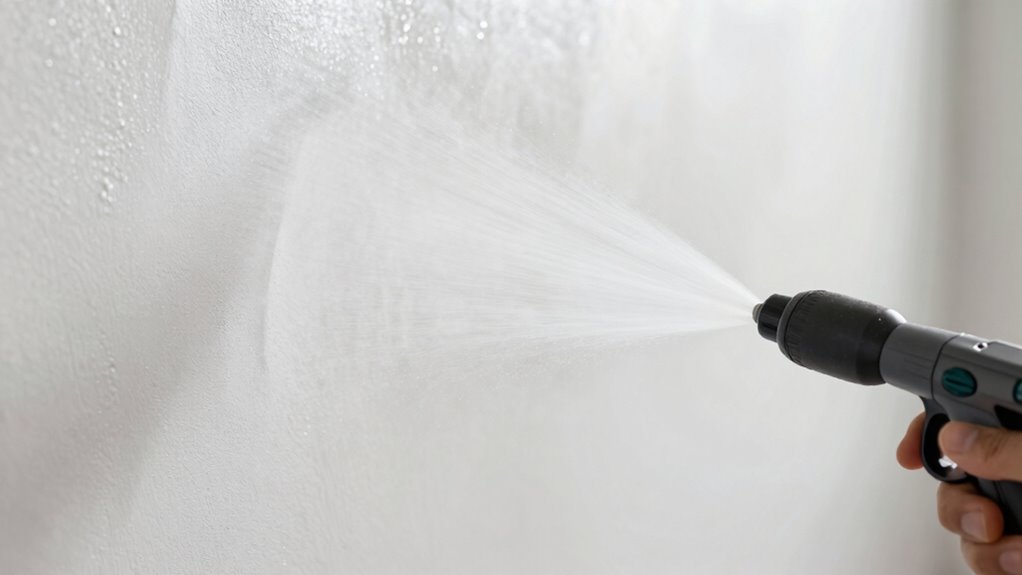
To achieve a consistent spray pattern and even coverage with your airless sprayer, it’s essential to adopt proper techniques during application. Focus on maintaining steady, overlapping strokes to promote spray uniformity. Keep your spray tip at a consistent distance from the surface, moving smoothly to prevent uneven coating. Regular nozzle calibration guarantees the spray pattern remains uniform, reducing variations that cause drips or orange peel. Adjust your pressure settings as needed to produce a steady, atomized spray. Practice steady hand movements, avoiding stops or starts that can lead to inconsistent coverage. Consistent speed and technique help you achieve a professional finish. By combining proper nozzle calibration with controlled, overlapping passes, you’ll ensure your project looks smooth and evenly coated.
Troubleshooting Common Spray Issues and How to Fix Them
Even experienced users encounter common spray issues like drips, orange peel texture, or uneven coverage. To fix these, start by adjusting your spray technique: keep the spray gun perpendicular to the surface and move steadily to avoid uneven application. Next, check your pressure settings; too high or low pressure can cause problems. Always follow safety precautions—wear protective gear and work in a well-ventilated area. Additionally, refine your brush techniques for edge control and to prevent over-application. Here are three tips to troubleshoot:
Even experienced users face spray issues; adjust technique, pressure, and clean nozzles for smooth results.
- Reduce pressure if drips occur.
- Maintain a consistent distance from the surface to prevent orange peel.
- Clean your nozzle regularly to avoid clogs and uneven spray. These steps help guarantee smooth, professional results.
How to Test and Fine-Tune Your Sprayer Before Painting
Before you start spraying, it’s essential to test and fine-tune your sprayer to guarantee ideal results. Begin with sprayer calibration to ensure the pressure and flow rate match your project’s needs. Check the paint viscosity by testing a small amount of paint; it should flow smoothly without clogging or dripping. Adjust the pressure settings on your sprayer accordingly. Perform a test spray on a scrap surface, observing for drips, orange peel, or uneven coverage. If issues occur, tweak the spray tip or reduce paint viscosity. Fine-tuning these elements helps prevent common problems like overspray or runs. Taking these steps before your actual project saves time and ensures a professional finish with minimal touch-ups.
Frequently Asked Questions
How Often Should I Clean My Airless Sprayer During a Project?
You should clean your airless sprayer after every few hours of use or whenever switching between different paints or stains. Following a regular cleaning schedule helps prevent clogs and maintains peak performance. During your project, perform maintenance tips like flushing the system with water or solvent and inspecting parts. This ensures your sprayer stays in top condition and delivers smooth, drip-free finishes throughout your work.
Can I Use Different Tips on the Same Sprayer for Varied Textures?
Imagine swapping brushes for your sprayer as if tuning a fine instrument. Yes, you can use different tips for varied textures, but tip compatibility is key. Make certain each tip fits your sprayer properly to achieve smooth spray pattern variations. By selecting the right tips, you’ll master a range of finishes, from smooth to textured, all with ease. Just remember, compatibility and pattern control make your project flow seamlessly.
What Safety Precautions Should I Take When Adjusting Pressure Settings?
When adjusting pressure settings, you should calibrate your pressure gauge regularly to guarantee accuracy. Always wear appropriate personal protective equipment, like gloves and goggles, to protect yourself from high-pressure spray. Before making adjustments, turn off the sprayer, release pressure safely, and then adjust the pressure control. Double-check the gauge after calibration, and never exceed the recommended pressure limits to stay safe and prevent accidents.
How Does Temperature Affect Spray Pattern and Drips?
Temperature impacts your spray pattern and drips by affecting paint viscosity. When it’s too cold, paint thickens, making it harder to spray smoothly and increasing the risk of drips and uneven spray consistency. Conversely, warm temperatures thin the paint, helping it flow better and produce a more even finish. Adjust your pressure and thinning ratio accordingly to maintain ideal spray quality, regardless of temperature fluctuations.
Are There Specific Brands or Models Better for Beginners?
For beginners, brand recommendations like Graco, Titan, and Wagner offer beginner-friendly models that are easy to operate and reliable. These brands provide user-friendly features, clear instructions, and adjustable settings to help you avoid drips and achieve a smooth finish. Look for models with adjustable pressure controls and quick-clean systems, which make the spraying process more manageable for newcomers. Starting with these trusted brands will boost your confidence and results.
Conclusion
Getting your airless sprayer settings right can cut your painting time in half and reduce costly mistakes. Did you know that improper pressure or tip choice causes over 70% of spray issues like drips and orange peel? By understanding and fine-tuning your equipment, you’ll achieve smooth, professional finishes every time. So, take the time to test and adjust—your perfect paint job is just a few settings away!