
To create DIY storage stars, start by choosing your materials like plywood or reclaimed wood and find a star template to trace. Cut out your shapes with a saw, assemble with screws, then sand smooth for a polished look. You can paint or stain your stars to match your decor and mount them directly on walls or stack for a dynamic display. Keep exploring, and you’ll discover even more creative tips and ideas for customizing your space.
Key Takeaways
- Use templates and basic woodworking tools to cut star-shaped panels tailored to your space.
- Customize sizes, depths, and finishes to create functional and decorative storage solutions.
- Assemble securely with screws, then sand and paint or stain for a polished look.
- Mount stars directly on walls or arrange in clusters for dynamic, space-saving displays.
- Incorporate decorative elements like plants or lights to personalize and enhance your storage stars.
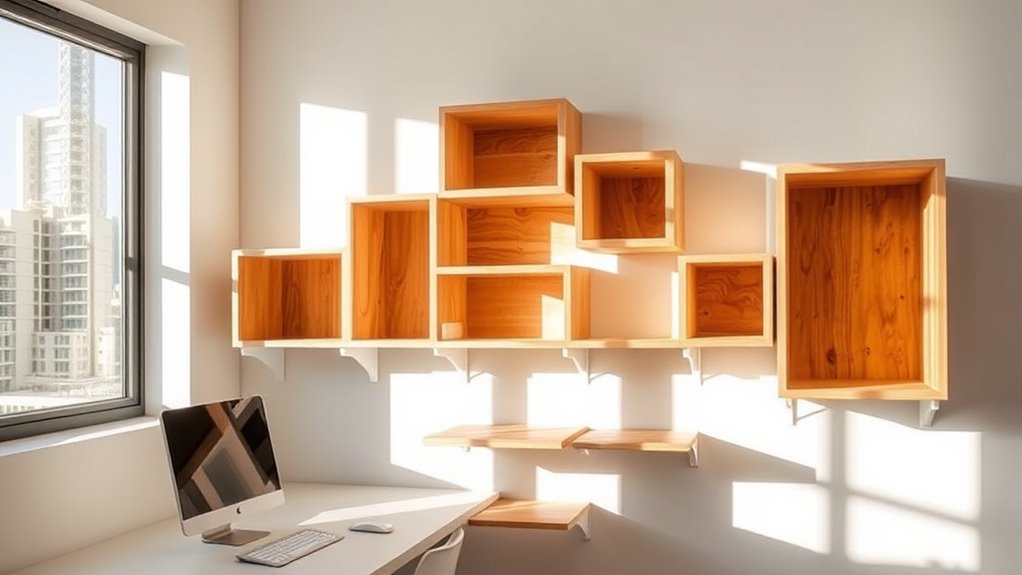
Looking for a fun and functional way to organize your space? DIY storage stars are an innovative solution that combines practicality with style. These star-shaped shelves and cubes not only maximize your storage potential but also add a playful, eye-catching element to any room. When you’re tackling clutter, space saving techniques become essential, especially if you’re working with a small or awkwardly shaped area. Building your own storage stars allows you to customize sizes, depths, and finishes, ensuring they fit perfectly into your space while maintaining a cohesive look. Plus, they serve as decorative display ideas, offering a unique way to showcase your favorite books, plants, or collectibles.
Create stylish, custom star-shaped storage solutions to organize and showcase your favorite items with fun and flair.
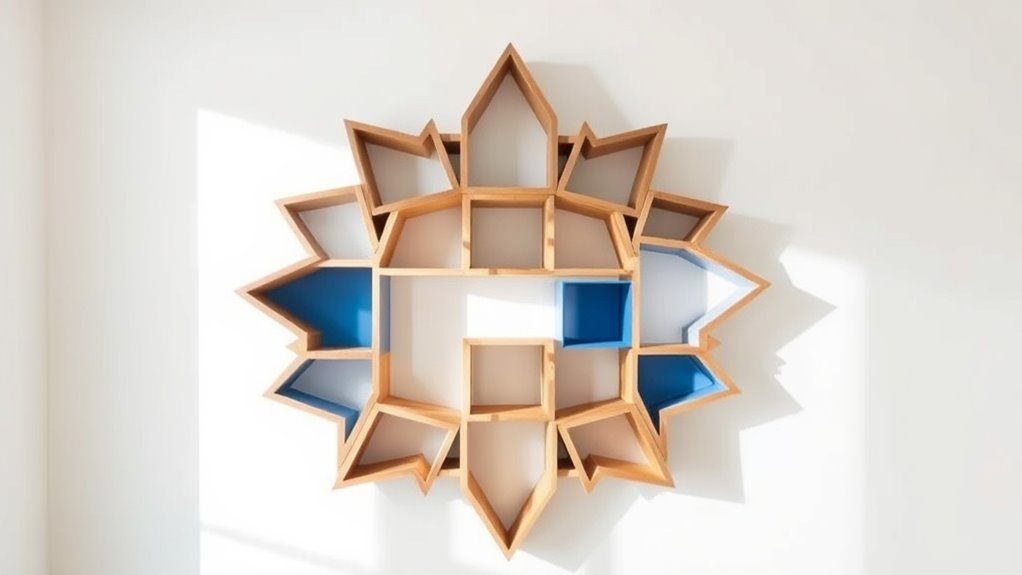
To start, gather basic materials like plywood or reclaimed wood, a saw, drill, screws, and paint or stain for finishing. Cutting the wood into the right size pieces is key, and you’ll want to create star-shaped panels with symmetrical points for stability and visual appeal. If you’re new to woodworking, there are plenty of templates available online that make drawing and cutting the star shapes straightforward. Once you’ve cut your pieces, assemble them with screws, making sure each joint is secure. Sand down rough edges for a polished look, and then paint or stain your stars to match your decor style. Bright colors can create a lively vibe, while neutral shades lend a minimalist, modern feel.
One of the best aspects of DIY storage stars is their versatility. You can mount them directly on walls to save floor space, stacking or arranging them into clusters for a more dynamic display. They work well in living rooms, bedrooms, or even kitchens, providing both storage and decoration. When designing your display, think about the visual impact—use different sizes and orientations to create an interesting pattern. Incorporate decorative display ideas like placing small potted plants, framed photos, or decorative figurines inside or on top of the stars. This not only personalizes your space but also turns your storage into a focal point that complements your interior design.
Additionally, understanding headphone compatibility can be helpful if you plan to listen to music or podcasts while working on your project, as a good pair of headphones can make your crafting sessions more enjoyable. If you’re feeling creative, you can even add LED string lights inside or around the stars for a cozy, ambient glow. The best part of building your own storage stars is that you’re in control of every detail, making them perfectly suited to your needs and style. Whether you keep them simple or go all out with colorful finishes and accessories, they’re sure to transform your space into a more organized and visually appealing environment. With just a little effort, you’ll have custom storage solutions that are both functional and fun to display.

Yuanan 4 PCS Floating Wood Shelves Star Shaped, 13.8 X 5.9 Inch Mid Century Wall Decor Retro Small Wall Shelves Hanging Storage Sign Decoration for Bedroom, Living Room, Bathroom, Office Decor
Package Includes: You will receive four floating wood shelves, approximately 13.8 inches in size. The small wall shelves…
As an affiliate, we earn on qualifying purchases.
As an affiliate, we earn on qualifying purchases.
Frequently Asked Questions
What Tools Are Essential for Building Custom Storage Units?
When building custom storage units, you need essential tools like a saw, drill, screwdriver, measuring tape, and level. Focus on hardware selection to guarantee durability and stability. Always follow safety precautions, such as wearing goggles and gloves, to prevent accidents. These tools help you cut, assemble, and secure materials accurately, making your project smoother and safer. Proper tools and safety measures are key to successful, long-lasting storage solutions.
How Do I Choose the Right Materials for Durability?
When choosing materials, focus on material selection and durability factors to guarantee your storage units last. Look for sturdy options like hardwood, plywood, or metal, which resist wear and weight. Consider the environment—moisture-resistant materials work best in humid areas. Think about how much weight the shelves will hold, and opt for thicker, high-quality materials. This way, your custom storage stays durable and functional for years.
Can These DIY Shelves Support Heavy Items Safely?
You might wonder if your DIY shelves can support heavy items safely. To guarantee this, check the weight capacity of your materials and design. Use sturdy supports and proper fasteners as safety measures. Reinforce shelves with thicker wood or metal brackets if needed. Regularly inspect for any signs of stress or damage. By taking these precautions, you’ll create strong, reliable shelves that safely hold your heaviest items.
How Do I Modify Designs for Uneven Wall Surfaces?
When it comes to uneven wall correction, you gotta roll with the punches. To adapt your design, start by measuring the wall surface accurately, then use shims or spacers to create a level base. Secure brackets firmly, and consider using longer anchors for extra support. This way, your shelves will sit flush, even on tricky surfaces, ensuring a sturdy, professional look every time.
What Are Cost-Effective Options for High-End Finishes?
When seeking cost-effective options for high-end finishes, consider applying luxury veneer or high gloss paint. Luxury veneer offers an elegant, upscale look without the hefty price tag of real wood. High gloss paint creates a sleek, modern finish that elevates your space. Both options are budget-friendly yet deliver a high-end appearance, allowing you to achieve a luxurious feel without overspending.

PrimeZone Stackable 9 Cube Storage Organizer: Wood Cubes Shelf Fits Cubby Bins – Square Cubicle Bookshelf Cabinet for Closet Bedroom – Open Storage Shelf for Toy Clothes Book Organization, White
【Maximized Space with 9-Cube Organizer】Measuring 35.8"W x 11.6"D x 35.9"H, this cube storage organizer features 9 cubbies (11.22"W…
As an affiliate, we earn on qualifying purchases.
As an affiliate, we earn on qualifying purchases.
Conclusion
Think of your DIY storage stars as constellations in your home’s sky—each piece connecting to form a unique, shining pattern. By building these shelves and cubes, you’re creating a guiding map that turns chaos into order, much like stars transforming darkness into beauty. Your space becomes a universe of your own making, where every item finds its rightful place. With a little creativity, you hold the power to craft a bright, organized cosmos inside your home.
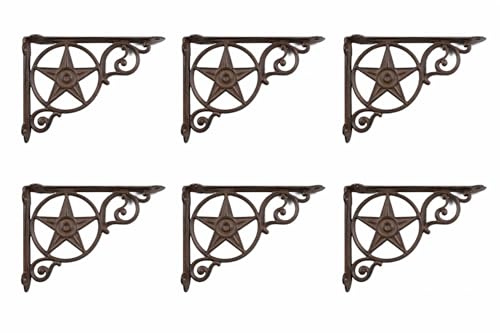
Midwest Craft House – 6 Cast Iron Rustic Star Wall Shelf Corbel Brackets
Complete Set of Wall Brackets: Includes 6 cast iron wall brackets and corbels for versatile mounting options throughout…
As an affiliate, we earn on qualifying purchases.
As an affiliate, we earn on qualifying purchases.

LOSOUR Set of 2 Natural Wood Decor Stars – Coffee Table Decor, Centerpiece, TV Stand, Bookshelf, Desk, Tiered Tray for Living Room, Bedroom, Office
☆☆☆Design:The design of wood stars base on the element of Modern Farmhouse style, it will be an outstanding…
As an affiliate, we earn on qualifying purchases.
As an affiliate, we earn on qualifying purchases.