
To paint a room with less stress and mess, start by preparing the surfaces, cleaning, and taping edges. Begin with the ceiling to avoid drips on walls later, then move to the walls using rollers for faster coverage. Finish with trim and moldings last for clean edges. Schedule drying times between coats to prevent smudges and clean up properly afterward. Follow these steps closely, and you’ll achieve a professional look with minimal mess—if you want to know more, keep going.
Key Takeaways
- Start by painting the ceiling to prevent drips on walls later.
- Cover floors and furniture with drop cloths before beginning.
- Paint walls after the ceiling, using a consistent sequence to minimize mess.
- Finish with trim and moldings to achieve clean edges and avoid smudges.
- Allow proper drying time between coats and remove tape carefully for a polished look.
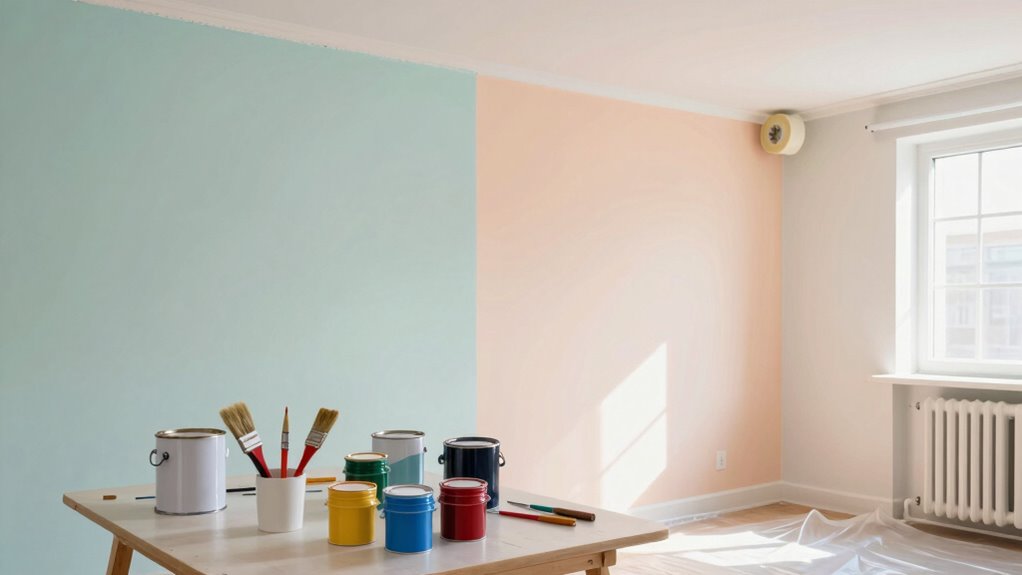
Painting a room might seem straightforward, but choosing the right order can save you time and prevent mistakes. When you plan your painting project carefully, it becomes easier to manage, and you’re less likely to end up with smudges or uneven finishes. The first step is to decide on your color combinations, which will influence the sequence of your painting process. Typically, you want to paint the ceiling first, followed by the walls, and then any trim or moldings. This order minimizes the risk of drips or splatters ruining freshly painted surfaces. Picking the right paint types for each area is equally important. For example, use flat or matte paints on ceilings to hide imperfections, and opt for semi-gloss or gloss finishes on trim and moldings for durability and easy cleaning. Understanding which paint types to use for each surface allows you to work more efficiently and achieve a professional look.
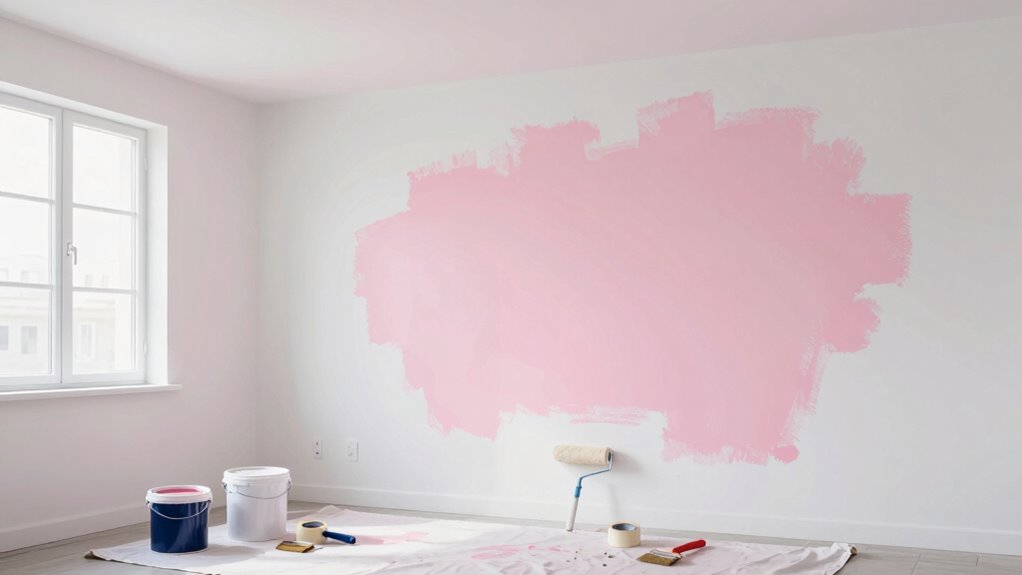
Start with the ceiling because it’s usually the least messy and most straightforward to paint. Cover the floor with drop cloths, then cut in around the edges with a brush. Once you’ve finished the ceiling, move on to the walls. When selecting your paint types for the walls, consider the room’s purpose. Bedrooms might benefit from softer, more muted tones with matte finishes to create a calming environment, while kitchens may require more durable, washable paints in semi-gloss. As you paint the walls, use a roller for large areas, and keep your brush handy for corners and edges. This step is where your planned color combinations come into play; carefully apply your chosen wall colors, and take your time to avoid visible brush strokes or uneven patches. Additionally, understanding the paint types suitable for each surface contributes to a smoother process and better results. Using the correct paint application techniques can also help you achieve a more seamless finish and reduce touch-ups later. Planning your painting sequence in advance can also help prevent accidental smudges and make cleanup easier. Incorporating proper preparation, such as cleaning surfaces and taping edges, can significantly improve the overall outcome. Being aware of the paint drying times between coats can also help you better schedule your work and avoid accidental smudges. By choosing your paint types wisely and planning your color combinations beforehand, you’ll finish your project with less stress and a cleaner, more polished result.

12 x 9 Ft Plastic Drop Cloths (6-Pack) – Disposable Painter's Sheeting & Tarps for Painting, Waterproof Furniture/Couch/Floor Protection
1. Versatile Floor and Furniture Protection: More than just for painting, these durable plastic sheet protect floors, furniture,…
As an affiliate, we earn on qualifying purchases.
As an affiliate, we earn on qualifying purchases.
Frequently Asked Questions
Should I Paint the Ceiling Before or After the Walls?
You should paint the ceiling before the walls to avoid drips on freshly painted walls. Start with ceiling preparation, filling holes and taping edges. Use wall texture techniques to guarantee a smooth shift between ceiling and walls. Painting the ceiling first prevents smudges or splatters from affecting your wall paint, making the process cleaner and more efficient. This order minimizes mess and helps you achieve a professional-looking finish with less stress.
How Long Should I Wait Between Coats?
You should wait 2 to 4 hours between coats, depending on your paint’s drying time and the room’s humidity. The ideal waiting period guarantees the first coat is fully dry, preventing smudges or peeling. Check the paint can for specific paint drying time recommendations. Touch the surface lightly; if it feels dry and doesn’t smudge, you’re ready for the next coat. Patience saves you from redoing work later.
Can I Paint Over Old Wallpaper?
Think of your wall as a blank canvas waiting to tell a new story. You can paint over old wallpaper, but surface preparation is key. First, remove the wallpaper and clean the surface thoroughly. Sand any rough spots and prime the wall to guarantee good adhesion. Skipping these steps risks peeling or uneven paint, turning your project into a tangled story. Proper preparation keeps your fresh coat looking flawless and long-lasting.
What Tools Are Best for Cutting in Edges?
You should use a high-quality angled brush for cutting in edges, as it offers precision and control. Practice good brush techniques, like steady strokes and feathering, to get clean lines. Before you start, apply painter’s tape carefully along edges to prevent bleed-through. Remove the tape while the paint is still slightly wet for sharp, crisp lines. This combination of tools and techniques minimizes mess and gives your room a professional look.
How Do I Prevent Paint Splatters on Furniture?
To prevent paint splatters on furniture, you should prioritize furniture protection and paint splatter prevention. For example, cover your furniture with drop cloths or plastic sheeting, tucking edges to prevent splashes from reaching surfaces. Use painter’s tape to seal off edges near furniture, and work slowly to control drips. These steps keep your furniture safe, making your painting project cleaner and less stressful.

Pro Grade Paint Brushes, 5-Piece Paint Brush Set, Flat & Angle Brushes for Walls, Trim, Cabinets, Interior & Exterior Latex and Oil Paints, Stains
COMPLETE 5-PIECE BRUSH SET FOR EVERY PAINTING TASK — Includes 1 Inch Flat, 1.5 Inch Angle, 2 Inch…
As an affiliate, we earn on qualifying purchases.
As an affiliate, we earn on qualifying purchases.
Conclusion
By following the best order to paint your room, you’ll enjoy a smoother, less stressful experience. It’s like tidying up your mind—starting with the big picture before focusing on details. Though the process might seem overwhelming at first, careful planning transforms chaos into calm. Remember, the journey to a beautifully painted room mirrors life: sometimes, it’s the smallest steps that create the biggest difference. Embrace the order, and let your space—and your stress—fade away.

Bates- Paint Roller Kit, 19 pcs, Roller Set with Microfiber Sleeves & Frame
Bates paint roller kit includes 19 essential pieces for home painting, prep, and cleanup projects.
As an affiliate, we earn on qualifying purchases.
As an affiliate, we earn on qualifying purchases.

Duck Clean Release Blue Painters Tape, Masking Tape For Paint Projects, 2 in (1.88 in x 60 yd) Single Roll, 240195
MULTI-SURFACE TAPE: This blue tape is ideal for a variety of surfaces including painted walls, trim, glass, wood…
As an affiliate, we earn on qualifying purchases.
As an affiliate, we earn on qualifying purchases.