Creating the simplest accent wall with one color and two finishes is easy and impactful. Pick a neutral or bold shade, then choose a matte or semi-gloss finish for added depth and texture. Use painter’s tape to separate sections, applying each finish carefully. This technique adds visual interest without complicated patterns. To make your project flawless and professional, follow simple tips on preparation and application. Keep going to discover detailed steps and expert tricks for a perfect result.
Key Takeaways
- Choose a single paint color and select two different finishes, such as matte and semi-gloss, for contrast.
- Use painter’s tape to create clean lines between the two finishes, ensuring sharp, professional edges.
- Apply the base finish first, let it dry completely, then carefully tape off sections for the second finish.
- Work slowly and precisely, using quality brushes to maintain neat separation between finishes.
- Finish with proper touch-ups and remove tape carefully for a simple, eye-catching accent wall.
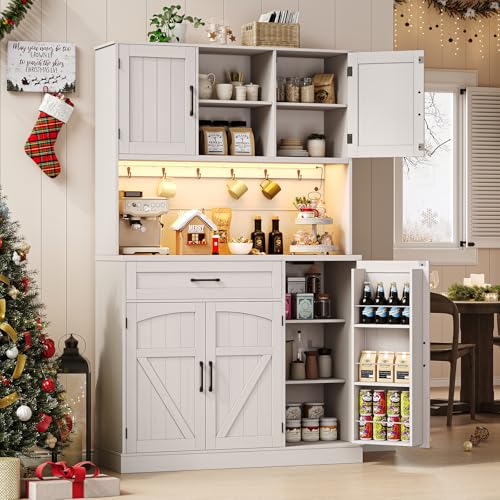
ONBRILL 71" Pantry Cabinet, Kitchen Pantry Storage Cabinet with LED Light & Outlet, Kitchen Hutch with Microwave Shelf & 6 Hooks, Door Shelves & Drawer & Adjustable Shelves, for Dining Room
AMPLE STORAGE SPACE: This kitchen pantry storage cabinet has generous storage space, it contains 5 doors, 6 upper...
As an affiliate, we earn on qualifying purchases.
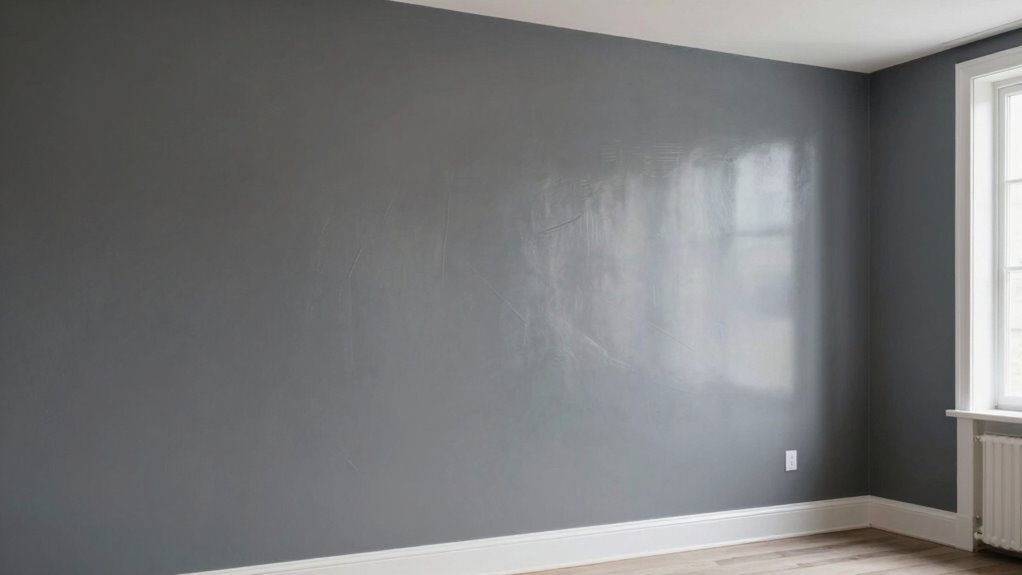
What Is a Single-Color, Two-Finish Accent Wall?
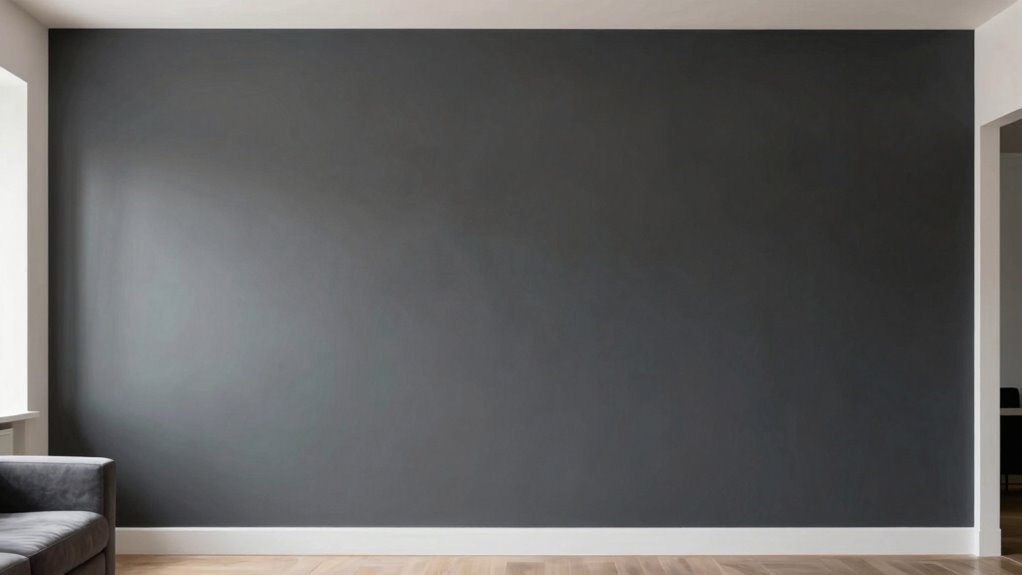
A single-color, two-finish accent wall combines simplicity with visual interest by using one paint color but applying two different finishes. This wall treatment creates depth and texture without overwhelming the space. You start with a base coat of your chosen color, then add a contrasting paint sheen on specific areas or the entire wall. For example, a matte finish can serve as a subtle background, while a glossy or semi-gloss finish highlights certain sections. The key is to thoughtfully select the paint sheen to enhance the wall’s visual appeal. This technique is easy to execute and versatile, making it perfect for adding personality to any room. It allows you to experiment with texture and light reflection while maintaining a cohesive look. Considering smart design principles can help you choose the right finishes to create a welcoming and functional living space. Incorporating visual depth through different finishes can also elevate the overall ambiance of your interior. Additionally, understanding material properties of different sheens can help you achieve the desired effect and durability for your wall. Exploring paint application techniques can further improve the precision and quality of your finish, ensuring a professional look. Engaging in curiosity about design techniques can inspire new ways to personalize your space effectively.

Art3d Pre-Cut Wall Molding Set of 6 pcs, Ready-to-Assemble Wainscoting Panels for Interior Wall Décor Living Room Bedroom Accent Wall - Installed with Glue, 3 Top 3 Bottom
Transformative - Art3d pre-cut molding trim adds depth and character to walls, gives traditional elegance with a hint...
As an affiliate, we earn on qualifying purchases.
How to Choose the Best Paint Colors and Finishes for Your Space

Choosing the right paint colors and finishes can transform your space, but it’s important to contemplate how they work together. Consider color psychology to select hues that evoke the mood you want—calm blues for relaxation, energizing yellows, or sophisticated grays. When choosing finishes, think about how they’ll reflect light and add depth, especially in a two-finish accent wall. Your paint brand selection also matters; reputable brands offer better coverage, durability, and color consistency, reducing frustration. Test samples on your wall to see how they look in different lighting, and don’t be afraid to mix finishes within the same color to create visual interest. Ultimately, your choices should align with your style and the atmosphere you want to create. To ensure your selections are reliable and long-lasting, consider safe and reliable paint options that meet quality standards and provide consistent results. Additionally, selecting paints with high-quality pigments can enhance color vibrancy and longevity.

NeatiEase Peel and Stick Wall Molding Kit 6-Frame Premade, Ready-to-Assemble Wall Moulding Panel Frame, Self Adhesive Wainscoting Panels, Accent Molding Trim for Interior Walls Home Decor (Style 1)
High Quality Material - These molding panels are made of polystyrene material, which is hard and durable, lightweight,...
As an affiliate, we earn on qualifying purchases.
Preparing Your Wall for a Two-Finish Paint Job
Before you start your two-finish paint job, you need to prep the wall properly. Make sure to clean and repair any imperfections, then tape off edges to protect surrounding areas. Don’t forget to prime the surface so the paint adheres smoothly and lasts longer. Additionally, consider the surface reflectivity of the wall to ensure the finishes cooperate effectively and achieve the desired visual impact. Taking into account the holistic approach to surface preparation can enhance overall results and ensure a seamless finish. Incorporating Free Floating principles can also help you understand how different finishes will interact in your space, especially when considering surface treatments that influence how finishes appear and behave. Being aware of the surface characteristics can further help you select the most compatible finishes for your project.
Clean and Repair Surface
Have you ever noticed how imperfections on your wall can ruin the overall look of a fresh paint job? To guarantee a smooth, professional finish, start with thorough wall preparation. Clean the surface to remove dust, grease, or dirt that could interfere with paint adhesion. Inspect for holes, cracks, or peeling paint, and repair them with spackle or joint compound. Sand the patched areas to achieve surface smoothing, making the wall even and ready for painting. Proper surface smoothing ensures a flawless, long-lasting finish. Additionally, understanding surface prep techniques can help you achieve the best results in your painting project. Removing loose paint or debris enhances paint adhesion, which is crucial for a durable finish. Using the right preparation tools can also make your project easier and more effective. Employing the correct paint sprayer settings can further improve application quality and efficiency.
Tape and Protect Edges
Did you know that properly taping and protecting your edges can make a huge difference in achieving clean, crisp lines during your paint job? Start by applying painter’s tape carefully along your edges, pressing down firmly to prevent paint bleed. Use smooth brush techniques to seal the tape’s edges, ensuring sharp lines. Protect nearby surfaces with drop cloths or painter’s plastic, especially if you’re working with different finishes. Keep your paint stored in a sealed container to prevent drying out or contamination, which can affect application and finish quality. When you’re ready to paint, remove the tape slowly and at a sharp angle to avoid peeling. Preparation techniques can also help ensure a flawless finish. Proper tape and edge protection, combined with good brush techniques and paint storage, streamline your process and give your wall a professional look. Additionally, understanding paint finishes can help you choose the right approach for your desired look and durability. Being familiar with security zones can help you plan your home improvement projects more effectively, ensuring safety and security during your painting process. Incorporating proper surface cleaning before taping can also improve adhesion and edge sharpness.
Prime for Adhesion
To guarantee your two-finish paint job looks smooth and lasts long, you need to prime your wall properly. Wall prep is essential, especially when switching finishes, to ensure the paint adheres well and prevents peeling. Start by cleaning the wall thoroughly to remove dust, grease, or dirt that could interfere with adhesion. Choose the right primer based on your paint selection—some primers are designed specifically for glossy or porous surfaces. Applying a quality primer creates a uniform base, helping both finishes bond securely. Use a brush or roller to apply an even coat, paying attention to edges and corners. Proper priming not only improves adhesion but also enhances color consistency, making your accent wall look professional and durable. Proper surface preparation is crucial in creating a healthy indoor environment free of pollutants and allergens, and understanding surface priming techniques can significantly impact your results. Additionally, selecting a primer compatible with your paint type will ensure optimal adhesion and finish quality.

Art3d Pre-Cut Wall Molding Set of 3 pcs, Ready-to-Assemble Wainscoting Panels for Interior Wall Décor Living Room Bedroom Accent Wall - Installed with Glue, 3 Frames
Transformative - Art3d pre-cut molding trim adds depth and character to walls, gives traditional elegance with a hint...
As an affiliate, we earn on qualifying purchases.
Step-by-Step: How to Paint a Single-Color Accent Wall With Two Finishes

Creating a stunning accent wall with two different finishes adds depth and visual interest to your space. Start by choosing your base color carefully, considering color psychology to evoke the desired mood. Next, select a finish—matte or eggshell—that enhances the wall’s texture and complements your room’s ambiance. Use painter’s tape to mark off the areas for each finish, guaranteeing clean separation. Apply the first coat of paint with smooth, even strokes, letting it dry thoroughly for ideal paint durability. When ready, carefully remove the tape and apply the second finish, maintaining a steady hand for sharp lines. This method not only creates a striking focal point but also guarantees your wall’s paint holds up over time, maintaining its beauty and integrity. Understanding different paint finishes can help you choose the best option for your project and ensure long-lasting results.
Tips for Achieving Clean Lines and a Professional Look
Achieving clean lines and a professional look requires careful preparation and steady technique. Start by taping off your edges with painter’s tape, ensuring it’s pressed down firmly to prevent paint bleed. Use a high-quality brush or angled brush for precise edge work, and work slowly to maintain control. As you paint, consider color psychology—choosing a hue that creates the desired mood or ambiance in your space. To guarantee lasting beauty, select paints with good durability, especially for high-traffic areas. Apply thin, even coats, allowing proper drying time between layers. Steady hand movements and patience are key to sharp, crisp lines that elevate your accent wall’s appearance. With these tips, you’ll achieve a polished, professional finish that truly stands out.
Common Mistakes to Avoid When Using Two Finishes

Using two different finishes on an accent wall can add depth and interest, but it’s easy to make mistakes that undermine the look. One common error is poor color coordination, which can clash or look chaotic rather than harmonious. Choose shades that complement each other and the room’s overall palette. Additionally, mishandling finish selection can cause visual confusion; for example, combining a glossy with a matte finish without purpose can look inconsistent. Be intentional about where you apply each finish—reserve the more reflective finish for areas you want to highlight, and use matte for subtlety. Avoid rushing the process, as improper application or inconsistent sheen levels can detract from the wall’s polished appearance. Thoughtful color coordination and finish selection are key to a cohesive, stylish accent wall.
Inspiring Examples of Single-Color, Dual-Finish Accent Walls

You can create stunning accent walls by using visual contrast techniques like combining matte and glossy finishes. Playing with texture and depth adds dimension, making your wall stand out even with a single color. To keep it cohesive, stick to consistent color tones and balance the finishes thoughtfully.
Visual Contrast Techniques
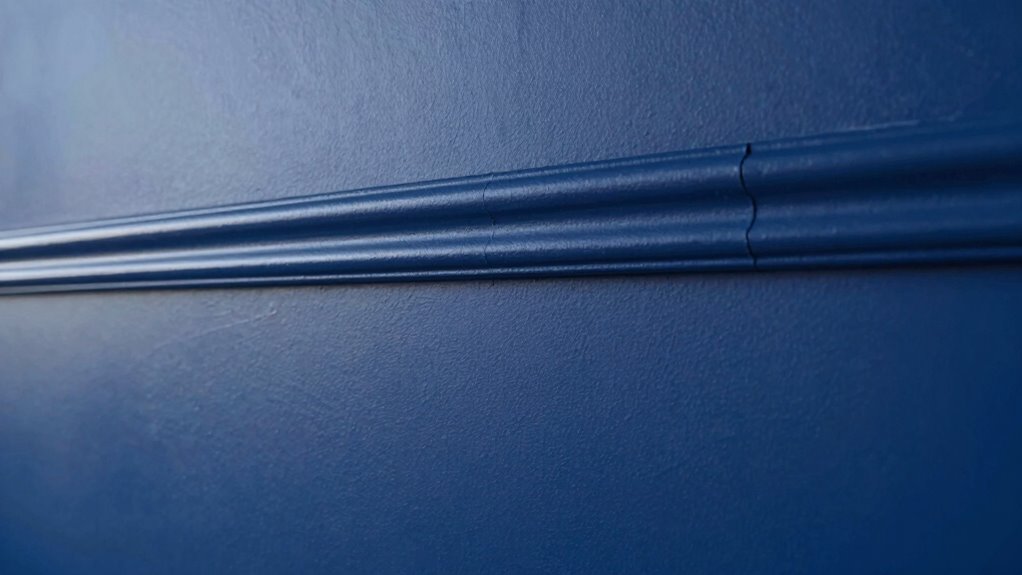
Visual contrast is a powerful way to make your accent wall stand out, especially when working with a single color or dual finishes. You can create striking effects by playing with different techniques that highlight your wall’s unique features. For example, using faux finishes like sponging or rag rolling adds subtle depth and texture, making the wall more dynamic. Color blocking with contrasting shades or finishes can emphasize clean lines and geometric patterns. Combining matte and gloss finishes enhances light reflection and visual interest. You can also experiment with sharp edges or organic shapes to create bold, eye-catching designs. These methods allow you to leverage simple color choices while adding sophisticated contrast, making your accent wall truly memorable.
Texture and Depth Play
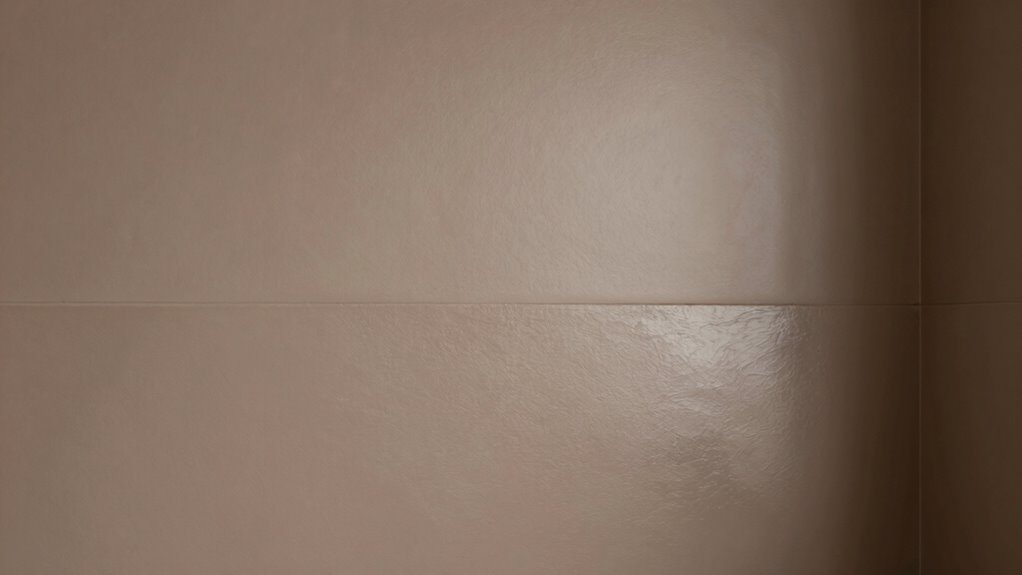
By combining different finishes on a single-color wall, you can create striking textures and a sense of depth that transform a simple space into a mesmerizing focal point. Using various paint techniques, such as matte, satin, or semi-gloss, allows you to add wall textures that catch the light differently and enhance visual interest. For example, applying a matte finish on the upper part of the wall and a semi-gloss on the lower creates a subtle contrast in texture, making the wall appear more dynamic. You can also incorporate techniques like sponging, rag rolling, or dry brushing to introduce tactile wall textures. These methods emphasize depth without overwhelming the room, giving your accent wall a sophisticated, layered look that immediately draws attention.
Color Consistency Tips
Achieving a cohesive look on your accent wall often involves maintaining color consistency, especially when combining different finishes. To guarantee your paint consistency and color matching stay on point, follow these tips:
- Use the same brand and batch number of paint to prevent shade discrepancies.
- Test both finishes on a small section before committing to the entire wall.
- Mix paints thoroughly to achieve uniform color, especially when blending finishes.
- Keep paint containers sealed tightly to prevent color variation over time.
- Use a high-quality brush or roller for even application, ensuring consistent coverage.
Maintaining and Cleaning Your Dual-Finish Accent Wall
To keep your dual-finish accent wall looking its best, regular maintenance and proper cleaning are essential. The wall’s durability depends on how carefully you clean it and how often you do so. You should dust the surface weekly with a soft cloth to prevent dirt buildup. For cleaning, use a mild soap solution and avoid harsh chemicals that could damage the finishes. The cleaning frequency depends on your room’s use—more traffic areas may need weekly attention, while less-used spaces can be cleaned monthly. Be gentle when wiping to prevent scratches or removal of paint. By sticking to a consistent cleaning routine, you’ll preserve both finishes and ensure your accent wall stays vibrant and beautiful over time.
Is This Technique Right for Your DIY Skill Level and Room Style?
Before starting, consider if your DIY skills match the technique’s complexity and whether your room’s style suits this accent wall. Think about how much time and effort you’re willing to invest to achieve the look. Making these choices guarantees the project fits your skill level and enhances your space effectively.
Skill Level Expectations
This technique is ideal for beginners or those with basic DIY skills, as it requires minimal tools and straightforward steps. You don’t need advanced painting techniques or complex prep work, making it accessible for most skill levels. Just remember to prioritize DIY safety by wearing gloves and masks, especially when handling paint. Using recycled paint can be a cost-effective and eco-friendly option, but verify it’s well-mixed and suitable for your wall. Keep your workspace organized to avoid accidents, and always follow paint manufacturer instructions. If you’re comfortable with basic painting and cleaning up afterward, this project is a perfect fit. Plus, it’s simple enough to enjoy without stress, even if you’re new to home improvement or prefer quick results.
Room Style Compatibility
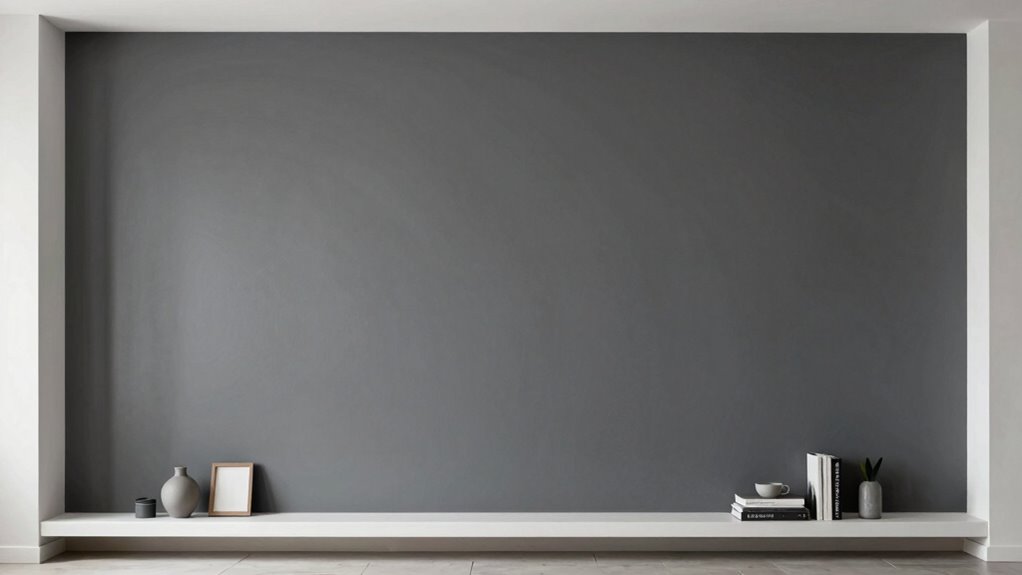
Choosing the right accent wall technique depends on your room’s style and your DIY skill level. This method works best in spaces with modern, minimalist, or transitional decor, where clean lines and simple finishes enhance the aesthetic. Consider furniture compatibility; bold contrasts may clash with ornate pieces, while subtle variations complement sleek designs. Lighting considerations are also key—natural light highlights the different finishes, so rooms with ample sunlight benefit most. If your space features eclectic or traditional decor, this approach might feel out of sync. Use the table below to assess suitability:
| Room Style | Furniture Compatibility | Lighting Considerations |
|---|---|---|
| Modern | Seamless, sleek pieces | Bright, natural light |
| Traditional | Ornate, detailed furniture | Soft, warm lighting |
| Eclectic | Mix of styles | Variable lighting |
| Minimalist | Simple, functional pieces | Bright, even lighting |
Time and Effort Needed
Evaluating whether this accent wall technique fits your DIY skills and available time is crucial before starting. This project requires basic painting techniques and some wall preparation, but it’s generally straightforward. You’ll need to decide if you’re comfortable handling multiple finishes in one area. Consider the following:
- Time commitment varies depending on wall size and drying times between coats
- Wall preparation involves cleaning and priming for smooth paint application
- Applying two finishes may require different techniques, like matte and semi-gloss
- Proper tape and edging ensure clean lines, reducing touch-ups
- Patience is key to avoid rushing, which can affect finish quality
Assess your skill level and schedule to determine if you can comfortably complete the project without frustration or rushed results.
Final Tips to Perfect Your Accent Wall

To guarantee your accent wall turns out perfect, focus on paying attention to small details and taking your time during the final stages. Use decorative borders to create clean, sharp edges, which instantly elevate the look and add a polished touch. Carefully inspect your work for any uneven spots or drips, and touch up as needed. Consider color psychology when choosing accents; select shades that evoke the mood you want to set in the room. For example, calming blues or energizing yellows can influence the space’s atmosphere. Don’t rush this phase—measure twice, paint once. With patience and attention to detail, your accent wall will look professionally finished, making it the focal point you envisioned.
Frequently Asked Questions
Can I Use More Than Two Finishes on a Single Wall?
Yes, you can use more than two finishes on a single wall, but it requires careful planning. Get creative with techniques like matte, gloss, and satin to add texture and depth. Keep in mind, using multiple finishes can affect paint durability, so choose high-quality paints suited for different finishes. Proper preparation and layering will ensure your wall looks stunning without peeling or chipping over time.
What Types of Paint Are Best for Different Finishes?
For different finishes, you want to choose the right types of paint and paint application techniques. For a matte finish, opt for flat or chalkboard paint, applying with a roller for smooth coverage. For high-gloss or semi-gloss, use enamel paints and apply with a brush or spray for a sleek, shiny look. Satin finishes work well with latex paints, applied smoothly with a roller. Match your paint type and technique to achieve your desired effect.
How Long Does a Two-Finish Accent Wall Typically Last?
A two-finish accent wall can last several years with proper maintenance. Typically, it endures around 5 to 10 years, depending on durability factors like paint quality and surface prep. To guarantee longevity, follow simple maintenance tips: clean gently, avoid harsh chemicals, and touch up chips promptly. This proactive approach preserves the wall’s beauty, keeping your space stunning and stylish for years to come.
Are There Color Combinations That Work Better With Two Finishes?
Yes, you can achieve great results with specific color pairing and finish harmony. Opt for contrasting shades, like a soft matte with a glossy accent, to create visual interest without clashing. Neutral tones work well with both finishes, maintaining balance. Avoid overly busy or highly saturated combinations, as they can disrupt the finish harmony. Ultimately, choose colors that complement each other and enhance your space’s overall style.
Is Special Equipment Needed for Creating Two Finishes?
Imagine your wall as a blank canvas waiting for magic. You don’t need special equipment—just a reliable paint sprayer and painter’s tape. The sprayer evenly coats areas with smooth, glossy finishes, while tape masks sections for matte contrast. With these tools, you effortlessly transform your space, creating a stunning dual-finish wall that looks professionally done, all without breaking a sweat or needing fancy gadgets.
Conclusion
Now that you’ve mastered the easiest accent wall ever, you’re practically a decorating superhero! With just one color and two finishes, you can transform any room into a stunning masterpiece faster than you can say “design genius.” Say goodbye to boring walls and hello to jaw-dropping style — all without breaking a sweat. Get ready to turn your space into the envy of everyone you know, one perfect wall at a time!