
On a weekend, you can easily give your old furniture a fresh look with five simple upcycling projects. Start by cleaning and priming pieces, then use high-quality brushes to apply new paint or finishes in colors that match your style. Swap outdated hardware for modern knobs or handles to add a stylish touch. Combining painting techniques with hardware updates can transform your furniture quickly and affordably—keep going for tips and ideas to make your project stand out.
Key Takeaways
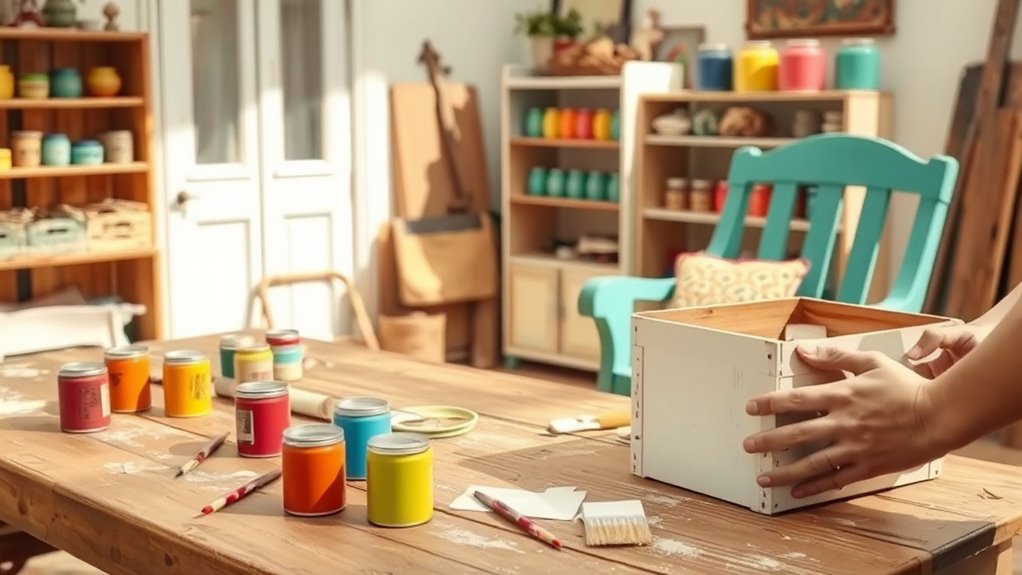
- Choose simple furniture pieces like chairs or tables for quick, impactful transformations.
- Clean and prime surfaces thoroughly before applying new paint for smooth, long-lasting finishes.
- Update hardware with trendy handles or knobs to instantly modernize and personalize the piece.
- Use multiple thin coats of paint and dry thoroughly between layers for a professional look.
- Combine painting with hardware upgrades to create a fresh, stylish, and cost-effective furniture revamp.
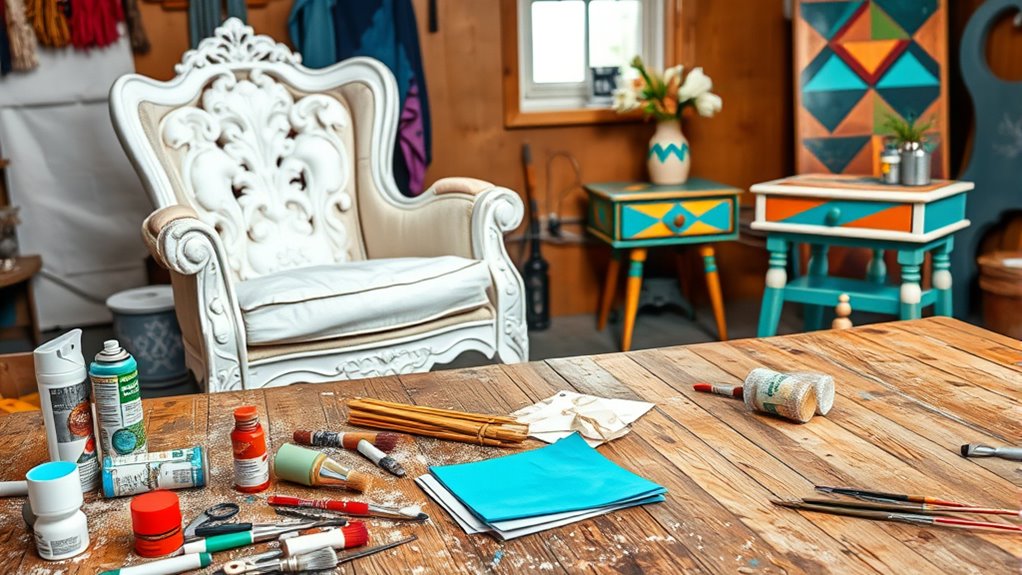
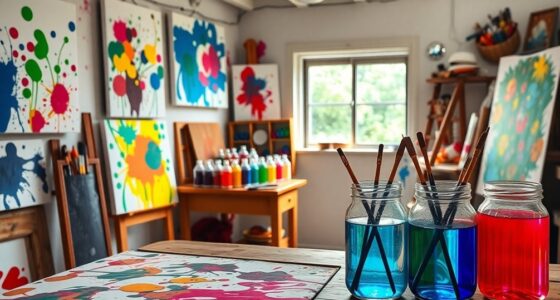
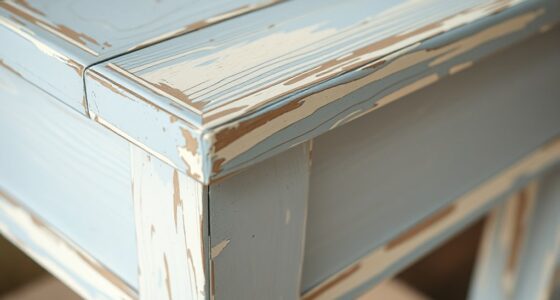
If you’re looking to breathe new life into tired furniture, tackling some simple upcycling projects this weekend is a great way to do it. Upcycling allows you to transform pieces that might otherwise be discarded into something fresh and personalized, all while saving money and reducing waste. One of the most effective ways to refresh an old piece is through painting techniques. You don’t need to be an expert—just some basic methods can make a big difference. Start by cleaning your furniture thoroughly to remove dirt and grease. Then, choose a primer to ensure your paint adheres well and lasts longer. For a smooth finish, use a high-quality brush or roller, and consider applying multiple thin coats rather than one thick layer. If you want a distressed or vintage look, try dry brushing or sanding parts of the painted surface after it dries. These painting techniques give you control over the final aesthetic, allowing you to customize your piece to match your style. Additionally, staying informed about legislative changes related to home improvement can help you access potential rebates or incentives.
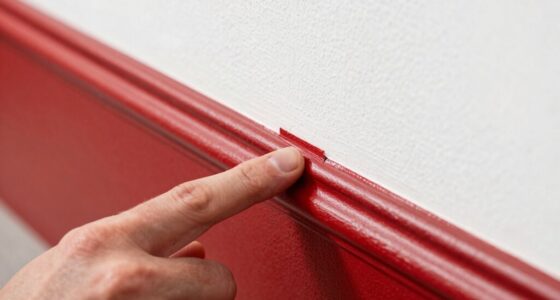
Once the paint dries, think about hardware upgrades to elevate the look even further. Old handles, knobs, and pulls often look outdated or worn out, but replacing them is quick and inexpensive. Visit your local hardware store or browse online for options that complement your new paint job. Modern brass, matte black, or vintage-inspired ceramic knobs can dramatically change the vibe of a piece. To make the upgrade seamless, remove the existing hardware carefully, taking note of how it’s attached. When installing the new hardware, make sure to align it properly for a polished appearance. Sometimes, a simple hardware swap can provide a focal point that pulls your whole project together and makes the furniture look entirely refreshed.
Pairing good painting techniques with hardware upgrades is a smart strategy to maximize your furniture’s transformation. The paint provides the base color and texture, while the hardware offers the finishing touch. Both are cost-effective ways to breathe new life into old furniture without hiring professionals or buying new pieces. As you work on your project, keep in mind that patience is key—allow each coat of paint to dry thoroughly and handle your hardware carefully to avoid damage. With just a little effort and some basic tools, you’ll be amazed at how a few simple updates can turn a tired piece into a stunning new focal point in your home. Plus, the satisfaction of creating something yourself makes the effort all the more rewarding.
Frequently Asked Questions
What Tools Are Essential for DIY Furniture Upcycling?
For DIY furniture upcycling, you need essential tools like a screwdriver for installing decorative hardware, and sandpaper or a sander for surface preparation. A paintbrush or roller helps with finishing touches. Don’t forget a drop cloth to protect your workspace. These tools make the process smoother, helping you prep surfaces properly and add those decorative hardware details that truly transform your furniture piece.
How Do I Choose the Right Paint or Finish?
When it comes to choosing the right paint or finish, you’re really on the right track. First, consider the piece’s use and environment—this guides your choice of finish, like matte for a soft look or gloss for durability. Always check paint compatibility with the existing surface, and test a small area first. This way, you won’t be caught between a rock and a hard place when your project’s done.
Can I Upcycle Furniture Without Prior Experience?
Yes, you can definitely upcycle furniture without prior experience. Start with simple furniture transformation ideas and follow basic upcycling beginner tips, like cleaning thoroughly and choosing the right paint or finish. Don’t worry about perfection—practice makes perfect. Use tutorials and step-by-step guides to build your confidence. With patience and creativity, you’ll create stunning pieces, and soon, you’ll enjoy the rewarding process of giving old furniture a fresh new look.
How Long Does Each Project Typically Take?
Did you know that most small upcycling projects take around 4 to 6 hours? When you’re working on furniture, the time varies based on your skills with upholstery techniques and choosing decorative hardware. Simple projects like repainting or replacing knobs can be done in a few hours, while more detailed work might take a day. Planning ahead helps you stay on schedule and enjoy the transformation process.
What Safety Precautions Should I Follow?
When working on DIY projects, safety gear is essential—you should wear gloves, goggles, and a mask to protect yourself from dust, fumes, and sharp tools. Make certain proper ventilation precautions by working in well-ventilated areas or outdoors, especially when using paints or adhesives. Always read product labels for safety instructions, keep your workspace organized, and never skip safety steps to prevent accidents and ensure a safe, enjoyable crafting experience.
Conclusion
So, this weekend, why not start that upcycling project you’ve been thinking about? As luck would have it, your old furniture is just waiting for a fresh new look, and you’ve got everything you need right at hand. With a little creativity and these simple ideas, you’ll turn what once was forgotten into something special. Coincidentally, every scratch and stain now tells a story—your story—of a stylish, eco-friendly makeover you made happen.