The biggest prep step most people skip is thorough surface preparation, which leads to uneven coverage, peeling, or cracking down the line. It’s essential to clean, sand, and repair walls before you even open a paint can. Proper priming and masking also matter for professional results. If you want a flawless, long-lasting finish, paying attention to these steps is vital—stick with me, and you’ll learn how to get it right every time.
Key Takeaways
- Proper surface cleaning and degreasing prevent adhesion issues and ensure a smooth, even finish.
- Sanding surfaces before painting eliminates imperfections and promotes better paint adhesion.
- Applying high-quality primer tailored to the surface enhances durability and hides flaws.
- Masking and taping carefully create clean edges and protect surfaces for a professional look.
- Testing paint compatibility beforehand avoids mismatched colors, bubbling, and peeling later.

Surface Prep Spray Automotive Surface Degreaser for Auto Paint Prep, Easy Spray-On Cleaner Removes Oil, Wax & Grime, Safe Non-Corrosive Formula, Multi-Use, Time-Saving for DIY Car Care, 150ml
- Powerful Auto Surface Degreaser: Removes oil, wax, grime, silicone
- Easy Spray-On Application: Quick, effortless cleaning process
- Safe for All Car Surfaces: Non-corrosive, gentle on paint, metal, plastic
As an affiliate, we earn on qualifying purchases.
As an affiliate, we earn on qualifying purchases.
Why Proper Surface Preparation Is Key to a Perfect Paint Finish

Proper surface preparation is essential because it creates a smooth, clean foundation that allows paint to adhere properly. Before you start, focus on developing good brush techniques to apply primer and paint evenly, reducing streaks or uneven coverage. Proper surface prep also involves ensuring your paint storage is ideal; keeping paints sealed and at the right temperature prevents issues like drying too quickly or becoming unusable. When you prepare the surface thoroughly, you minimize the risk of peeling, cracking, or bubbling later on. Using the right brush techniques during application helps you achieve a professional finish. Additionally, well-maintained paint storage ensures your supplies stay fresh, saving you time and money on reapplication. Proper surface preparation is a crucial step that influences the longevity and appearance of your paint job. Ensuring your workspace is adequately ventilated can also improve drying times and reduce health risks during painting. Moreover, understanding environmental conditions can help you choose the optimal time and place for painting, leading to better results. Proper surface prep also involves assessing auditory processing challenges that might affect your ability to follow instructions or coordinate tasks effectively, especially if working in noisy environments. Being aware of free floating conditions can help you adapt your approach for a more controlled and successful painting experience. Overall, these steps set the stage for a flawless, long-lasting paint job.
How to Clean and Degrease Surfaces Effectively Before Painting
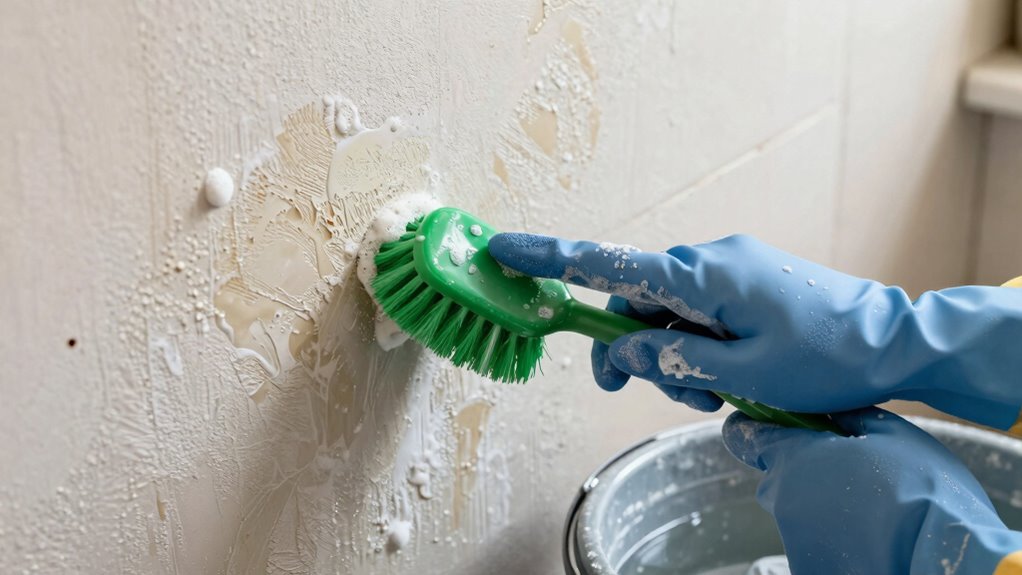
Before applying paint, it’s essential to thoroughly clean and degrease the surface to guarantee proper adhesion and a smooth finish. Start with effective cleaning techniques, such as using a mild detergent mixed with water or a specialized cleaner suited for the surface. For greasy or oily areas, apply degreasing solutions like trisodium phosphate (TSP) or a vinegar-water mixture. Use a scrub brush or sponge to remove dirt, grease, and residues. Rinse the surface thoroughly with clean water to eliminate any leftover cleaning agents. Dry completely with a clean cloth or allow it to air dry. Proper cleaning and degreasing prevent paint from peeling or bubbling later, ensuring your finish looks professional and lasts longer. Additionally, using an air purifier during the cleaning process can help remove airborne dust and allergens, contributing to a cleaner surface. Incorporating proper ventilation can also help dry the surface more effectively and reduce airborne contaminants, which is especially important in enclosed spaces. Effective surface preparation is crucial for achieving a professional-looking paint job and long-lasting results. Skipping this step can compromise the entire painting job. Moreover, understanding how to prepare surfaces properly can significantly improve the overall quality of your paintwork.
Sand and Smooth Surfaces for a Flawless Look
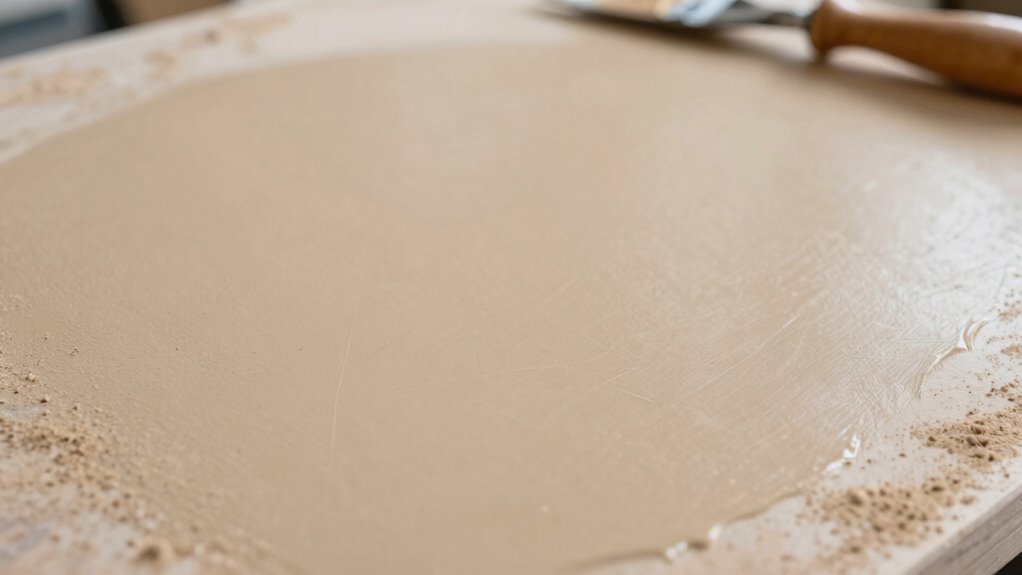
To achieve a flawless paint job, you need to sand surfaces properly to remove imperfections and create a smooth foundation. Use the right techniques, like applying even pressure and using the correct grit sandpaper, to prepare your surface effectively. When you take the time to smooth and clean your surface, your paint will look professional and last longer. For an optimal finish, consider how surface preparation impacts the overall quality of your project, including the importance of consistent sanding for a durable and attractive result. Proper surface prep also helps prevent issues like uneven paint adhesion that can compromise the final look. Additionally, understanding wood movement can help you plan your surface prep to ensure lasting results over time.
Proper Sanding Techniques
Achieving a smooth, professional-looking finish starts with effective sanding. Mastering proper sanding techniques ensures you achieve ideal surface refinement, which is essential for a flawless paint job. Start by selecting the right sandpaper grit; coarse grits remove imperfections, while finer grits smooth the surface. Use even, gentle strokes and avoid applying excessive pressure, as this can create uneven spots or gouges. Always sand in the direction of the grain or along the surface to prevent scratches. Regularly check your progress by wiping away dust and inspecting the surface. Keep the sandpaper clean and replace it when it becomes clogged or worn. Pay attention to surface preparation as it can significantly improve your overall painting results. Incorporating proper dust removal techniques during sanding can further enhance the smoothness of your finish. Additionally, understanding the importance of surface adhesion helps ensure your paint sticks properly and lasts longer. With careful attention to sanding techniques, you’ll create a perfectly smooth surface that enhances the final finish and minimizes the need for additional touch-ups.
Smooth Surface Preparation
A smooth, flawless finish starts with properly preparing your surfaces by sanding and smoothing them thoroughly. After sanding, inspect for any rough spots or uneven areas, then sand again if needed. Choose the right primer based on your surface type—using a high-quality primer helps ensure paint adhesion and hides imperfections. Proper primer selection can make a significant difference in the final look. Additionally, keep your paint in good condition by storing it properly in sealed containers, preventing it from drying out or becoming contaminated. Before painting, wipe down surfaces to remove dust and residue from sanding. This extra step guarantees a smooth surface, reducing the need for extra coats and touch-ups later. Using proper surface preparation techniques ensures a reliable, professional finish, ultimately leading to a flawless look. Paying attention to surface quality and preparing it correctly can also minimize the risk of visible imperfections through your paint. Incorporating smart tools such as paint sprayers with adjustable settings can also enhance precision and efficiency during the application process. Ensuring your surface is free of dust and debris before painting is crucial for achieving a smooth, even coat, which contributes to a more polished final result. To further improve your results, consider using connected tools that provide real-time feedback on surface condition and application techniques.
How to Repair Cracks, Holes, and Imperfections Correctly
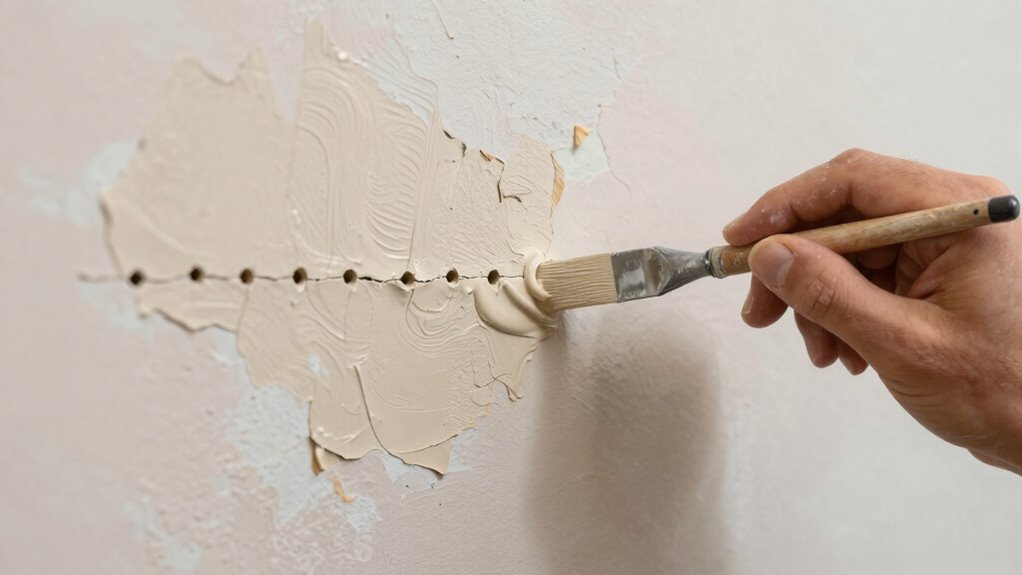
When repairing cracks, holes, and imperfections, proper preparation is vital to guarantee a smooth, long-lasting finish. Start with crack repair by widening the crack slightly, then clean out debris. Use a putty knife to apply a high-quality spackle or joint compound, pressing it firmly into the opening. For hole filling, choose the right filler based on the hole size—small holes can be patched with spackle, while larger ones may need a patch or mesh. Smooth the surface with your putty knife, removing excess material. Allow everything to dry completely before sanding lightly to create a seamless surface. Proper crack repair and hole filling prevent future damage and guarantee your paint job looks flawless. Skipping these steps can lead to cracks and imperfections showing through despite your best efforts. Incorporating proper surface preparation ensures your finished project not only looks professional but also lasts longer. Additionally, understanding the adhesion properties of paints can help you select the best products for a durable, professional finish.
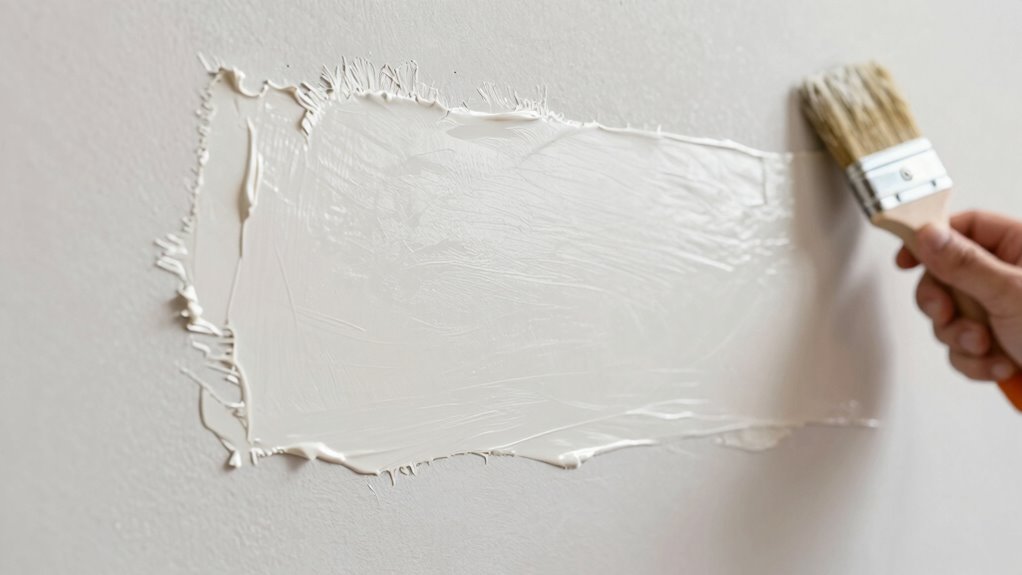
Choosing the Best Primer for Your Surface and Project

How do you choose the right primer to guarantee your paint sticks well and lasts longer? Start by considering your surface and project needs. For example, porous surfaces like drywall need a bonding primer, while glossy surfaces benefit from a stain-blocking primer. Correct primer application ensures proper adhesion and durability. Use this table as a guide:
| Surface Type | Recommended Primer | Key Consideration |
|---|---|---|
| Bare drywall | Pore-filling primer | Seals surface, smooth finish |
| Metal or glossy | Bonding primer | Prevents peeling |
| Stained surfaces | Stain-blocking primer | Covers blemishes |
Choosing the right primer involves primer selection based on surface and project. Proper primer application ensures your paint job lasts.
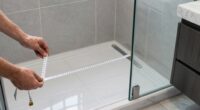
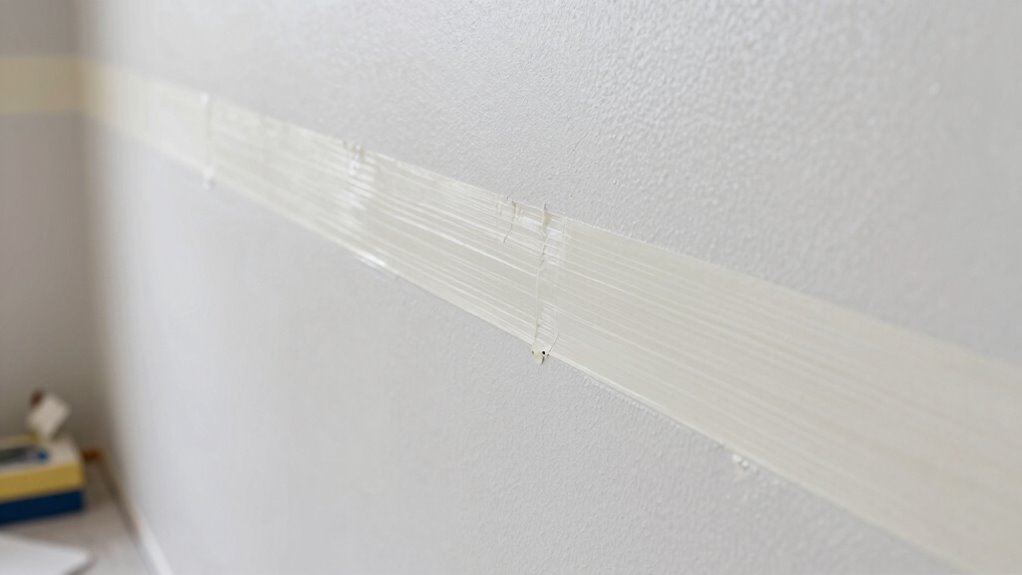
Taping and Masking for Clean Edges and Protection
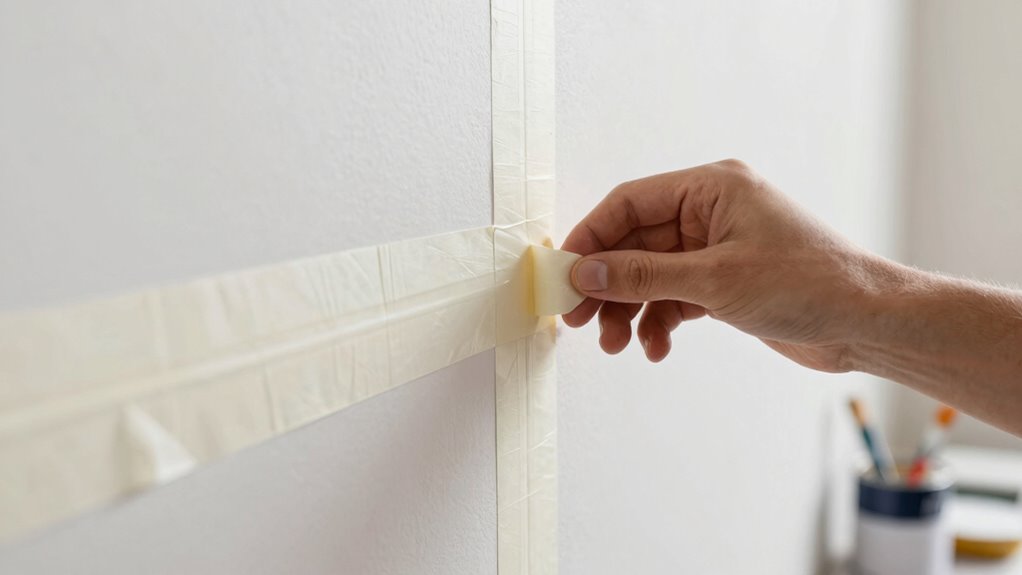
To achieve sharp, professional-looking edges and protect surfaces from paint splatters, proper taping and masking are essential steps in your painting process. Start by applying precise edge masking along trim, baseboards, and adjoining surfaces to ensure clean lines. Use high-quality painter’s tape, pressing down firmly to prevent bleed-through. When masking larger areas, consider layering tape for extra protection. Be mindful of tape removal; wait until the paint is just dry to avoid peeling or smudging. For best results, peel back tape slowly at a 45-degree angle. These steps help you avoid messy edges and protect furniture or fixtures, saving time and frustration. Proper taping and tape removal techniques guarantee a polished, professional finish that elevates your project’s overall look.
How to Test Paint Compatibility and Match Colors Perfectly

Ensuring your paint will adhere properly and match your desired color requires a quick but essential test before starting your project. Paint compatibility testing helps prevent issues like peeling or bubbling later on. To do this, apply a small amount of the new paint on a hidden area or a test patch. Let it dry completely to see how it interacts with the existing surface. For paint color matching, compare the new paint to the existing wall or sample under different lighting conditions to ensure a seamless blend. Use a color-matching tool or take a sample to a paint store for professional matching if needed. These simple steps help confirm that your paint will perform well and look perfect once applied, saving you time and frustration.
Common Prep Mistakes That Can Ruin Your Paint Job: and How to Avoid Them
Skipping proper surface preparation is one of the biggest mistakes that can ruin your paint job. Rushing prep or taking DIY shortcuts often lead to uneven coverage, peeling, or bubbling. To avoid this, ensure you properly clean, sand, and prime surfaces before painting. Common mistakes include neglecting to:
- Remove old, peeling paint completely
- Clean surfaces thoroughly to eliminate grease and dust
- Sand uneven areas for a smooth finish
- Use the right primer for your surface
- Skipping adhesion tests on new paint layers
These shortcuts might seem tempting, but they compromise durability and appearance. Proper prep creates a solid foundation, preventing costly mistakes down the line. Take your time and follow these steps to achieve a professional, long-lasting finish.
Final Tips for Long-Lasting, Professional-Looking Results
To guarantee your paint job lasts and looks professional, start with proper surface preparation to get a smooth base. Use high-quality paints and tools for better coverage and durability, and remember to apply multiple thin coats rather than one thick layer. Following these tips will give you long-lasting, flawless results that stand the test of time.
Proper Surface Preparation
Before you start painting, taking the time to properly prepare the surface is essential for achieving professional, long-lasting results. Making certain the surface is dry prevents issues like peeling or bubbling by promoting ideal paint adhesion. Check for surface moisture by feeling or using a moisture meter, and wait for it to evaporate completely. Proper surface prep involves cleaning, sanding, and repairing imperfections to create a smooth, even base.
Consider these tips:
- Remove dirt, grease, and loose paint thoroughly
- Sand glossy surfaces to improve adhesion
- Fill holes and cracks for a uniform finish
- Make sure the surface is completely dry before painting
- Use a primer when switching between different materials
This careful prep minimizes future touch-ups and extends your paint’s lifespan.
Use Quality Paints and Tools
Using high-quality paints and tools makes a noticeable difference in the final look and durability of your project. Quality brushes allow you to master brush techniques that create smooth, even coverage, reducing streaks and drips. They also help you reach corners and edges with precision. Investing in good tools, like rollers and painter’s tape, ensures cleaner lines and less mess. When choosing paints, prioritize color matching to achieve a cohesive, professional appearance. High-end paints often have better pigmentation and adhesion, which means fewer coats and longer-lasting results. Remember, the right tools make applying paint easier, faster, and more consistent. By using top-tier paints and tools, you set yourself up for a flawless finish that truly looks like a pro’s work.
Apply Multiple Thin Coats
Applying multiple thin coats of paint is essential for a smooth, durable finish that looks professional. Thin coats allow better control over brush techniques, reducing drips and uneven coverage. Focus on consistent application, maintaining a wet edge, and avoiding over-brushing, which can cause streaks. Proper color matching between coats ensures uniformity and avoids visible seams. Let each layer dry thoroughly before applying the next to prevent bubbling or peeling. To enhance your technique:
- Use a high-quality brush suited for your paint type
- Maintain a steady hand for even strokes
- Work in manageable sections for uniform coverage
- Keep your brushes clean between coats
- Check color matching in natural light before proceeding
Mastering these steps results in a flawless finish that lasts longer and looks more professional.
Frequently Asked Questions
How Long Should I Wait After Surface Prep Before Painting?
You should wait at least 24 hours after surface prep before painting to guarantee proper drying time. This waiting period allows the surface to fully dry, which improves paint adhesion and prevents peeling or bubbling later. Keep in mind that drying times can vary depending on humidity and temperature, so always check the manufacturer’s recommendations on your primer or paint for the best results.
Can I Skip Sanding if the Surface Looks Smooth?
Sure, skip sanding if your surface looks smooth—because who needs that tedious step, right? But really, the sanding necessity isn’t just about appearance; it’s about ensuring surface smoothness for paint adhesion. Even if it looks good, tiny imperfections can sabotage your finish later. So, don’t cut corners. A quick light sanding guarantees your paint will stick like a pro, not peel like a rookie.
What Tools Are Best for Cleaning Different Surfaces?
You should choose the right tools for each surface, starting with appropriate brush types like angled brushes for corners and wide brushes for large areas. Use suitable cleaning solutions—mild soap and water for most surfaces, or specialized cleaners for stubborn grime. Always match your brushes and solutions to the material, and clean tools thoroughly afterward to keep them in top shape and guarantee a smooth paint job.
How Do I Choose the Right Primer for Outdoor Projects?
To choose the right primer for outdoor projects, consider primer selection based on outdoor surface suitability. You should match the primer to the material you’re working with, like using a bonding primer for slick surfaces or an oil-based primer for stained wood. Check the label for weather resistance and compatibility with your topcoat. This guarantees durability and proper adhesion, making your outdoor paint job last longer and look professional.
Is It Necessary to Remove Old Paint Before Priming?
Did you know that improper paint removal can cause paint failure in up to 70% of outdoor projects? You should always remove old paint before priming because it’s a priming vital. Skipping this step can trap moisture and cause peeling or bubbling. By thoroughly paint removal, you guarantee the primer adheres properly, making your finish last longer. Don’t skip this essential step if you want a smooth, durable outdoor paint job.
Conclusion
Now that you know the vital prep steps most overlook, you’re ready to transform any space with confidence. But don’t underestimate the power of that first, perfect surface—skimp on it, and your entire project could fall apart. Are you prepared to master these secrets and achieve a flawless finish that lasts? The real test starts now—your next paint job depends on it. Ready to make your walls look professionally done? The choice is yours.