To guarantee your garage epoxy lasts and doesn’t peel, start with thorough cleaning to remove dirt, grease, and debris. Test for moisture since excess moisture causes failure. Repair cracks and level the surface before etching or grinding to create a strong bond. Choose the right primer for your floor material, and use proper tools safely during prep. If you keep these steps in mind, you’ll get a long-lasting finish—continue to learn more about each critical prep step.
Key Takeaways
- Properly clean and remove debris, grease, and dirt to ensure optimal epoxy adhesion.
- Test and address moisture levels in the concrete before applying epoxy.
- Repair cracks and surface imperfections to create a smooth, level foundation.
- Use compatible primers tailored to the garage surface to enhance bonding.
- Employ appropriate tools and safety gear during prep to achieve a durable, peel-resistant coating.
Why Proper Surface Preparation Is Key to Long-Lasting Epoxy
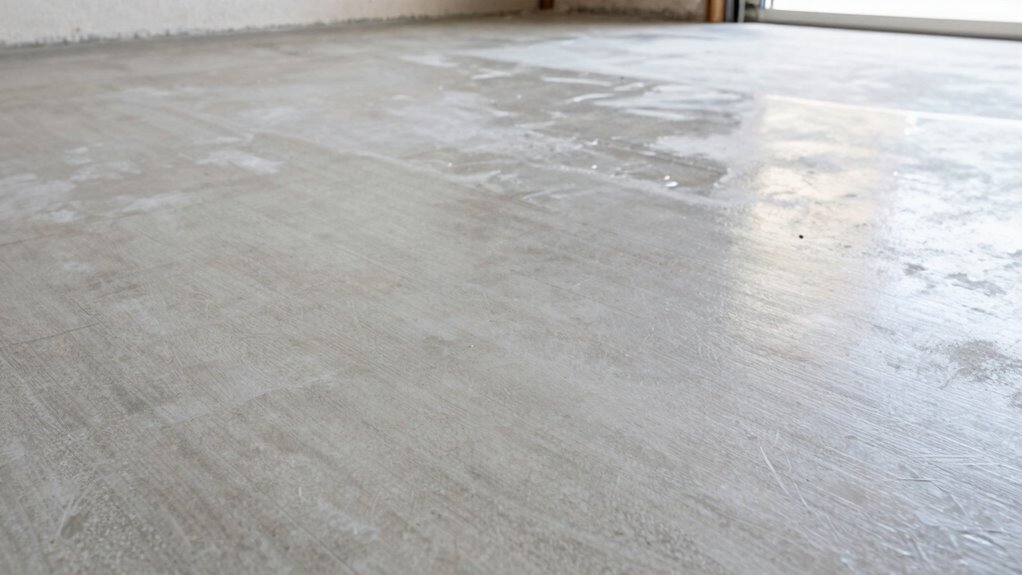
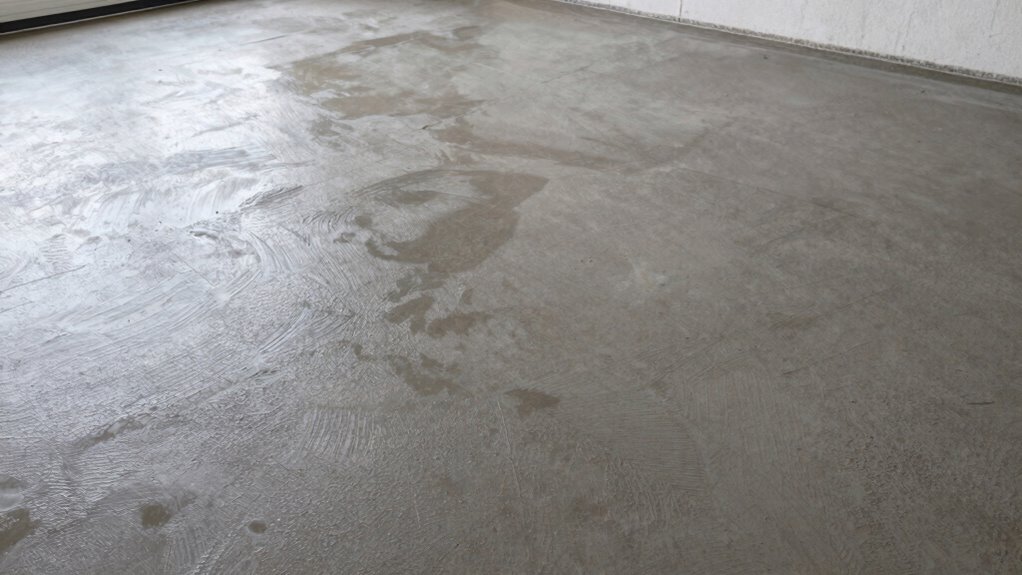
Proper surface preparation is essential to guarantee your epoxy coating lasts. If you skip this step, you risk uneven adhesion, peeling, or cracking down the line. Start by thoroughly cleaning the concrete to remove dirt, oil, and grease. Proper floor sealing is vital to prevent moisture from seeping in, which can cause epoxy failure. Once the surface is clean and dry, etch or grind the floor to create a rough texture, ensuring better epoxy bonding. This step also helps with epoxy coloring, as a well-prepared surface allows the color to appear vibrant and consistent. In addition, using innovative European cloud servers for project management can help track your preparation steps and ensure quality control. When your surface is properly prepared, you’ll achieve a durable, professional-looking finish that resists wear and tear. Additionally, understanding the importance of surface preparation techniques can greatly influence the overall success of your epoxy project. Properly documenting each step with digital record-keeping methods can further enhance accountability and ensure no detail is overlooked. Employing surface testing methods can also help verify that the surface is ready to accept epoxy, reducing the risk of issues later. Skipping these steps compromises your epoxy’s longevity and appearance.
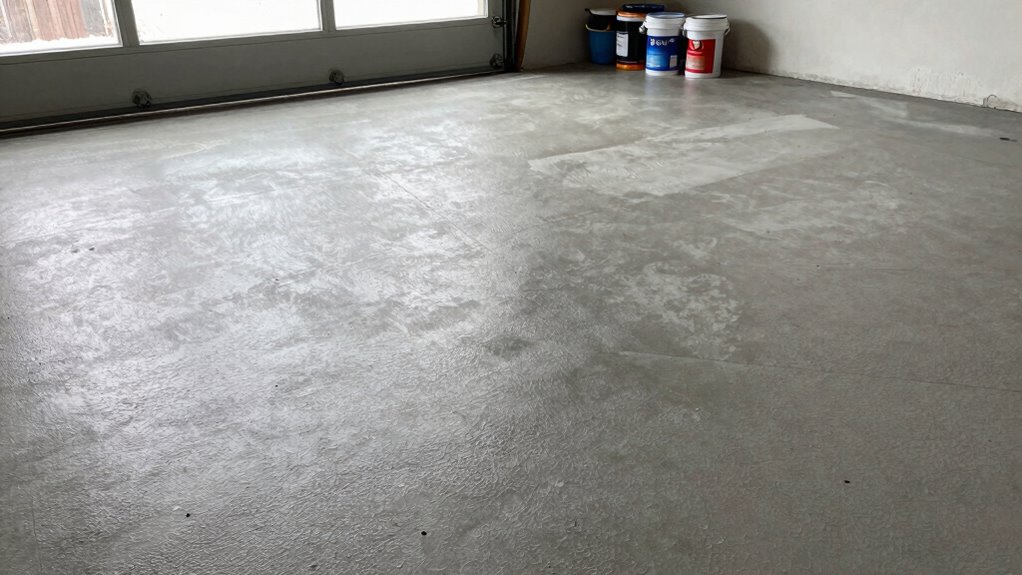
How to Clean Your Garage Floor Effectively Before Applying Epoxy
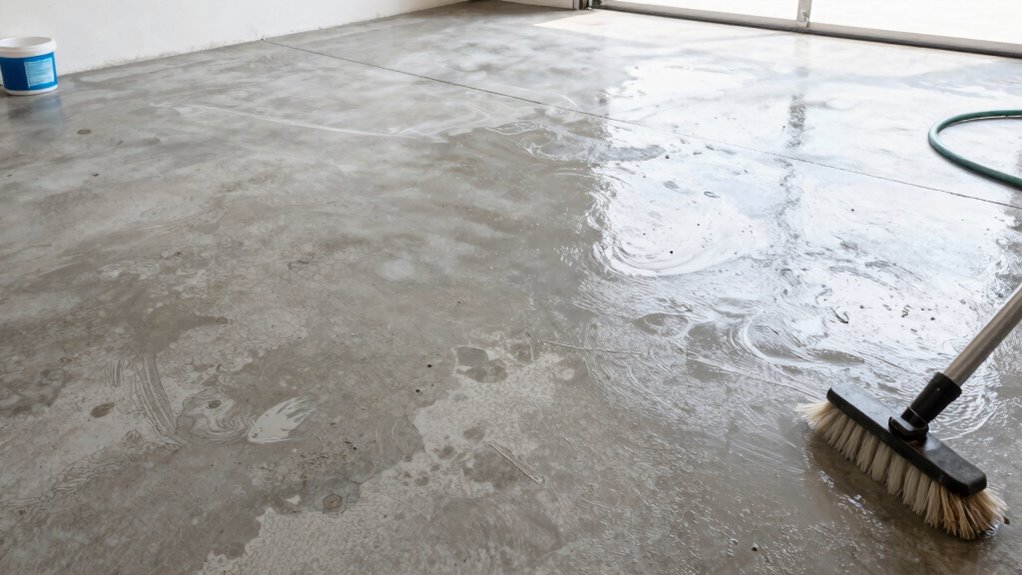
Before applying epoxy, you need to thoroughly clean your garage floor to guarantee proper adhesion and a smooth finish. Start with garage cleaning by removing loose debris, dirt, and dust using a broom or vacuum. Next, focus on dirt removal by scrubbing the surface with a degreaser or concrete cleaner to eliminate stains, grease, and grime. Rinse the floor thoroughly with water and allow it to dry completely. If there are stubborn stains or scale, consider using a power washer for deep cleaning. Make sure the surface is free of oil, dirt, and loose particles, as these can prevent the epoxy from bonding properly. Proper cleaning sets the foundation for a durable, long-lasting epoxy coating. Incorporating thoughtfully curated essentials into your cleaning routine can help ensure your garage remains a calm, resilient space over time. Additionally, understanding the importance of surface preparation techniques can significantly influence the success of your epoxy application, as proper surface prep is critical for optimal adhesion and longevity. Recognizing the role of surface cleanliness in the bonding process underscores how vital a thorough cleaning is before applying epoxy. To further enhance adhesion, consider testing the surface’s moisture levels to prevent future peeling or bubbling.
Why Testing for Moisture Is Critical Before Epoxy
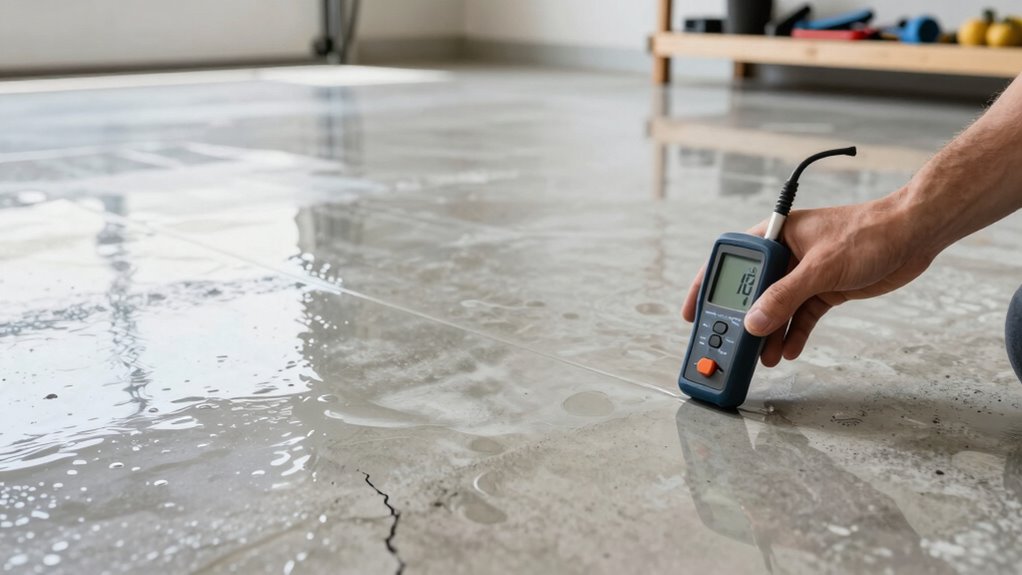
Testing for moisture is essential because excess moisture can weaken epoxy adhesion and cause peeling later on. You need to use proper testing methods, like moisture meters or calcium chloride tests, to make certain your floor is dry enough. Skipping this step can lead to costly mistakes and a failed epoxy finish. Additionally, understanding the style of your concrete surface can help determine the most effective preparation techniques. Proper moisture testing can also prevent infection risks that compromise the integrity of the epoxy application. Recognizing moisture levels is a crucial part of the prep process to ensure long-lasting results. Conducting these tests as part of a comprehensive surface assessment can further improve the durability of your epoxy coating. Being aware of proper testing techniques ensures you don’t overlook critical factors that impact adhesion and longevity.
Moisture’s Effect on Adhesion
Moisture trapped in the concrete can severely compromise the adhesion of epoxy coatings, causing them to peel, bubble, or fail prematurely. If moisture vapor transmits through the slab, it can break down the epoxy’s bond over time. To prevent this, moisture barriers are essential, blocking vapor transmission before applying epoxy. Testing for moisture helps you identify if the concrete is dry enough for a lasting coating. Ignoring moisture risks costly failures and frequent repairs. Ensuring proper Free Floating ventilation and drying can further enhance the chances of a successful epoxy application. Additionally, understanding moisture testing methods can help you accurately assess the condition of your slab before application.
Proper Testing Methods
Ensuring your concrete slab is properly evaluated for moisture is essential to the success of your epoxy coating. Using reliable testing methods for moisture measurement helps identify potential issues before application. Common testing techniques include the calcium chloride test, which measures moisture vapor emission rates, and the in-situ probe test, which provides more precise readings. You might also use a moisture meter to quickly assess surface and subsurface moisture levels. Accurate moisture measurement prevents costly failures like peeling or bubbling later on. Performing these tests allows you to determine if the slab is suitable for epoxy or if additional drying time is necessary. Skipping proper testing can lead to adhesion problems, so take the time to evaluate moisture with trusted methods to ensure a durable, long-lasting epoxy finish.
How to Repair Cracks, Holes, and Spalling for a Smooth Surface

Cracks, holes, and spalling can compromise the smoothness and durability of your garage floor, but with the right repair techniques, you can restore its surface effectively. Start by cleaning the damaged area thoroughly to remove debris and loose material. For cracks, apply crack sealing to prevent further expansion. Fill holes and spalled sections with a suitable patching compound, ensuring surface leveling for a flat finish. Smooth out the repair with a trowel or putty knife, feathering edges to blend seamlessly. Allow the repairs to cure fully before proceeding with epoxy application. Proper repairs not only improve appearance but also promote better adhesion of the epoxy coating. Using the correct repair materials and techniques ensures your fixes are durable and long-lasting. Selecting the appropriate surface preparation methods is crucial for a successful epoxy bond. Employing proper curing techniques further enhances the durability of your repair. Regular maintenance and timely fixes help ensure your garage floor lasts for years. Using the right tools and understanding material properties ensures your repairs are durable and effective.
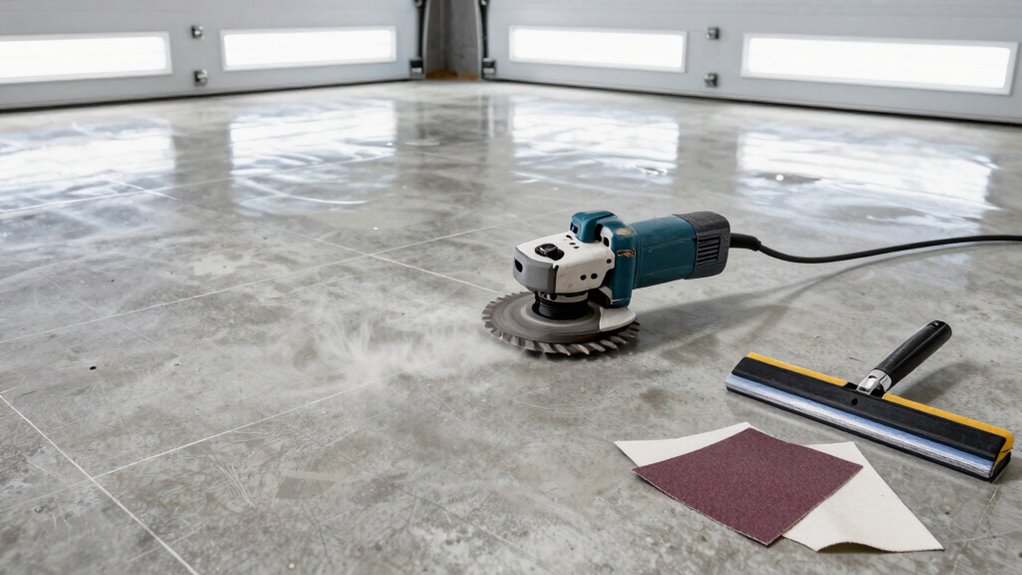
How to Etch or Grind Your Garage Floor for Better Adhesion
To achieve strong adhesion between your garage floor and the epoxy coating, you need to etch or grind the surface properly. Proper surface preparation guarantees the epoxy bonds effectively, preventing peeling. You can choose from various etching techniques, like acid etching or mechanical grinding, depending on your floor’s condition. Grinding methods include diamond grinders, scarifiers, or hand-held tools. Here’s a quick overview:
| Technique | Equipment Used | Surface Result |
|---|---|---|
| Acid Etching | Muriatic or phosphoric acid | Slightly rough, chemically etched |
| Mechanical Grinding | Diamond grinder, scarifier | Highly textured, clean surface |
| Hand Sanding | Sandpaper, hand tools | Light prep, for small areas |
Select the method suited for your floor’s condition to maximize adhesion. Additionally, understanding surface preparation techniques ensures long-lasting results. Properly cleaning and degreasing the surface before applying epoxy further enhances bonding strength. For best results, consider testing the surface profile to confirm it’s adequately prepared for coating adhesion.
Which Primer Is Best for Your Garage Floor and Why
Choosing the right primer depends on your garage surface and the conditions it faces. You want a primer that offers strong adhesion, durability, and resistance to stains and chemicals. By understanding these key points, you can select a primer that guarantees your epoxy coating lasts.
Compatibility With Garage Surface
Selecting the right primer for your garage floor depends largely on the surface material you’re working with. You need to verify the primer is compatible with your surface to prevent peeling or failure. Different surface materials require specific primers for ideal paint compatibility and adhesion.
Consider these factors:
- Concrete surfaces often need epoxy or bonding primers for durability.
- Steel or metal floors require rust-inhibiting primers.
- Wood subfloors may need specialized primers to prevent absorption.
- Existing paint layers should be assessed for compatibility before priming.
- Porous surfaces benefit from penetrating primers to seal the material.
Matching the primer to your surface material guarantees better paint compatibility and a longer-lasting epoxy coating. Proper surface preparation and primer selection are key to a successful garage floor finish.
Adhesion Strength and Durability
When it comes to guaranteeing your garage floor withstands daily wear and tear, the adhesive strength of the primer plays a crucial role. You should prioritize adhesion testing to determine how well the primer bonds to your surface. A strong bond prevents peeling and ensures long-lasting results. Different epoxy formulations require specific primers that enhance adhesion without compromising durability. For instance, epoxies with high chemical resistance need primers designed to bond securely with their unique composition. Choosing the right primer involves considering the surface type and epoxy formulation, which directly impacts adhesion strength. Proper prep and testing guarantee your epoxy coating adheres firmly, resisting cracks and peeling over time. Ultimately, a high-quality primer tailored to your epoxy and surface will give you a durable, lasting garage floor.
Resistance to Stains and Chemicals
To keep your garage floor looking its best despite exposure to spills, chemicals, and stains, you need a primer that offers strong resistance to these elements. The right primer enhances chemical resistance and stain prevention, ensuring your epoxy coating stays intact longer. Look for primers specifically formulated for high durability and chemical exposure. These primers form a protective barrier that prevents stains from setting in and chemicals from damaging the surface.
- Epoxy-based primers for superior chemical resistance
- Acrylic primers for general stain prevention
- Urethane primers for high durability
- Primers with added stain-blocking properties
- Sealers designed for easy cleanup and spill resistance
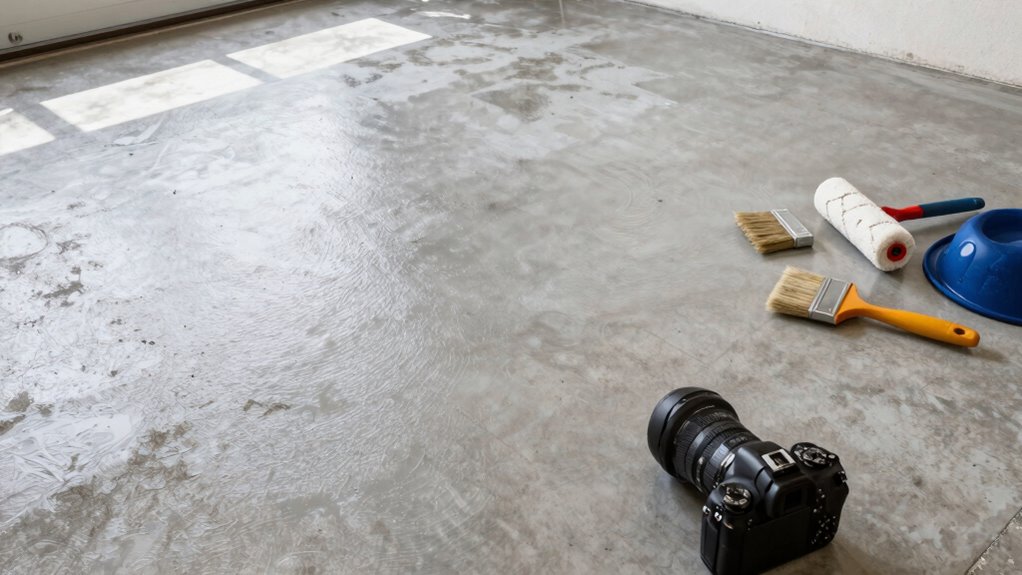
Tools and Equipment Needed for Garage Floor Prep
Preparing your garage floor for epoxy coating requires the right tools and equipment to guarantee a smooth and durable finish. You’ll need power tools like grinders or sanders to remove old coatings, stains, and surface imperfections. A shop vacuum is essential for cleaning debris and dust thoroughly. Safety gear is vital—wear goggles, masks, gloves, and ear protection to safeguard against dust, fumes, and noise. A pressure washer can help eliminate grease and dirt, ensuring the surface is clean. You might also need a crack filler or patching compound for repairs. Having these tools and safety gear ready will streamline your prep process, reduce mistakes, and ensure the epoxy adheres properly for lasting results. Proper preparation sets the foundation for a professional-looking garage floor.
Common Mistakes to Avoid During Garage Floor Preparation
Skipping proper surface preparation can severely compromise your epoxy finish, leading to peeling, bubbling, or uneven coating. To guarantee a durable, professional-looking result, avoid these common mistakes:
- Neglecting to clean and etch the garage floor thoroughly
- Overlooking moisture issues or sealing cracks before applying epoxy
- Rushing the prep process, which can cause poor adhesion
- Ignoring your garage layout, resulting in uneven application areas
- Choosing epoxy color options without testing, risking mismatched or unsatisfactory results
Proper prep sets the foundation for your epoxy’s longevity. Remember, a well-prepared surface helps the epoxy adhere evenly and reduces the risk of peeling, especially if you plan to customize your garage with different epoxy color options.
Frequently Asked Questions
How Long Should I Wait Before Applying Epoxy After Preparation?
You should wait at least 24 hours after preparation before applying epoxy to guarantee proper curing time. This allows the surface to dry completely, enhancing epoxy adhesion. Rushing this step can lead to peeling or uneven application. If your environment is cooler or more humid, consider waiting longer to ensure the surface is fully cured. Patience here guarantees a durable, long-lasting epoxy finish that resists peeling.
Can I Use Household Cleaning Products to Clean My Garage Floor?
You shouldn’t use household cleaners to clean your garage floor before applying epoxy, as they may contain ingredients that affect surface compatibility. Instead, opt for a degreaser or a concrete cleaner specifically designed for prepping surfaces. Household cleaners can leave residues or damage the concrete, leading to poor adhesion or peeling. Proper cleaning guarantees your epoxy bonds well and lasts longer, so choose the right products for a durable finish.
What Are the Signs That My Floor Needs Repair Before Epoxy?
Imagine your garage floor as a canvas; cracks and damp spots are warning signs it’s time for repairs. Check for visible cracks, especially those wider than a pencil’s lead, indicating structural issues. Conduct moisture testing to detect trapped water, which can cause epoxy failure. If you notice uneven patches or peeling paint, it’s a sign your surface needs fixing before applying epoxy, ensuring a long-lasting, durable finish.
Is It Necessary to Remove Old Paint or Coatings Before Applying Epoxy?
Yes, you need to remove old paint or coatings before applying epoxy. Proper paint removal guarantees coating compatibility and prevents peeling or lifting later. Use a wire brush, grinder, or chemical stripper to get rid of loose or incompatible coatings. Skipping this step can cause adhesion problems, compromising the durability of your epoxy floor. Taking the time to prep thoroughly guarantees a long-lasting, professional-looking finish.
How Do I Prevent Bubbles or Bubbles Formation During Epoxy Application?
Did you know that improper epoxy application causes up to 80% of bubbles? To prevent bubbles, you should vent bubbles as soon as you see them, which breaks the surface tension that traps air. Work in a dust-free environment, and mix epoxy slowly to reduce air incorporation. Using a roller or squeegee smoothly helps eliminate surface tension issues, ensuring a bubble-free, durable finish that lasts.
Conclusion
Proper prep can make or break your epoxy’s lifespan—did you know that surfaces not adequately prepared are 80% more likely to peel? By cleaning thoroughly, testing for moisture, repairing damage, and choosing the right primer, you set your garage up for lasting durability. Skipping these steps increases the risk of failure. Take your time with prep—your epoxy floor will look better and last longer, saving you money and hassle in the long run.