To arrange 24×36 frames without guessing, start by measuring your wall precisely and planning your layout with a mockup tool or paper templates. Consider a balanced style, like a grid or symmetrical pattern, and use spacing guidelines to keep everything even. Use a level and proper hardware to hang frames safely. If you adapt your layout for irregular walls or try different arrangements, you’ll achieve a polished look. Keep going to discover more tips for a perfect gallery wall.
Key Takeaways
- Measure your wall and plan spacing to ensure even distribution of the 24×36 frames.
- Create paper templates of the frames and arrange them on the wall to visualize layout before hanging.
- Use a level and painter’s tape to mark precise placement points, ensuring straight and balanced alignment.
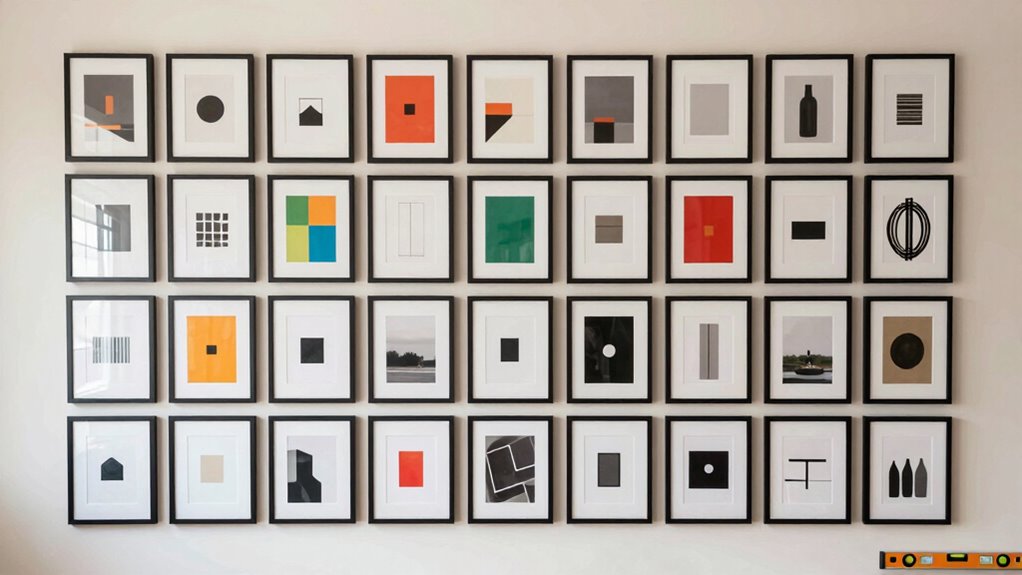
- Consider a grid or symmetrical layout to maintain order and prevent guesswork.
- Incorporate visual guides and digital tools to experiment with arrangements, ensuring a cohesive and intentional design.

upsimples 24×36 Poster Frame Black 3 Pack, Scratch-Proof Picture Frames 24 x 36 for Photo Gallery – Slide-In Strips, Horizontal or Vertical Wall Mounting
SIZE: 24×36 poster frame is designed in a modern style and is suitable for hanging on any wall…
As an affiliate, we earn on qualifying purchases.
As an affiliate, we earn on qualifying purchases.
Why Planning Makes Your Gallery Wall Look Amazing
Planning your gallery wall is essential because it helps you create a cohesive and balanced look. When you plan ahead, you can focus on color coordination, ensuring that frames and artwork complement each other rather than clash. Mixing different frame styles adds visual interest, but without planning, it can become chaotic. By arranging your pieces beforehand, you can experiment with placement, pairing similar tones or contrasting hues intentionally. This process allows you to see how various frame styles work together and how colors unify the overall design. Additionally, understanding visual cues can improve your ability to create harmonious arrangements. Recognizing spatial relationships between artwork and surrounding decor also guides you in achieving a balanced composition. Incorporating design principles such as balance, rhythm, and emphasis can further elevate your gallery wall’s aesthetic. Awareness of visual hierarchy helps ensure that the most important pieces stand out and draw attention. Using grocery savings strategies to plan your shopping for supplies like frames and mats can also help you stay within budget. Ultimately, a thoughtful approach results in a polished, harmonious gallery wall that enhances your space and reflects your style perfectly.

Big John Products The Ultimate Picture and Wall-Hanging Template
Weight: 1 lbs
As an affiliate, we earn on qualifying purchases.
As an affiliate, we earn on qualifying purchases.
How to Measure Your Wall and Frames Accurately
Accurate measurements are the foundation of a successful gallery wall, ensuring your artwork and frames fit perfectly within your space. Start by measuring your wall’s width and height, noting any architectural features that might influence placement. Use a tape measure for precision, and consider the space you want between frames for visual balance. When measuring your 24×36 frames, include the entire frame, not just the artwork, to plan spacing effectively. Think about your color schemes—lighter frames can make smaller spaces feel larger, while darker styles add contrast. Record all measurements clearly. This careful approach helps you visualize how different frame styles and colors will work together, preventing guesswork and ensuring a cohesive, polished look. Additionally, understanding proper spacing techniques can significantly enhance the overall aesthetic of your gallery wall.

Level Ruler Picture Hanging Tool with Level – Precision Wall Mount Guide for Frames & Artwork, Easy Alignment Hanging Tool with Built-In Level for Home Decor Installation
【3-in-1 Professional Hanging】 Combines a spirit level, measuring ruler, and magnetic nail starter into one compact tool. No…
As an affiliate, we earn on qualifying purchases.
As an affiliate, we earn on qualifying purchases.
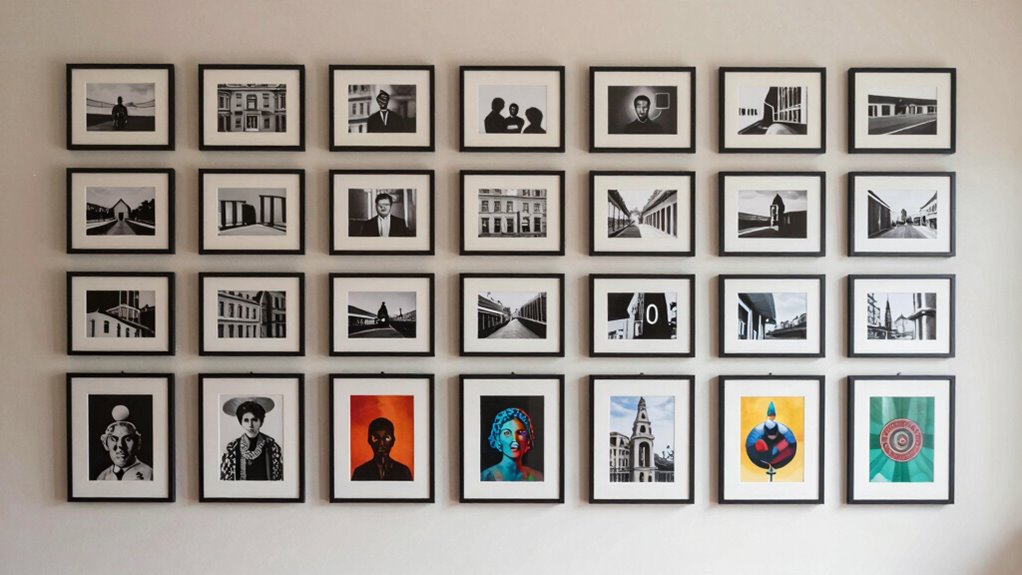
What Is the Best Layout Style for 24×36 Frames?
When choosing the best layout style for your 24×36 frames, consider the overall look you want to achieve and the space available on your wall. Vertical or horizontal frame orientation can drastically influence the visual impact; vertical orientations create a tall, elegant feel, while horizontal ones emphasize width. Your wall color also plays a key role—neutral walls make colorful frames pop, while darker walls add sophistication. For a clean, modern look, align frames in a grid or straight line, keeping spacing consistent. If you prefer a more dynamic display, opt for an asymmetrical arrangement, mixing orientations for visual interest. Ultimately, matching your chosen layout style with your wall color and frame orientation guarantees a cohesive, stylish gallery wall tailored to your space. Additionally, consider ventilation considerations to ensure your artwork remains in pristine condition over time.

Level Ruler Picture Hanging Tool with Level – Precision Wall Mount Guide for Frames & Artwork, Easy Alignment Hanging Tool with Built-In Level for Home Decor Installation
【3-in-1 Professional Hanging】 Combines a spirit level, measuring ruler, and magnetic nail starter into one compact tool. No…
As an affiliate, we earn on qualifying purchases.
As an affiliate, we earn on qualifying purchases.
How to Create a Mockup to Visualize Your Gallery Wall
To see how your gallery wall will look, start by choosing a mockup tool that’s easy to use. Once you have it, arrange your frames virtually to experiment with different layouts. This step helps you visualize the final result before committing to holes in the wall. Incorporating visualization techniques can enhance your confidence in the arrangement, ensuring it aligns with your aesthetic goals.
Choose a Mockup Tool
Creating a mockup is a crucial step in visualizing your gallery wall before committing to arrangements. To do this effectively, choose the right mockup tool that offers digital visualization features suited to your needs. There are many options, from user-friendly apps to more advanced software, allowing you to easily overlay frames on your wall photo. Look for tools that let you customize frame sizes, spacing, and layouts, so you can experiment without any physical effort. Some tools even allow you to import your own wall images, providing a realistic preview. Selecting the right mockup tool simplifies the planning process, helps you make confident decisions, and ensures your gallery wall turns out just as you envision it. Incorporating visualization techniques into your planning process can further enhance your ability to create a balanced and appealing display. Additionally, using digital design tools can streamline adjustments and improve overall accuracy before hanging.
Arrange Frames Virtually
Once you’ve chosen the right mockup tool, it’s time to arrange your frames virtually. Start by uploading your photos or artwork into the digital mockup. Use the virtual placement feature to position each frame on your wall layout, experimenting with spacing and alignment without moving physical frames. This allows you to see how different arrangements look before committing. Adjust the placement until you’re satisfied with the balance and flow of your gallery wall. A digital mockup offers a clear visualization, helping you avoid guesswork and costly mistakes. Incorporating visualization tools can make the process even easier and more intuitive. By visualizing your layout virtually, you gain confidence in your design choices and can easily make changes. This step ensures your final arrangement is perfectly tailored to your space and style.
How to Use Paper Templates to Test Your Arrangement First
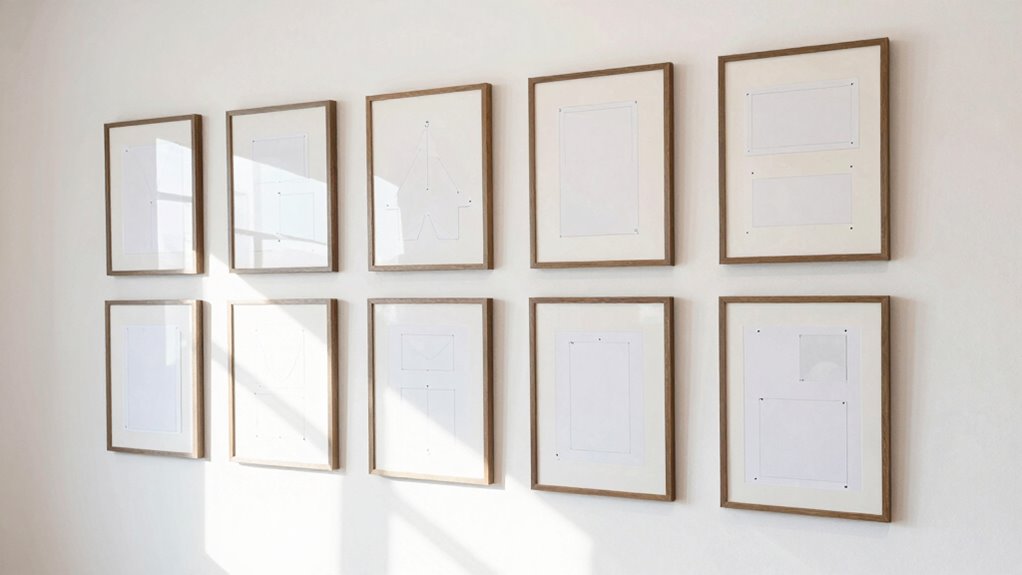
Using paper templates is a practical way to visualize your gallery wall before committing to nails or hooks. Create paper templates by tracing the back of your frames onto craft paper or newspaper. Cut out the templates and arrange them on your wall using painter’s tape, allowing you to experiment with layout without damage. This method simplifies arrangement testing, helping you find the perfect placement and spacing for each frame. It also makes it easy to adjust and refine your design before hanging actual artwork. With paper templates, you gain a clear sense of how your gallery will look, saving you time and frustration. Incorporating Free Floating design principles can help you achieve a more modern and balanced look for your gallery wall. This approach guarantees your final arrangement feels balanced and visually appealing, making gallery wall planning much smoother. Additionally, considering connected home fitness concepts can inspire innovative ways to integrate technology into your space for an enhanced environment. Being mindful of space‑saving techniques during your planning can further optimize your wall layout for a clutter-free and functional display.
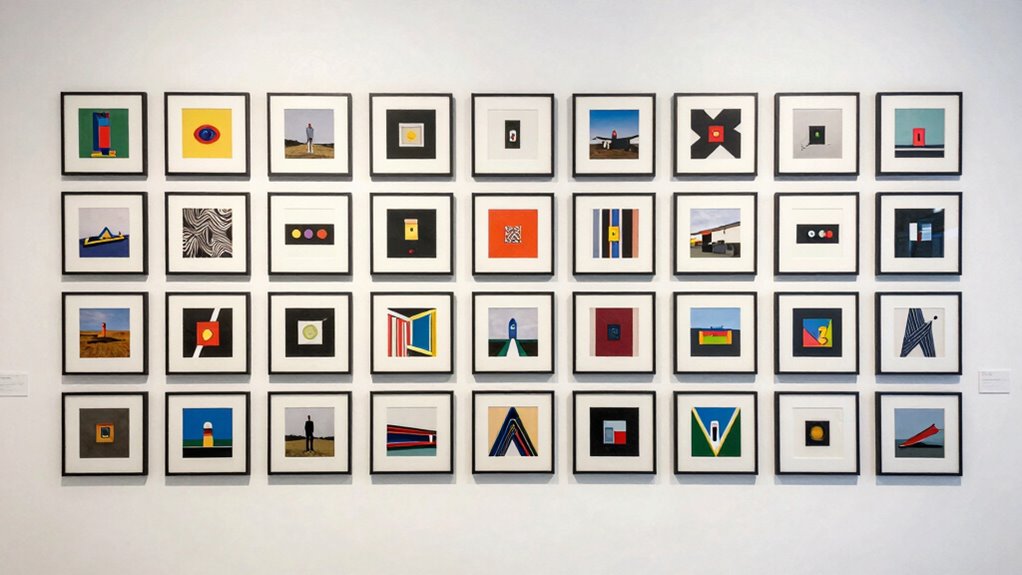
How to Achieve Balance and Symmetry in Your Gallery Wall
Achieving balance and symmetry in your gallery wall helps create a cohesive and pleasing display. Start by selecting frames with similar styles or color coordination to establish visual harmony. Use matching or complementary frame styles to anchor the arrangement, ensuring no single piece dominates. Distribute larger frames evenly across the wall to maintain symmetry, placing them at equal distances from the center. Incorporate smaller frames or art pieces around these to balance the overall look. Consider grouping frames in pairs or triptychs for structured symmetry. Consistently using color coordination—like neutral tones or a specific color palette—can unify diverse frame styles and artwork. This approach helps your gallery wall feel intentional and polished, avoiding clutter while highlighting each piece’s unique character. Understanding visual harmony is fundamental to creating a balanced and attractive gallery display.
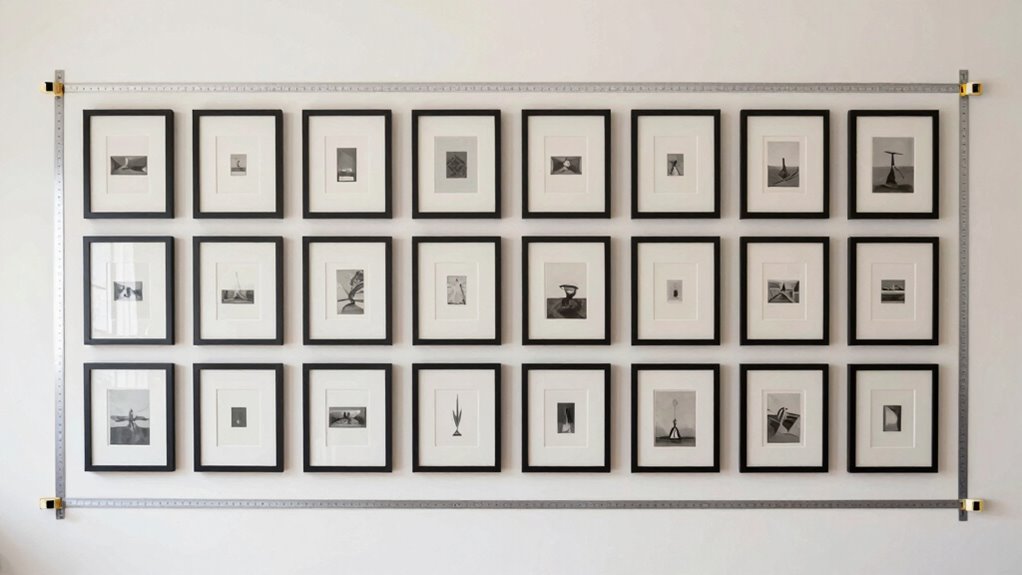
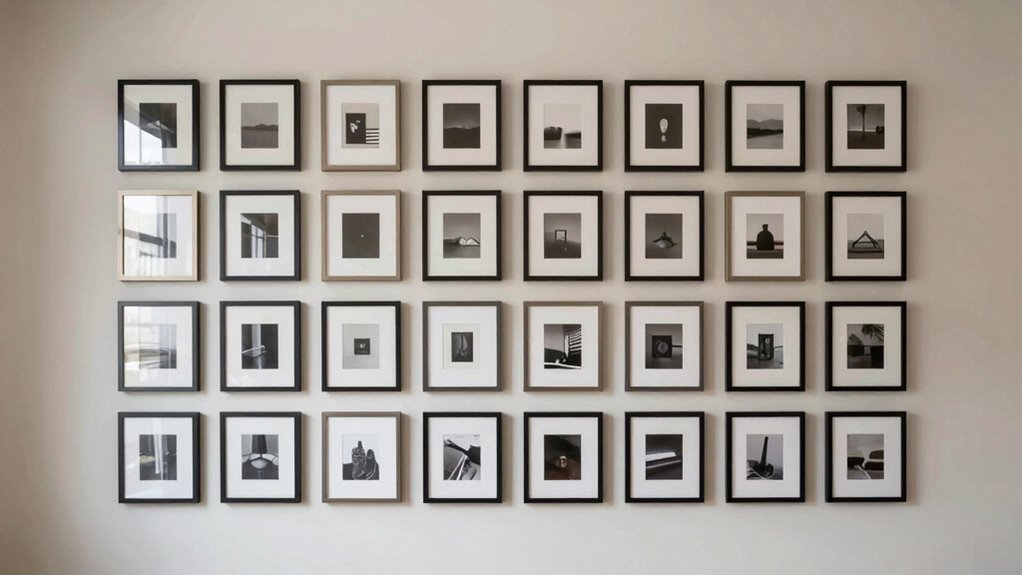
How to Space Your Frames for a Cohesive Look

To create a cohesive gallery wall, paying attention to spacing is key. You should aim for equal gaps between frames and keep their centers aligned for a polished look. Using visual guides like painter’s tape can help guarantee your spacing and alignment are just right.
Equal Space Between Frames
Ensuring equal spacing between your frames creates a balanced and polished gallery wall. Proper frame spacing enhances visual balance, making your display feel intentional and cohesive. To achieve this, consider the following:
- Use a ruler or spacer to maintain consistent gaps between frames.
- Keep the same distance from each frame to the edges of the arrangement for uniformity.
- Measure carefully before hanging to prevent uneven spacing that disrupts the overall look.
Consistent frame spacing ensures your gallery wall looks professional and harmonious. It draws attention to your artwork without distraction, making each piece stand out. Remember, even spacing isn’t just about aesthetics—it’s about creating a visual rhythm that guides the eye smoothly across your display. Prioritize these details for a clean, unified appearance that elevates your space.
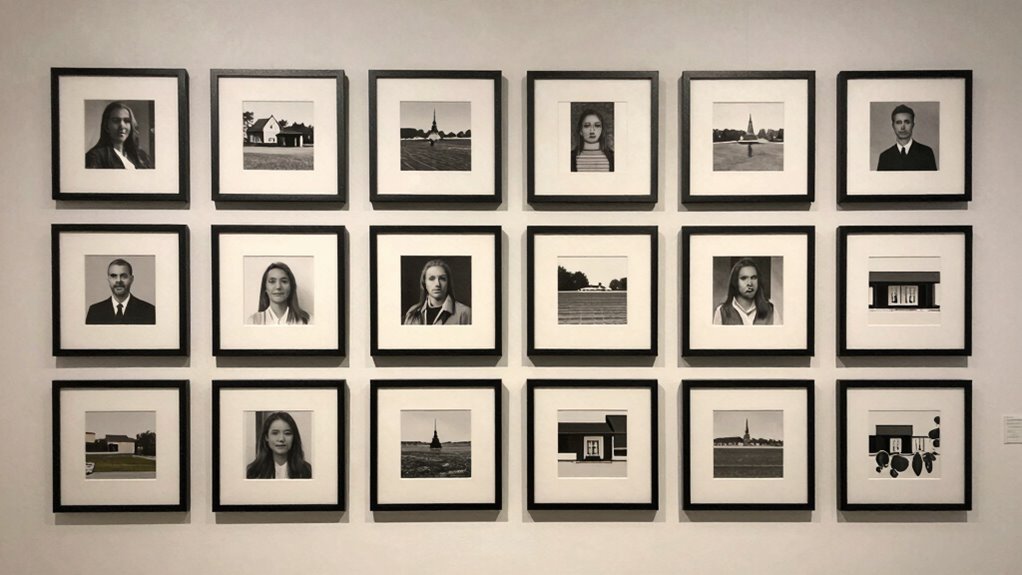
Consistent Center Alignment
Have you ever noticed how a gallery wall can look perfectly balanced when all the frames are centered around a common point? Achieving visual consistency depends on consistent center alignment. To do this, choose a central reference point—like a line or a point on the wall—and align all frames to it. This method guarantees each frame shares the same vertical or horizontal center, creating harmony. Here’s a visual example: media literacy is essential in understanding how images and information are presented, ensuring your gallery wall remains authentic and visually appealing.
Use of Visual Guides
Using visual guides is essential for spacing your frames evenly and creating a cohesive gallery wall. They help establish a clear visual hierarchy, ensuring each piece fits harmoniously within the overall design. To achieve this, consider these tips:
- Use painter’s tape or paper templates to outline frame placements before hanging, maintaining consistent spacing.
- Align frames by their top or bottom edges to create a structured look.
- Coordinate colors across frames to enhance visual flow and unity.
These guides prevent guesswork, making it easier to balance the gallery wall. Proper spacing and color coordination draw the eye smoothly across the display, resulting in a polished, professional appearance. Visual guides are your secret weapon for a balanced, attractive arrangement.
Tips for Hanging 24×36 Frames Safely and Precisely

Hanging a large 24×36 frame requires careful planning to keep it secure and level. Start by choosing strong hanging hardware, like heavy-duty picture hooks or wall anchors, to support the weight. Use a level to ensure your frame is perfectly straight. Before drilling, double-check your measurements and mark the spots carefully. Safety tips include wearing protective eyewear and using a sturdy ladder to avoid falls. When attaching hardware, follow the manufacturer’s instructions for weight limits. Always test the stability by gently tugging the frame after hanging. Remember, proper hardware and precise placement are key to preventing accidents and ensuring your large frame stays securely in place. Additionally, verifying the wall’s material and choosing appropriate anchors can help prevent damage and ensure long-term stability for your home’s safety. It’s also helpful to consider wall material when selecting anchors to ensure the most secure hold. Understanding wall construction can further improve the hanging process and protect your artwork over time. Being aware of wall composition can help you choose the right tools and techniques for a safe installation. Incorporating appropriate hardware tailored to your wall type can make the entire process smoother and more reliable.
How to Adjust Your Layout for Different Wall Shapes and Sizes

Adapting your gallery wall layout to fit different wall shapes and sizes requires strategic planning. Consider the unique features of your wall shape—whether it’s a narrow corridor, a wide expanse, or an angled surface—and adjust accordingly. For irregular or curved walls, use flexible arrangements like asymmetrical layouts or floating frames to complement the space. When working with different frame sizes, create a balanced look by mixing larger and smaller frames, ensuring they don’t overwhelm or get lost. Keep these tips in mind:
Adapt your gallery wall with varied frames and thoughtful spacing for any wall shape or size.
- Use a central anchor point for asymmetrical or irregular shapes
- Vary frame sizes to add visual interest while maintaining balance
- Measure and mark spacing carefully for non-standard wall shapes
This approach helps your gallery wall look intentional and harmonious, regardless of the wall’s shape or size.
Common Mistakes to Avoid When Arranging Your Gallery Wall
One common mistake is overcrowding your wall, which can make the display feel chaotic and overwhelming. Ignoring visual balance can also throw off the harmony of your arrangement, making it less appealing. To create a cohesive look, pay attention to spacing and the overall flow of your gallery. Additionally, understanding proper framing techniques can enhance the visual appeal and ensure your frames complement each other effectively. Considering gallery wall layout principles can help you plan a more harmonious and visually appealing arrangement. Incorporating visual balance strategies ensures your gallery wall remains engaging without feeling cluttered.
Overcrowding the Wall
When you overcrowd a gallery wall, it can quickly become overwhelming and detract from the individual pieces you want to showcase. Overpacking leaves no room for the eye to rest and diminishes the impact of your art. To avoid this, focus on spacing frames evenly and maintaining a clean look. Be mindful of your color coordination; too many contrasting hues can create chaos. Also, mix and match frame styles thoughtfully—uniformity can help create harmony. Here are common pitfalls to avoid:
- Filling every inch with frames, leaving no breathing space
- Using too many different colors or patterns that clash
- Combining incompatible frame styles that create visual clutter
Keep a balanced approach to highlight each piece and create a cohesive, inviting display.
Ignoring Visual Balance
Ignoring visual balance can make your gallery wall look chaotic, even if each piece is beautiful on its own. When you don’t consider the overall harmony, your frames may clash or seem out of place. Pay attention to color coordination and how your artwork complements the wall color. A balanced arrangement creates a cohesive look that feels intentional. For example, mixing dark and light frames without a plan can disrupt visual flow. To envisage this, consider the table below:
| Frame Type | Placement | Effect |
|---|---|---|
| Brightly colored | Center or focal point | Draws attention |
| Neutral tones | Surrounding areas | Creates harmony and balance |
Aligning these elements ensures your gallery wall looks polished, not cluttered.
Frequently Asked Questions
How Do I Choose the Right Wall for My Gallery Layout?
You should choose a wall with ample size, ideally at least 8 feet wide, to accommodate your 24×36 frames comfortably. Consider lighting considerations—pick a wall with good natural light or install spotlights to highlight your artwork. Avoid crowded or uneven walls, and think about how the space complements your room’s overall design. A well-chosen wall enhances your gallery’s impact and creates a balanced, inviting focal point.
What Tools Are Best for Hanging Large Frames Securely?
Think of hanging your large frames like anchoring a ship in a storm. Use sturdy hanging tools like drywall anchors or picture hooks rated for heavier weight, and pair them with quality security hardware such as wall anchors or D-rings. These tools guarantee your artwork stays secure, even when bumped or in motion. Trust in durable hardware to keep your gallery wall steady, making your display both beautiful and reliable.
How Can I Update or Change My Gallery Wall Over Time?
You can update your gallery wall easily by swapping out frames for new ones during your next frame replacement. To refresh the layout, rearrange your existing pieces or add new artwork, experimenting with different arrangements until you find one that feels right. Keep your tools handy for quick adjustments, and don’t hesitate to resize or reposition frames to keep your gallery dynamic and personalized over time.
What Are Tips for Arranging Frames in Irregularly Shaped Rooms?
When arranging frames in irregularly shaped rooms, you should focus on creating artistic balance and wall symmetry. Start by positioning larger frames toward the center or focal points, then fill in with smaller pieces around them. Use painter’s tape to visualize your layout before hanging, ensuring the arrangement complements the room’s unique shape. This approach helps your gallery wall feel intentional and harmonious, regardless of the room’s irregularities.
How Do I Incorporate Other Decor Elements Into My Gallery Wall?
Incorporate decorative accents like sculptures, plants, or unique lighting to elevate your gallery wall. To make it cohesive, make certain your decor elements and frames share a common color palette or style. This creates visual harmony and keeps the focus balanced. Experiment with different placements, mixing textures and heights, so your wall feels curated and personalized. Trust your eye and have fun blending art with other decor to reflect your personality.
Conclusion
Now that you’ve got the secrets to a perfect gallery wall, go forth and conquer your blank wall with confidence. Remember, planning isn’t just for nerds—it’s your shortcut to avoiding a chaotic frame mess. So, measure twice, hang once, and embrace the artful chaos that comes from a well-planned layout. After all, who needs a boring wall when you can have a masterpiece that makes guests say, “Wow, did you actually think this through?”