To create your own wall mural, start with careful planning by gathering inspiration, choosing a color scheme, and sketching your design. Measure your wall accurately and transfer your design using grids or projectors for precision. Apply a base coat, then layer colors and blend them smoothly for vibrant progressions. Step back often to assess your work and make adjustments as needed. Keep practicing and experimenting—if you keep going, you’ll master the art of mural painting.
Key Takeaways
- Plan your mural design by gathering inspiration, selecting a color palette, and creating sketches to visualize the final look.
- Measure wall space accurately and transfer your design using grid methods or projectors for precise outlining.
- Start with a base layer in the dominant color to establish a uniform surface before adding details.
- Use blending techniques with soft brushes or sponges to create smooth gradients and vibrant transitions.
- Continually step back to assess your work, adjusting colors and blending for depth, harmony, and a polished final result.
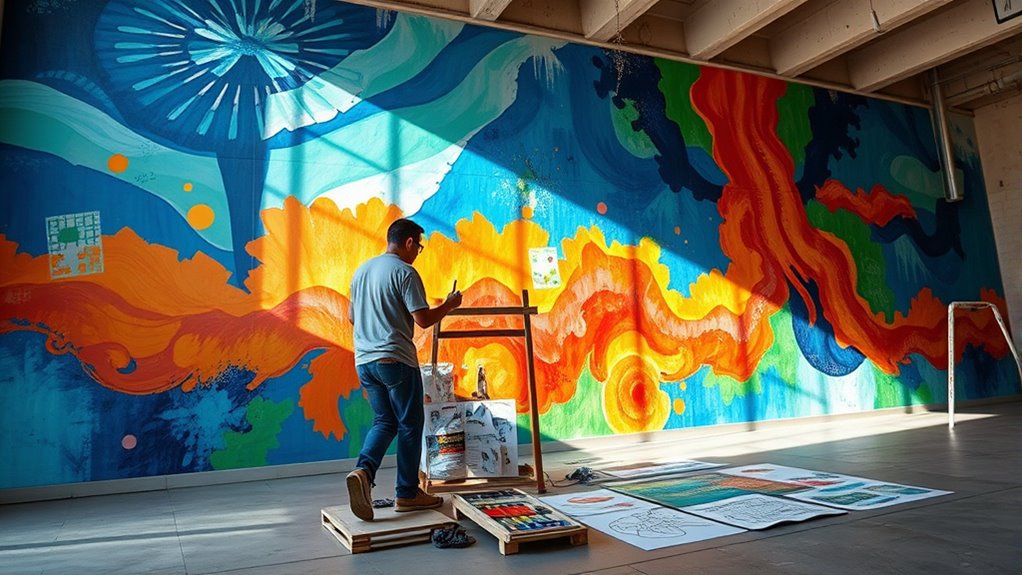
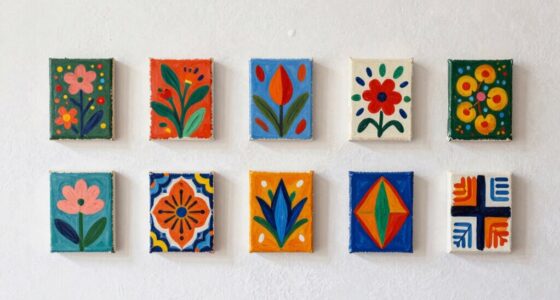
Creating a wall mural can transform a plain space into a stunning focal point, but it requires careful planning and preparation. The first step is to focus on your design planning, which sets the foundation for your entire project. Think about the mood you want to create and how the mural will complement the existing decor. Sketch out rough ideas or gather inspiration from images, color palettes, and themes that resonate with you. Once you have a clear vision, consider how colors will work together—this is where color blending becomes essential. Effective blending ensures smooth progressions between shades, creating depth and vibrancy in your mural. Decide on the color scheme early on and test how different hues interact on small samples before committing to large areas. This way, you avoid surprises once you start painting the actual wall.
Start your mural project with thoughtful design and color blending to ensure vibrant, harmonious results.
After solidifying your design plan, measure the space carefully, marking key points and outlines with light pencil lines or painter’s tape. This step helps keep your work aligned and proportionate. When it’s time to sketch your design onto the wall, keep your lines light and easy to erase or paint over. If your mural involves complex shapes or intricate details, transfer your design using grid methods or project images onto the wall with a projector. These techniques ensure accuracy and help you stay true to your original idea.
As you begin painting, start with a base layer in your dominant or background color. This creates a uniform surface and simplifies subsequent color blending. When adding details or shading, work in layers, blending colors smoothly to achieve realistic gradients or vibrancy. Use soft brushes, sponges, or blending tools to merge hues seamlessly, paying close attention to how colors evolve. Keep your workspace organized, and rinse brushes frequently to prevent muddying colors. If you’re blending multiple shades, work quickly before the paint dries to maintain smooth transitions. Additionally, adequate lighting will help you better see color variations and ensure consistent blending throughout your mural.
Throughout the process, step back frequently to assess your work from different angles. Adjust your color blending as needed, softening harsh lines or intensifying hues for depth. Patience is key—allow layers to dry properly before adding new ones or details. With thoughtful design planning and skillful color blending, your mural will come alive with vibrant, harmonious colors that transform your wall into a fascinating piece of art.
32PCS Paint Roller Kit with Extension Pole – 2 to 4 FT Pole, 4 inch 9 inch Paint Rollers, Paint Brushes for Walls, Painters Tape & Drop Cloth, Microfiber Roller Covers for Professional Painting
【32PCS All-in-One Paint Roller Kit】: The IDEAALS paint roller kit includes everything needed for your painting projects: paint…
As an affiliate, we earn on qualifying purchases.
As an affiliate, we earn on qualifying purchases.
Frequently Asked Questions
What Types of Paint Are Best for Wall Murals?
You should choose acrylic or latex paints for wall murals because they provide vibrant colors and excellent mural durability. Acrylics are especially favored for their quick drying time, flexibility, and resistance to fading and cracking over time. Latex paints are budget-friendly and easy to work with, making them a great option for both beginners and experienced artists. Both paint types guarantee your mural stays beautiful and durable for years to come.
How Do I Fix Mistakes During Mural Painting?
When you make mistakes during mural painting, don’t panic. Use touch-up techniques like gently blending edges and matching colors to fix errors. For larger issues, apply color correction by lightly repainting the affected area with the original hue and blending it seamlessly. Keep a small brush and your original palette handy, so you can quickly address mistakes and maintain a polished, professional look on your mural.
Can I Create a Mural on Textured Walls?
Wondering if you can create a mural on textured walls? Absolutely! Just keep in mind, proper wall preparation is key. Sand down rough patches and clean the surface thoroughly before starting. Then, plan your mural design carefully, considering the texture’s impact on detail. Using primer and flexible paints will help your artwork adhere better. With patience and the right techniques, you can turn textured walls into stunning murals.
What Tools Are Essential for Detailed Mural Work?
To achieve detailed mural work, you’ll need fine-tipped brushes for precision and larger brushes for background and color blending. Use a variety of brush techniques, like stippling and feathering, to add depth and texture. Incorporate color blending skills to create smooth progressions between hues. Keep your brushes clean and sharp, and consider using palette knives for sharp edges. These tools and techniques help bring your mural to vibrant, detailed life.
How Do I Protect My Mural From Fading Over Time?
To protect your mural from fading, you should apply a UV protective coating or mural sealant. These products create a barrier that blocks harmful UV rays and environmental damage, preserving your artwork’s vibrancy. Make sure to choose a high-quality, clear sealant suitable for your wall type. Regular touch-ups or reapplications can also help maintain the mural’s appearance over time, ensuring it stays beautiful for years.
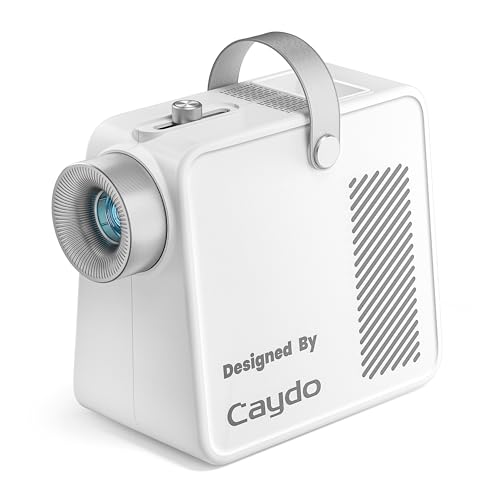
Caydo S1 LED Art Projector for Tracing, Enlarge Images 2.5X-11X up to 80", Portable Drawing Projector with Handle & Storage for Wall Murals, Sketching, Canvas Painting, 5" x 5" Copy Size
EASY IMAGE ENLARGEMENT: Tired of WiFi, Bluetooth, and app setups? The Caydo S1 tracing projector uses pure optical…
As an affiliate, we earn on qualifying purchases.
As an affiliate, we earn on qualifying purchases.
Conclusion
Now that you’ve finished your mural, you’ve transformed your space into a vibrant masterpiece, like Da Vinci’s brushstrokes on the Sistine Chapel. Remember, patience and passion are your best tools—each stroke brings your vision to life. So, step back, admire your work, and know you’ve created something truly unique. Just like a knight’s armor, your mural stands as a proof to your creativity, ready to inspire all who enter your newly painted domain.

13 Pcs Foam Paint Brushes 5 Sizes, 1'' 1.6'' 2'' 3'' 4'' Sponge Brush for Painting, Staining, Varnish, Touch Up, DIY Craft Projects
What’s Included: Each set contains 13 foam brushes of multiple sizes: eight 1-inch, two 2-inch, one 1.6-inch, one…
As an affiliate, we earn on qualifying purchases.
As an affiliate, we earn on qualifying purchases.
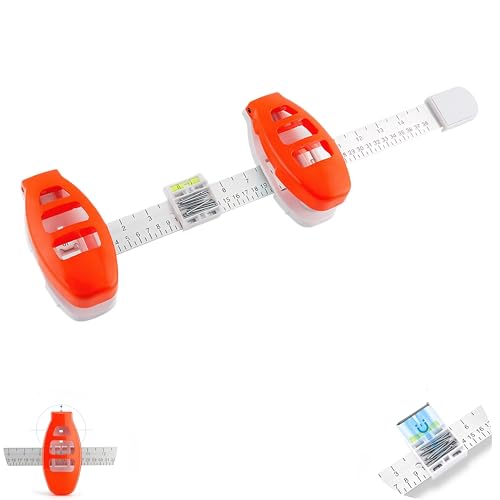
2026 Creative Wall Hanging Tool with Level, Picture Hanging Leveling Tool & Picture Hanging Ruler with Level, Bubble Level & Marking Guide for Wall Art, Mirrors, Shelves (orange)
Precision Alignment Made Simple: This picture hanging tool combines a level tool with a ruler with level so…
As an affiliate, we earn on qualifying purchases.
As an affiliate, we earn on qualifying purchases.