Dustless sanding isn’t magic; it takes proper techniques, compatible equipment, and consistent maintenance. You need to select tools with built-in dust collection features, ensure they fit with effective vacuum systems, and seal off your workspace to contain dust. Regularly inspecting hoses, filters, and connections keeps your system working efficiently. If you want to know the precise steps to truly capture dust and keep your workspace clean, there’s much more to discover below.
Key Takeaways
- Proper equipment setup and airflow management are essential for effective dust capture during sanding.
- Use compatible tools with sealed dust ports and high-efficiency filters to prevent dust escape.
- Seal work areas with barriers and create negative pressure to contain dust during sanding.
- Regular maintenance of hoses, filters, and seals ensures optimal dust collection performance.
- Troubleshoot common issues like leaks or clogged filters promptly to maintain dust containment efficiency.

Hyde Tools 09165 Dust-Free Drywall Vacuum Hand Sander with 6-Foot Hose
Drywall hand sander attaches to any wet/dry vacuum for sanding without dust throughout your worksite
As an affiliate, we earn on qualifying purchases.
As an affiliate, we earn on qualifying purchases.
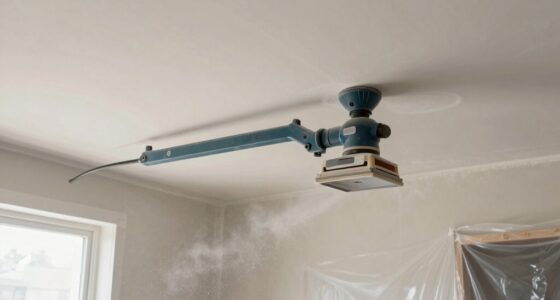
What Is Dustless Sanding and How Does It Work?
Dustless sanding is a method designed to minimize airborne dust particles during sanding projects. It achieves this through effective dust containment, which captures dust at the source before it can spread. You’ll notice that airflow enhancement is vital; by properly directing airflow, dust is pulled into collection systems rather than dispersing into the air. Specialized vacuum attachments and sealed sanding tools work together to create a controlled environment, reducing airborne debris. This not only keeps your workspace cleaner but also improves air quality and safety. To maximize efficiency, ensure your equipment is set up correctly for peak airflow. Understanding airflow dynamics can help you fine-tune your setup for even better dust capture, especially by adjusting ventilation techniques to enhance containment and dust control strategies. Additionally, being familiar with net worth and personal branding can help you better understand how to leverage your tools and environment for optimal dustless sanding results. Proper equipment maintenance is also essential to maintain optimal airflow and dust collection efficiency throughout your projects.

SKIL 5” Random Orbital Sander with Cyclonic Dust Box & 3pc Sanding Sheet – SR211601, Multicolor
POWERFUL – With a 2.8 amp motor and 13,000 orbits per minute, it's able to deliver a smooth…
As an affiliate, we earn on qualifying purchases.
As an affiliate, we earn on qualifying purchases.
How to Choose the Right Equipment for Dustless Sanding

When selecting equipment for dustless sanding, you need to guarantee it’s compatible with your projects and tools. Look for models with effective dust extraction features that keep your workspace clean and safe. Choosing the right equipment means balancing compatibility and excellent dust control to get the best results. Additionally, opting for energy-efficient cloud solutions can help you reduce your environmental impact while maintaining high-performance standards. Incorporating advanced dust filtration technologies ensures prolonged equipment life and improved air quality during sanding operations. To maximize effectiveness, consider evaluating the dust collection system to ensure it meets the specific requirements of your sanding tasks. Understanding dust extraction technology is crucial for selecting equipment that truly captures dust at the source, especially when considering the different home theatre projector technologies and their dust management needs.
Compatibility of Equipment
Choosing the right equipment is crucial to guarantee effective dustless sanding, especially since not all tools are designed to handle the specific demands of dust containment systems. You need to confirm equipment compatibility between your sander and dust collection filters. Check if your sander’s dust port fits seamlessly with your dust collection system to prevent leaks and maximize efficiency. Using incompatible tools can lead to dust escape, reducing the effectiveness of your setup. Confirm that your sander’s dust collection filters are suitable for the job, offering proper filtration and airflow. Investing in compatible equipment ensures your system functions smoothly, minimizes airborne dust, and keeps your workspace cleaner and safer. Always verify compatibility before starting, to get the best dustless sanding results. Proper equipment compatibility is essential for achieving safe and efficient dust containment during sanding projects. Additionally, understanding the equipment compatibility standards can help you select components that work well together and avoid costly mistakes. Being aware of industry standards can also guide you in choosing reliable and compatible dust collection solutions. To ensure optimal performance, consider consulting manufacturer specifications to match your tools and filters precisely.
Effective Dust Extraction Features
To guarantee effective dust extraction during sanding, you need equipment equipped with features that maximize dust containment and air filtration. Look for tools with:
- High-efficiency dust collection ports that trap dust at the source.
- HEPA filters that remove fine particles, improving air quality.
- Sealed systems that prevent dust escape, ensuring better containment and cleaner workspaces. Proper maintenance of the system is crucial to sustain optimal performance and prevent dust leakage.
A properly maintained system ensures consistent performance and reduces the risk of dust leakage over time.
These features work together to minimize airborne dust and maintain a safer environment. Proper dust containment reduces cleanup time and health risks, while advanced air filtration ensures the air remains safe to breathe. When choosing equipment, prioritize those with robust dust extraction capabilities that focus on both efficient dust capture and filtration. Doing so guarantees a cleaner, safer, and more effective sanding process. Dust control is essential for maintaining a healthy workspace and ensuring the safety of everyone involved.
SKIL 5” Random Orbital Sander with Cyclonic Dust Box & 3pc Sanding Sheet – SR211601, Multicolor
POWERFUL – With a 2.8 amp motor and 13,000 orbits per minute, it's able to deliver a smooth…
As an affiliate, we earn on qualifying purchases.
As an affiliate, we earn on qualifying purchases.
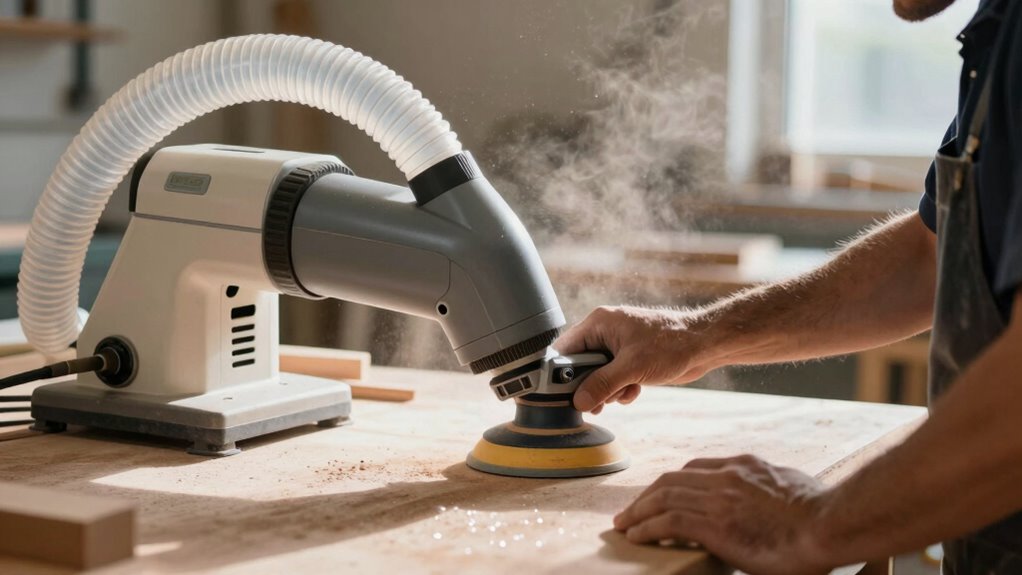
How to Maximize Dust Collection During Sanding

To maximize dust collection during sanding, start by sealing off your work area to contain dust. Make sure you’re using the right equipment and that your dust collection system is working properly. Regularly maintain and check your system to keep dust levels as low as possible. Incorporating connected equipment can also help monitor and optimize dust extraction performance throughout your project. Additionally, using proper filtration systems ensures that dust is effectively captured and that indoor air quality remains safe. Employing dust containment strategies can further enhance overall dust control during sanding. Understanding the importance of performance upgrades can help you choose the most effective tools and systems for your dust management needs. Integrating smart sensors can provide real-time feedback on dust levels, enabling more proactive adjustments during your work.
Seal Off Work Area
Have you ever tried sanding without properly sealing off your work area? Without a barrier, dust easily escapes, reducing dust collection efficiency and risking airborne particles. To maximize dust containment, focus on sealing your space effectively. Consider these steps:
- Use plastic sheeting or dust barriers to enclose the work zone.
- Ensure doors and windows are tightly closed, blocking ventilation leaks.
- Create negative pressure by venting dust outside, improving ventilation strategies and safety precautions.
Additionally, maintaining proper airflow control ensures dust remains contained and minimizes dispersion during sanding. Proper sealing not only keeps dust in check but also helps dust collection system operate at peak performance, reducing cleanup time.
Sealing off the area minimizes dust dispersion, making cleanup easier and reducing health risks. Proper sealing enhances your dust collection system’s effectiveness, ensuring that dust stays contained where it belongs. Always remember, safety precautions demand that dust doesn’t linger in the air, protecting your workspace and health.
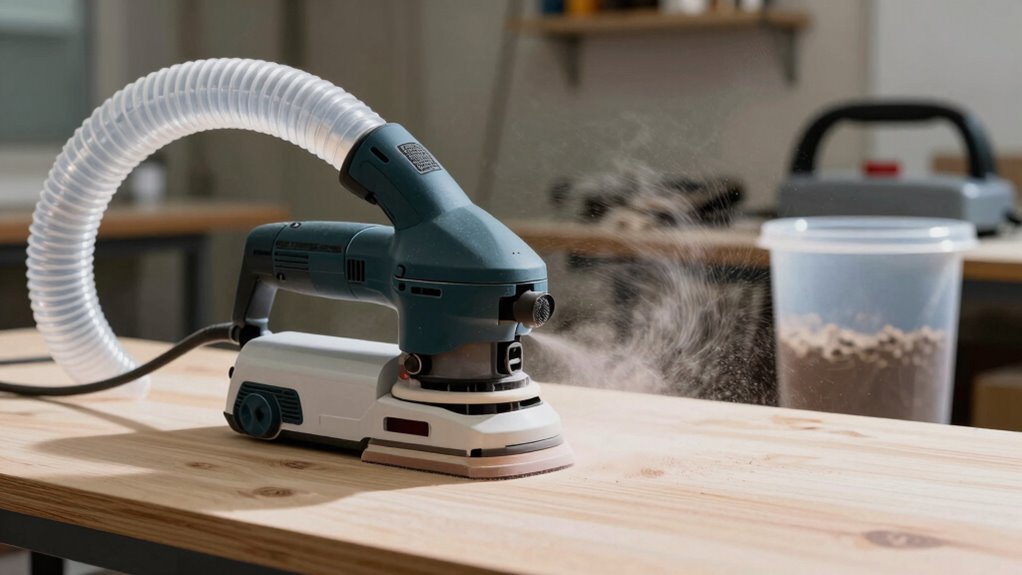
Use Proper Equipment
Using the right equipment is vital for maximizing dust collection during sanding. Choose tools equipped with built-in dust ports that connect directly to your vacuum system. Make sure your sander has proper dust collection features designed for sanding safety, reducing airborne particles effectively. Regular equipment maintenance is essential; check hoses, filters, and seals to prevent leaks and maintain suction power. Use high-quality vacuum systems that are compatible with your tools to improve dust capture. Properly fitted attachments and accessories create a tighter seal, minimizing dust escape. Always inspect your equipment before starting, and replace worn or damaged parts promptly. Investing in the right equipment and maintaining it guarantees safer work conditions and more efficient dust collection, making your sanding projects cleaner and healthier.
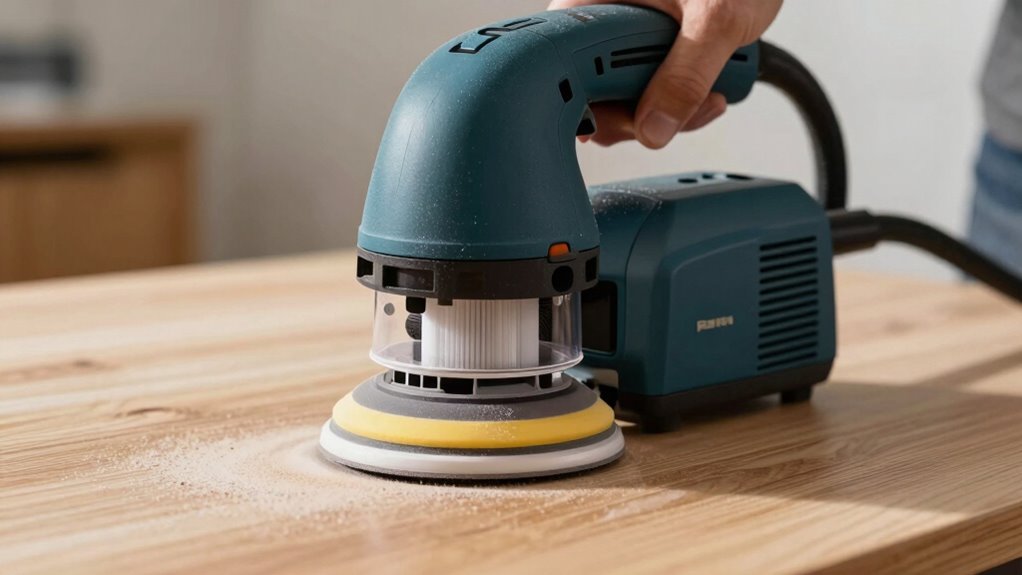
Maintain Dust Collection System
Maintaining your dust collection system is essential for maximizing its efficiency during sanding. Proper upkeep ensures ideal dust filtration and airflow management, preventing dust buildup that can reduce performance. To keep your system working effectively:
- Regularly check and replace filters to maintain proper dust filtration.
- Clear debris and blockages from hoses and vents to improve airflow management.
- Inspect seals and connections to prevent leaks that compromise dust capture.
These steps help sustain strong airflow, ensuring dust is captured at the source. Consistent maintenance not only prolongs the lifespan of your equipment but also creates a safer, cleaner workspace. Remember, a well-maintained system captures more dust and keeps your environment healthier.

Fein OEM Flat Pleated Filter – HEPA Special Filter for 0.3 Micron Hazardous Dust Filtration, Replacement Dust Extractor Filter Compatible with Turbo II X AC Vacuum – 31345274010
High-Efficiency Filtration – Advanced HEPA design captures fine dust particles down to 0.3 micron, ensuring a cleaner, safer…
As an affiliate, we earn on qualifying purchases.
As an affiliate, we earn on qualifying purchases.
What Common Mistakes Hurt Your Dustless Sanding Results

What are the most common mistakes that can ruin your dustless sanding efforts? One major error is neglecting equipment maintenance. If your tools aren’t properly maintained, dust collection systems can lose efficiency, letting dust escape into the air. Another mistake is ignoring safety precautions; rushing through the process or skipping protective gear can compromise your health and the quality of your work. Using worn-out sanding pads or clogged filters also reduces dust capture, making your efforts less effective. Additionally, improper setup—like incorrect hose connections—can create leaks that allow dust to escape. Always double-check your equipment before starting, follow safety guidelines, and keep your tools in top condition. These simple steps ensure cleaner, safer, and more effective dustless sanding results.
How to Troubleshoot Dust Collection Problems
Are you noticing dust escaping despite your efforts? Troubleshooting dust collection problems is vital for sanding safety and effective dust control tips. First, check your dust port connections: loose or damaged fittings can cause leaks. Second, ensure your vacuum or dust collector is operating at full power—insufficient suction reduces dust capture. Third, inspect the sanding pad and sander for blockages or damage that might hinder dust extraction. By addressing these issues, you keep dust contained and maintain a safer workspace. Proper maintenance and regular checks help prevent dust from escaping, making your sanding safer and more efficient. Remember, consistent troubleshooting preserves dust control and guarantees your sanding safety is never compromised.
Which Dustless Sanding System Is Best for Your Needs
Choosing the right dustless sanding system depends on your specific needs and the scope of your projects. If maintaining high air quality is a priority, look for systems with strong filtration and efficient dust collection. For smaller jobs or indoor use, a compact, portable system with quiet operation can minimize noise levels and reduce disruption. Larger projects may require industrial-grade units with higher suction power and larger collection capacity. Consider your workspace’s ventilation and whether noise levels matter—quieter systems improve comfort and safety. Also, evaluate the system’s compatibility with your existing tools and its ease of maintenance. Ultimately, selecting the best dustless sanding system involves balancing air quality, noise levels, and your project requirements for *superior* results.
Frequently Asked Questions
How Often Should I Clean My Dust Collection System?
You should clean your dust collection system regularly, ideally after each use, to guarantee maximum performance. Follow a maintenance schedule that includes inspecting and emptying the collection bin and replacing filters when they become clogged or dirty. Generally, filter replacement is needed every few months, depending on usage. Keeping up with these steps helps maintain efficient dust capture, prolongs your system’s lifespan, and keeps your workspace safer and cleaner.
Can Dustless Sanding Be Used on All Surface Types?
Dustless sanding works well on many surface types, but you should consider surface compatibility and material limitations. It’s most effective on smooth, non-porous surfaces like drywall, hardwood, and laminate. However, on rough, textured, or delicate surfaces, dustless sanding may not deliver ideal results and could cause damage. Always evaluate the specific surface and material limitations before using dustless sanding to guarantee a clean, safe finish.
What Safety Precautions Are Necessary During Dustless Sanding?
Think of dustless sanding as maneuvering a storm—you need proper gear. You should wear respiratory protection to avoid inhaling dust particles and guarantee ventilation measures are in place to keep the air clear. Always use a dust collection system and work in well-ventilated areas. These precautions help protect your lungs and create a safer environment, making sure you’re not caught off guard by hidden hazards during the process.
Is Special Training Required for Effective Dustless Sanding?
You don’t necessarily need special training for effective dustless sanding, but understanding proper dust collection techniques is vital. With proper training, you’ll learn how to set up equipment correctly, guarantee optimal dust extraction, and maintain safety standards. Investing in training helps you work more efficiently, reduces dust exposure, and improves results. So, while not mandatory, training greatly enhances your ability to perform dustless sanding effectively and safely.
How Does Dustless Sanding Impact Overall Project Costs?
Dustless sanding can initially increase your project costs due to specialized equipment and training, but it often saves money in the long run. You’ll spend less on cleanup and health-related expenses, and the process speeds up completion times. Conduct a thorough cost analysis and consider your budget considerations to determine if the efficiency and reduced mess justify the higher upfront investment. Overall, it can be a cost-effective choice.
Conclusion
Remember, dustless sanding isn’t magic—it’s a carefully choreographed dance between your tools and technique. When you choose the right equipment, master your dust collection, and avoid common pitfalls, you turn chaos into clarity. Think of it as taming a wild storm; with patience and the right steps, you’ll clear the air and leave your workspace shining. Embrace the process, and watch dust become nothing more than a distant memory.