
To get a huge, shadow-free image with your short-throw projector, carefully plan your setup by choosing a neutral matte wall or dedicated screen to prevent glare. Position the projector correctly—3 to 8 feet from the surface—then arrange furniture to avoid blocking the light path. Adjust brightness, contrast, and focus, while managing room lighting with dimmable fixtures and ambient lights. For proven tips on perfecting your setup, keep exploring these essential secrets.
Key Takeaways
- Mount the projector high on the ceiling to minimize obstructions and reduce shadows cast by people or objects.
- Use a short-throw or ultra-short-throw projector positioned close to the screen for large images with fewer shadows.
- Arrange seating and furniture to avoid blocking the projector’s light path, reducing shadow formation.
- Optimize room lighting with dimmable fixtures and strategic placement to prevent glare and minimize shadows.
- Select a smooth, matte wall or dedicated projection screen to enhance image clarity and lessen shadows or reflections.
How to Set Up Your Short-Throw Projector for a Shadow-Free, Stunning Display
To achieve a shadow-free, stunning display with your short-throw projector, proper setup is crucial. Start by calibrating your projector to guarantee sharp image quality and accurate colors. Adjust the focus and keystone settings so the image is square and clear. Next, consider ambient lighting; dim or control lights in the room to reduce glare and prevent washout, which can cause shadows and diminish picture quality. Position your projector at the correct distance from the screen, following the manufacturer’s guidelines, to avoid distortions and shadows cast by objects or people. Keep the projection surface smooth and clean for maximum clarity. Additionally, ensure your smart-home integration includes lighting controls that can automatically adapt to your viewing environment. Proper room layout can also help minimize shadows and optimize viewing angles. Being mindful of ambient light management is essential for maintaining consistent picture quality and shadow reduction. Also, using proper mounting techniques can help ensure the projector remains stable and aligned for the best image quality. By fine-tuning your projector’s calibration and managing ambient lighting, you’ll create a bright, shadow-free display that truly pops.
Understanding Why Shadows and Glare Are Common With Short-Throw Projectors

Shadows and glare are common issues when setting up short-throw projectors because of their close proximity to the screen. This positioning often causes your body or objects to cast shadows on the projected image, especially if the projector uses standard lens types that produce sharp or distorted images. Additionally, ambient light management becomes vital, as nearby light sources can create glare, washing out the picture’s clarity. Different projector lens types, like ultra-short-throw or fixed lenses, impact how light interacts with your setup, influencing glare and shadow severity. To minimize these problems, it’s essential to carefully manage ambient light in the room and choose the right lens type for your projector. Proper setup ensures sharper images and reduces distracting shadows and glare. Moreover, considering innovative European cloud solutions can help optimize your setup process through smart lighting control and environmental management tools. Implementing environmental adjustments such as blackout curtains or adjustable lighting can further enhance image clarity and viewer experience, especially when integrating color accuracy considerations for optimal visual quality. Understanding the importance of lens technology can also significantly improve your overall projection quality. Additionally, exploring environmental factors like room size and reflective surfaces can further contribute to a better viewing experience.
Assessing Your Space and Planning Your Setup
Before setting up your short-throw projector, it’s essential to evaluate your space thoroughly. Start by judging your wall color, choosing a neutral, matte shade that minimizes glare and enhances image clarity. Bright or glossy walls can wash out the picture, so consider repainting or adding a matte screen. Next, measure your ceiling height to determine the ideal projector placement and throw distance. A higher ceiling may require adjustments to avoid shadows or obstructions, while a lower ceiling can simplify setup. Keep in mind that your furniture placement and viewing angle also influence the overall setup. Planning ahead ensures your projector fits well in your space, reduces shadow issues, and delivers a clear, immersive picture without the need for complicated adjustments later. Incorporating visual cues into your setup process can also help optimize image clarity and reduce shadows. Additionally, understanding your room’s ambient light conditions can further improve projection quality by allowing you to control glare and reflections. Paying attention to room layout considerations can help prevent unwanted shadows and optimize your viewing experience. Being aware of projection surface quality can also make a significant difference in image sharpness and color accuracy. Moreover, reducing unnecessary digital distractions can help you better focus on your viewing experience, creating a more immersive environment.
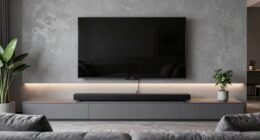
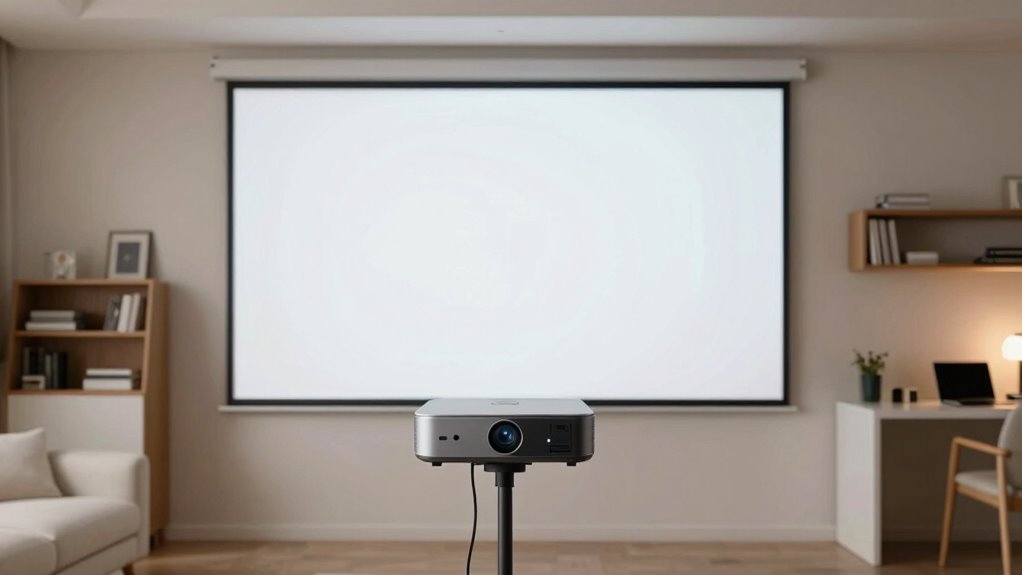
Choosing the Best Wall or Screen Surface for Clear Images
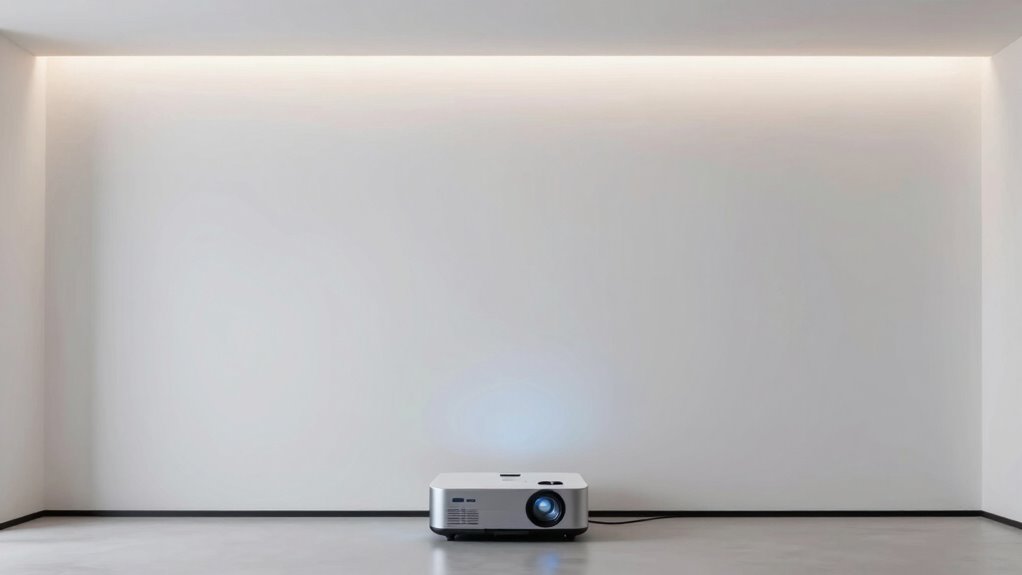
Choosing the right wall or screen surface is vital for maximizing your short-throw projector’s image quality. The wall texture plays an important role—smooth, flat surfaces prevent distortion and keep images sharp. Avoid textured or bumpy walls, as they can create shadows or blurriness. Instead, opt for a matte finish to reduce glare and reflections. Paint color also impacts clarity; light, neutral shades like white or light gray provide the best contrast and brightness. Dark colors absorb light and diminish image quality, while bright, reflective surfaces can cause unwanted glare. If possible, consider a dedicated projection screen designed for short-throw projectors, which offers ideal surface uniformity. By selecting a smooth, matte wall with a neutral paint color, you’ll ensure clear, vibrant images without distraction.
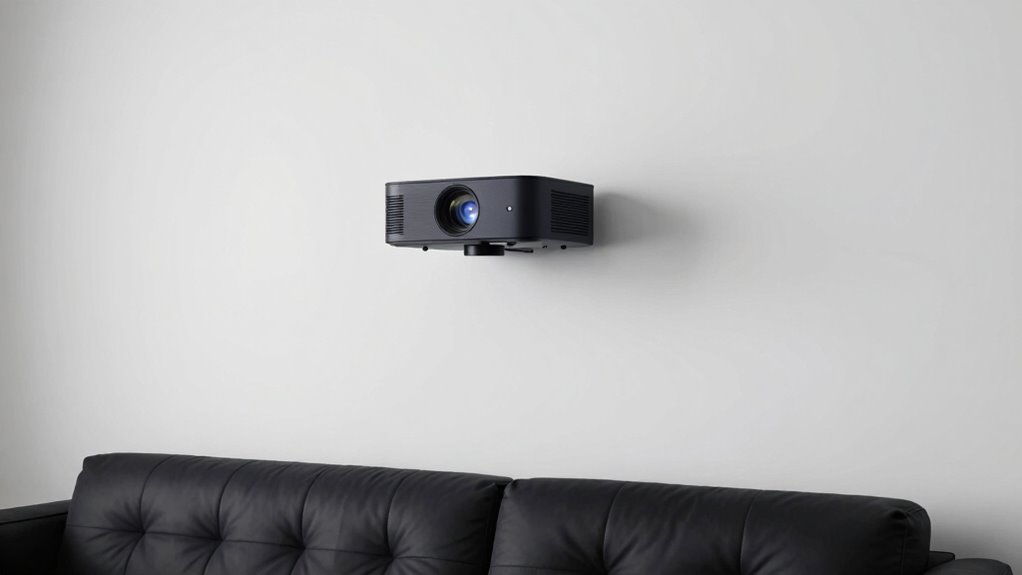
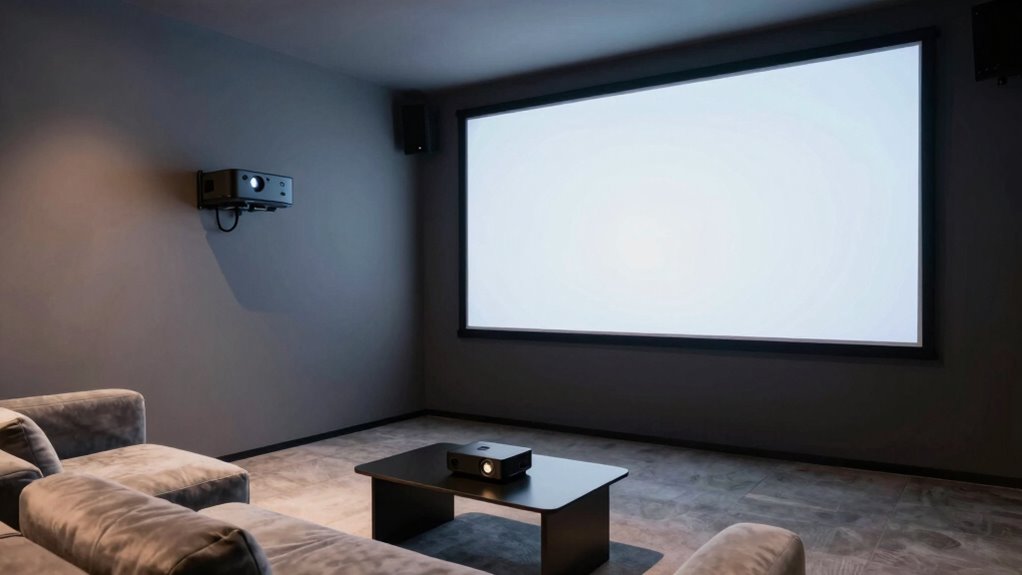
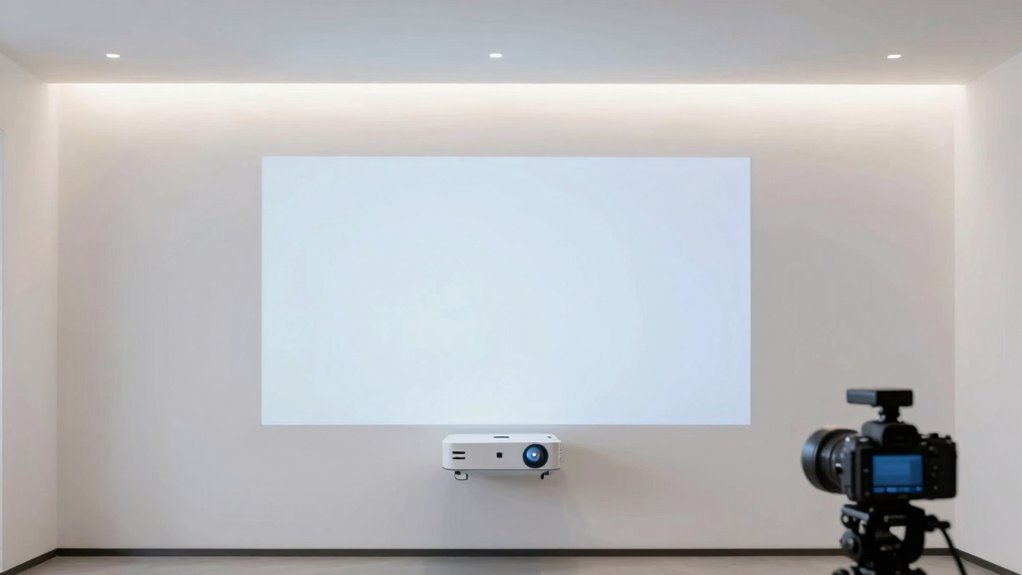
Where to Place Your Projector for the Best Results

To achieve the sharpest, most vibrant images, proper placement of your short-throw projector is crucial. Position it close to the screen, ideally 3 to 8 feet away, to minimize shadow casting and maximize image clarity. Keep the projector level and centered to prevent keystone distortion. Use the following table to guide your placement:
| Placement Tip | Details |
|---|---|
| Distance from screen | 3-8 feet for ideal focus and shadow prevention |
| Angle | Keep projector level and perpendicular to screen |
| Height | Align projector lens with the middle of the screen |
| Obstruction | Clear area around projector to avoid shadows |
| Wall surface | Mount on a stable surface for consistent projection |
Correct projector placement ensures shadow prevention and sharp visuals, enhancing your viewing experience. Proper positioning also helps optimize image quality and ensures your setup works seamlessly.
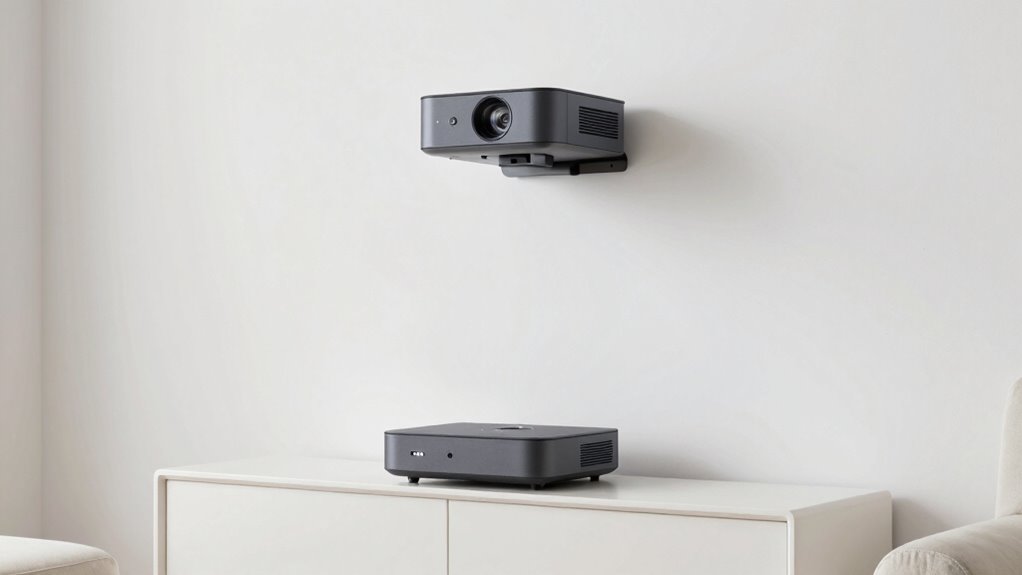
Mounting and Ceiling Setup Tips for Better Coverage
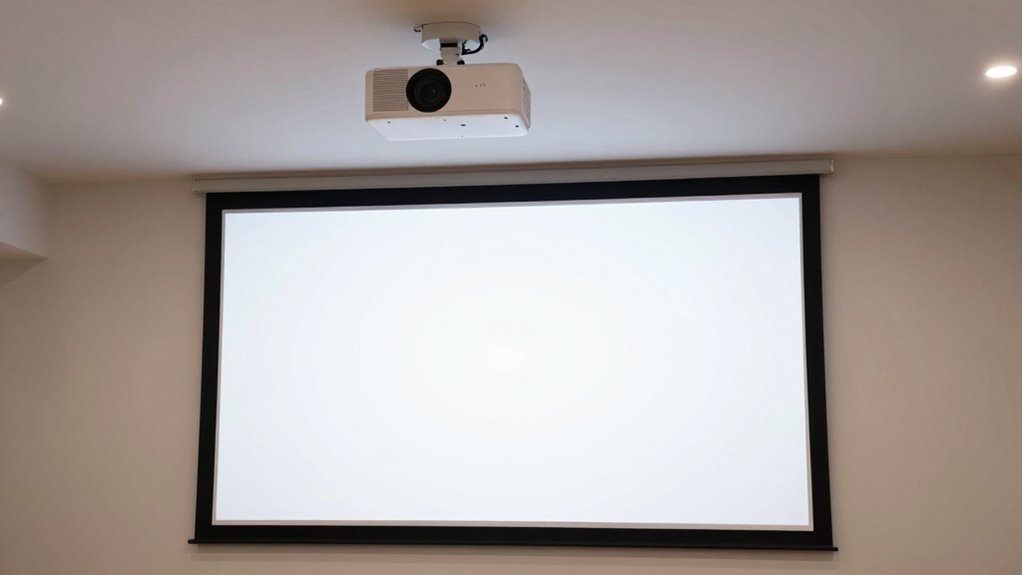
Proper mounting and ceiling setup are essential for achieving consistent coverage and ideal image quality. Your mounting height impacts how well the projector fills the screen, so adjust it based on your short-throw lens and room size. Consider your ceiling type—drywall, drop ceiling, or concrete—as each requires different mounting solutions and hardware to guarantee stability. Proper placement prevents shadows and ensures even illumination across the screen. Ensuring your setup adheres to projector installation best practices will further enhance your viewing experience. Keep the projector level and secure to maintain consistent coverage and focus. Additionally, verifying ventilation considerations helps prevent overheating and preserves your equipment’s longevity. Taking into account smart home automation can also streamline adjustments and control over your setup for optimal performance. Remember that proper mounting hardware is crucial to prevent accidents and maintain long-term stability. Ensuring your setup includes appropriate support brackets will also contribute to a safer and more reliable installation.
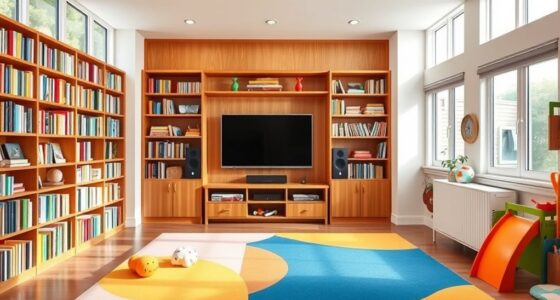
Arranging Furniture to Keep Shadows Out of the Way

Arranging your furniture thoughtfully can make a significant difference in preventing shadows during your movie or presentation. Focus on furniture arrangement to minimize objects that could block the projector’s light path or cast unwanted shadows. Keep seating and other large pieces positioned away from the projector’s beam, ensuring they don’t interfere with the light’s flow. Consider placing tables or shelves behind or to the sides of your viewing area, rather than directly in front, to improve shadow control. Using low-profile furniture also helps prevent tall objects from casting shadows on the screen. By carefully planning your furniture placement, you create a clear, unobstructed space for your projector’s light, reducing shadow problems and enhancing picture quality for an ideal viewing experience. Understanding room layout is key to creating an optimal setup that minimizes shadows and maximizes your viewing enjoyment, especially when applying simple furniture placement techniques.
Adjusting Brightness, Contrast, and Settings to Reduce Glare

Adjusting the brightness and contrast settings on your projector can substantially reduce glare and improve image clarity. Proper screen calibration ensures your display isn’t overly bright or dull, making details sharper and easier to see. Keep ambient lighting in mind; too much light can cause reflections and wash out the picture, so adjust settings accordingly to balance brightness without causing glare. Additionally, understanding art care principles can help maintain your display’s quality over time. Consider these tips: – Fine-tune contrast levels to deepen blacks and brighten whites without harsh reflections – Adjust brightness to match your room’s ambient lighting, avoiding overly luminous images – Use projector menus to calibrate your screen for superior color and clarity These adjustments help you get a clear, glare-free picture, making your viewing experience more comfortable and immersive.
Using Room Lighting to Minimize Shadows and Distractions
Lighting plays a crucial role in creating a clear and distraction-free viewing environment. To minimize shadows and glare, incorporate ambient lighting that provides gentle, even illumination without overpowering the screen. Use dimmable fixtures to adjust brightness as needed, avoiding harsh lights that can create unwanted reflections. Decorative lamps placed strategically around the room can help soften shadows cast by your short-throw projector, especially if positioned to the sides or behind the viewing area. Keep light sources away from the screen to prevent glare and reflections. The goal is to create a balanced lighting scheme that enhances visibility without competing with the projected image. Proper ambient lighting and well-placed decorative lamps ensure your focus stays on the picture, not distracting shadows or bright spots. Ensuring your lighting setup is properly configured can also prevent common issues like uneven illumination that distract from the viewing experience.
Wireless Screen Sharing Tips to Keep Your Space Clutter-Free
Are you tired of tangled cords and cluttered surfaces disrupting your viewing experience? Wireless screen sharing can help keep your space clean and organized. To maximize wireless connectivity, make certain your device and projector are on the same Wi-Fi network and within a good range. Proper projector placement is essential—position it to minimize obstruction and optimize signal strength. You can also use a wireless display adapter or streaming device to streamline setup. Consider placing your router centrally to boost signal stability. Keep cables hidden or tucked away to avoid clutter, and use wall mounts for your streaming devices. By focusing on seamless wireless connectivity and strategic projector placement, you’ll enjoy a tidy space with a huge picture and no distractions.
Frequently Asked Questions
How Can I Prevent Reflections on Glossy Surfaces?
To prevent reflections on glossy surfaces, use a matte screen or apply anti-reflective coatings, which reduce glare and improve image clarity. Position your projector away from direct light sources and adjust the angle to minimize reflections. Additionally, controlling ambient lighting helps. By combining matte screens with anti-reflective coatings, you create a viewing environment that’s free of distracting reflections, ensuring your image stays sharp and vibrant.
What Safety Precautions Are Needed for Ceiling-Mounted Projectors?
Did you know that ceiling-mounted projectors reduce tripping hazards by 30%? To keep safe, always follow safety guidelines when installing. Secure the projector with appropriate mounting hardware, making sure it’s firmly anchored to the ceiling joists or a suitable mount. Regularly inspect the hardware for wear or looseness, and avoid placing wires where they could cause tripping. Proper safety precautions protect you and ensure your setup stays secure.
How Do I Select the Correct Projector Throw Ratio?
You select the correct projector throw ratio by considering your projection distance and lens ratio. Measure the space from your projector to the screen, then choose a lens ratio that fits that distance. A short-throw lens is ideal for small spaces, while a standard lens suits longer distances. Ensuring the ratio matches your projection distance helps prevent shadows, keeps the image sharp, and maximizes screen size without distortion.
Can Ambient Light Affect Image Quality Significantly?
A little ambient light can subtly influence your image quality, making details less sharp and colors less vibrant. While not always dramatic, excessive ambient light can wash out your projector’s picture, reducing clarity. To keep your visuals crisp and vivid, control or minimize ambient light sources in your viewing area. Adjusting the projector’s brightness and using blackout curtains can also help maintain ideal image quality despite varying lighting conditions.
How Often Should I Calibrate My Projector for Optimal Performance?
You should calibrate your projector every 3 to 6 months to maintain ideal performance. Regular projector maintenance and calibration frequency ensure your image stays sharp, accurate, and vibrant. Keep an eye on color accuracy, brightness, and focus, especially if you notice dimming or color shifts. Consistent calibration helps prevent image quality issues and prolongs your projector’s lifespan, giving you a better viewing experience over time.
Conclusion
Now that you know how to set up your short-throw projector for a shadow-free display, you’re ready to enjoy a stunning, immersive picture. With the right placement, furniture arrangement, and lighting, you can create a clean, clutter-free space that truly shines. Isn’t it worth taking a few extra steps to get that perfect, huge picture without annoying shadows? Once you do, you’ll wonder how you ever watched without it!