
In a curbless shower, proper drain placement guarantees water flows efficiently to prevent pooling. You want the drain positioned slightly off-center or in the corner, avoiding walls or corners, and matched to your shower size. The floor must slope about 1/4 inch per foot toward the drain, so water drains smoothly. Sealing the drain correctly and waterproofing around it prevents leaks. For detailed steps and tips to perfect your setup, keep exploring how to avoid common mistakes and maintain your shower.
Key Takeaways
- Proper drain placement in a curbless shower ensures effective water flow, typically centered or slightly off-center for even drainage.
- A consistent slope of about 1/4 inch per foot toward the drain is essential to prevent pooling and water damage.
- Waterproofing around the drain and sealing grout prevent water infiltration and long-term leaks.
- Regular inspection and cleaning of the drain prevent clogs caused by debris, soap scum, and buildup.
- Accurate slope installation and proper tile layout are critical for effective drainage and a seamless, durable shower surface.

Schluter Systems KSLT1395S Kerdi Linear Offset Outlet Shower Tray 55"x55"
All-in-One Solution: Schluter-KERDI-SHOWER-LTS with integrated KERDI waterproofing for easy tiling.
As an affiliate, we earn on qualifying purchases.
As an affiliate, we earn on qualifying purchases.
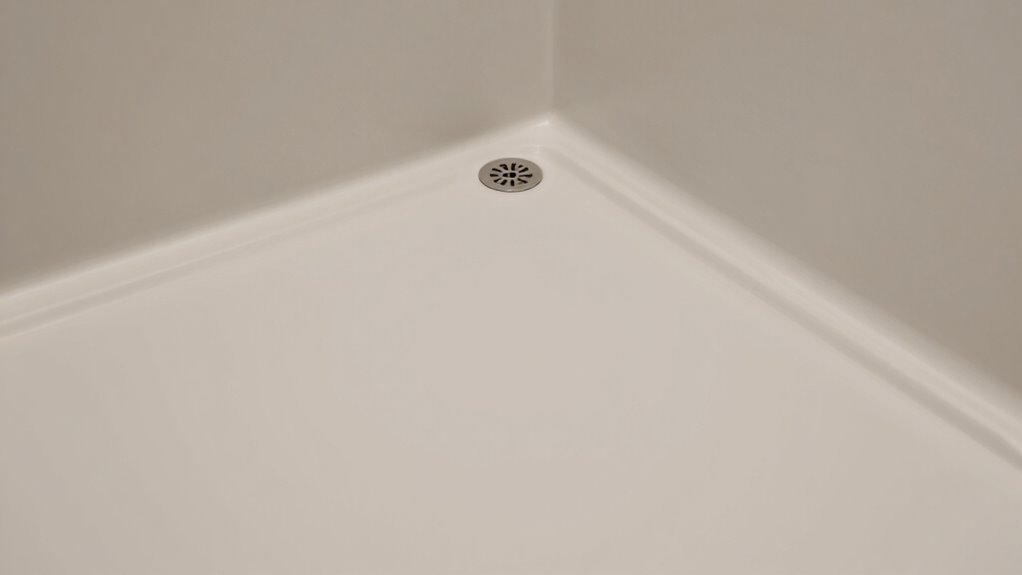
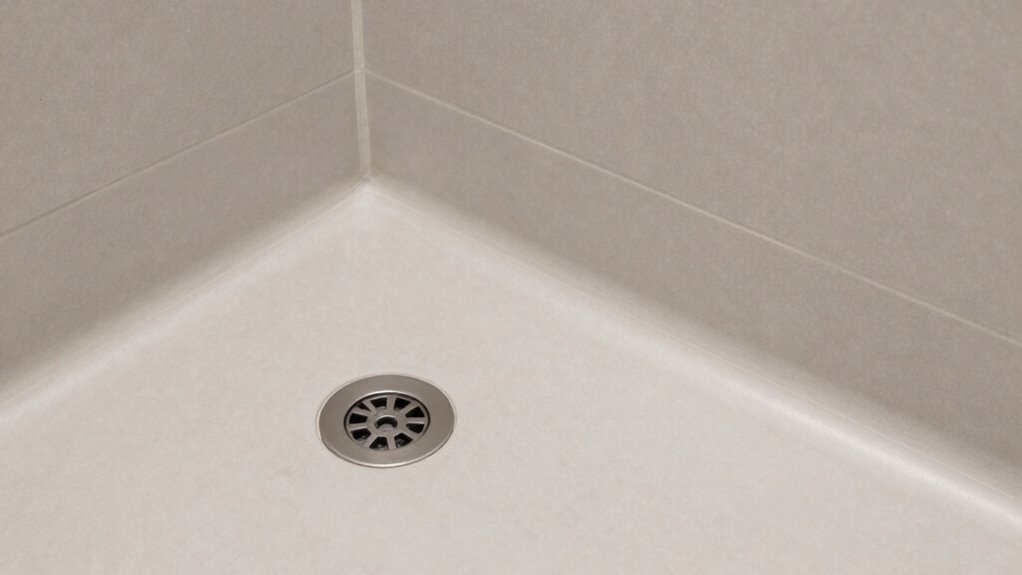
What You Need to Know About Drain Placement in Curbless Showers
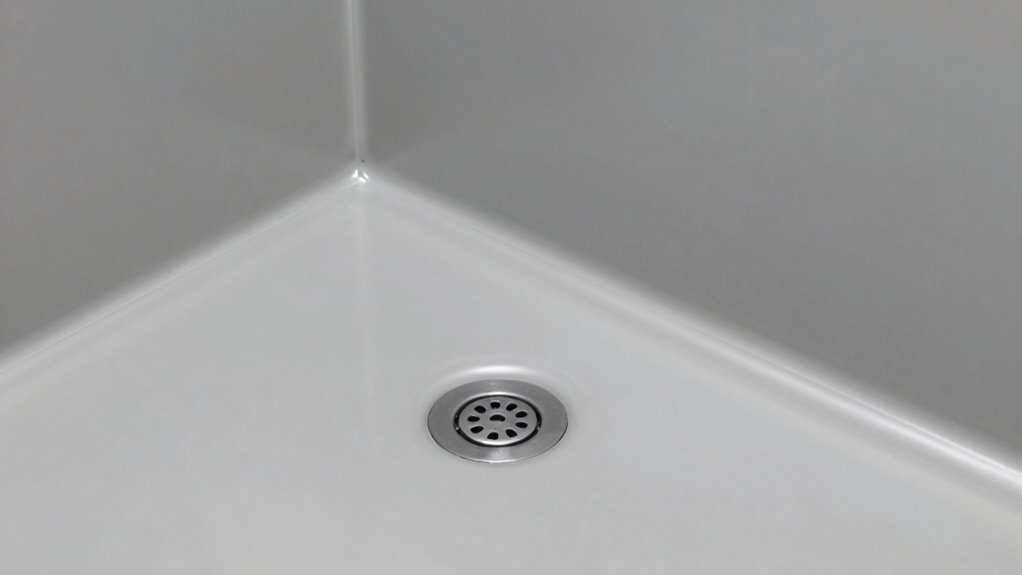
When designing a curbless shower, proper drain placement is essential to guarantee effective water drainage and prevent pooling. You need to consider where the drain will be located to ensure water flows smoothly toward it. Typically, placing the drain near the center or slightly off-center helps promote even drainage across the entire floor. Slope considerations are critical; you should slope the shower floor at about 1/4 inch per foot toward the drain. This gentle incline directs water efficiently without creating tripping hazards or uneven surfaces. Avoid placing the drain in a corner or too close to walls, as this can cause water to pool or drain slowly. Proper drain placement combined with the right slope ensures your shower stays dry, safe, and functional. Additionally, understanding the importance of drain efficiency can help in designing a more effective drainage system. Adequate water flow management is essential for preventing water buildup and ensuring long-term performance of your curbless shower. To optimize these factors, consider consulting professional installation guidelines to ensure your design meets all necessary standards. Incorporating modern drainage technology and innovative slope designs can further improve the overall performance of your shower’s drainage system.

Neodrain 36-Inch Linear Shower Drain with Removable Quadrato Pattern Grate Cover, Polished 304 Stainless Steel Shower Linear Drain, Chrome Bathroom Floor Drainage &Leveling Feet, Hair Strainer, CUPC
√ Polished Linear Shower Drain Size:36" length, 2.75" width, 2" central outlet. 35 L/min High Flow Capability.
As an affiliate, we earn on qualifying purchases.
As an affiliate, we earn on qualifying purchases.
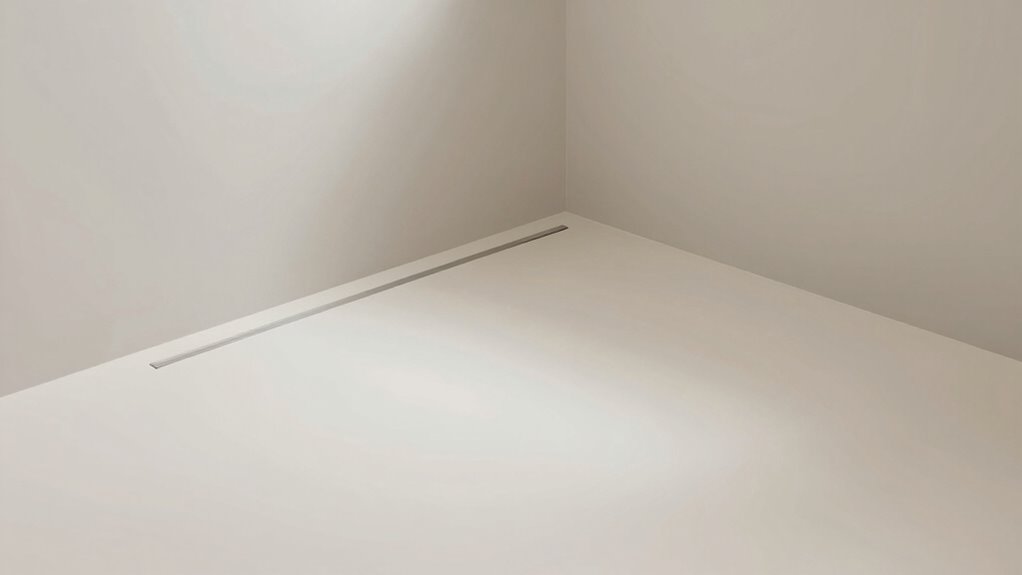
How to Choose the Right Drain for Your Curbless Shower
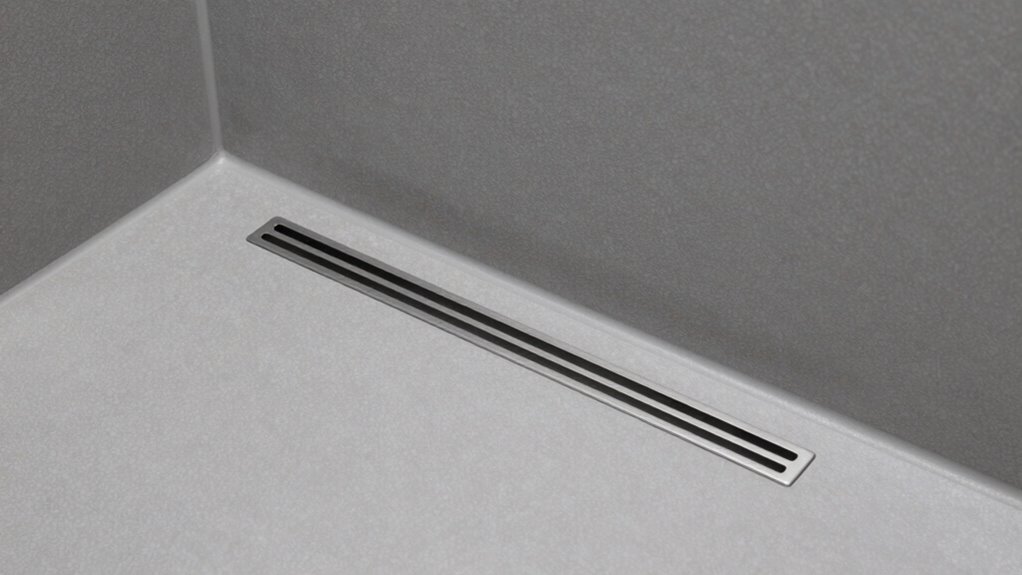
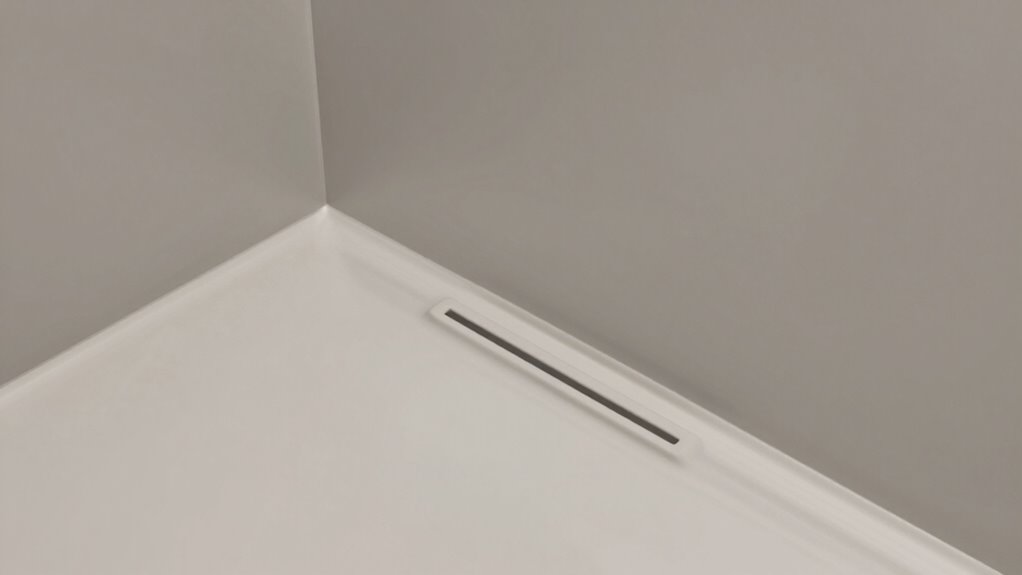
Choosing the right drain for your curbless shower is essential to guarantee efficient water removal and maintain a sleek, seamless look. Your drain location should complement the shower head placement and enhance the overall tile design. Consider a linear drain for a modern, minimalist appearance that easily blends with your tile pattern, or a point drain for a traditional look. Ascertain the drain’s size matches your shower’s size and flow rate requirements. The drain’s finish should coordinate with your fixtures for a cohesive aesthetic. Properly selecting the drain ensures water flows smoothly toward it, preventing pooling or leaks. Think about how the drain’s position influences your tile layout, and choose a style that seamlessly integrates into your shower’s design for both function and style. Additionally, selecting an energy-efficient European cloud server solution can enhance your home’s overall sustainability and security. When planning your installation, consider the drain’s flow capacity to ensure it can handle peak water volumes efficiently. Proper installation techniques and drain placement are crucial for preventing water damage and ensuring long-term performance. Moreover, understanding the slope requirements helps optimize water drainage and avoid potential issues. Incorporating proper slope techniques ensures your shower pan directs water effectively toward the drain, minimizing maintenance needs.

5 Pack 'Hidrotape T' 3/8'' to 1-1/8'' Waterproofing Sleeve – Pipe Seal – Pipe Wrap – Waterproofing Material for Shower/Bathroom/Drain Pipes – Fabric Base with Rubber Polymer Guard
PRODUCT: Waterproofing sleeve "Hidrotape T", is designed to create a waterproofing system for water outlets. It protects against…
As an affiliate, we earn on qualifying purchases.
As an affiliate, we earn on qualifying purchases.
How to Properly Slope Your Shower Floor for Drainage
Properly sloping your shower floor is essential to guarantee water drains efficiently without pooling. In a curbless design, this slope directs water toward the drain, preventing standing water and potential damage. Start by establishing a gentle slope of about 1/4 inch per foot from the farthest point of the shower to the drain. Use a level to ensure consistent slope across the entire surface. Before laying the waterproof membrane, mark your slope lines clearly. This membrane must be installed carefully to maintain the slope, as any deviations might cause water to pool or leak. Remember, the slope works in tandem with the waterproof membrane to create an effective drainage system, keeping your shower safe, dry, and functional. Additionally, understanding the importance of waterproofing can help prevent costly repairs and ensure long-term durability of your shower. Proper installation techniques are crucial to achieving an effective slope and preventing future issues. Ensuring proper slope and drainage design is fundamental to the longevity of your curbless shower, especially considering that proper slope helps avoid water accumulation that can lead to mold and structural damage. Incorporating appropriate materials specifically designed for wet environments can further enhance drainage efficiency and extend the lifespan of your shower.

35.5inch Drain Clog Remover(1pcs), 25inch Drain Snake Hair Remover(6pcs) & Cleaning Brush(2pcs), Hair Catcher Drain Auger Cleaner Tool Set For Toilet, Kitchen Sink, Bathroom Tub, Sewer, 9 Pack
【EXCELLENT LENGTH】Metal clog remover is 35.5 inches long with a claw extending from the top, which could easily…
As an affiliate, we earn on qualifying purchases.
As an affiliate, we earn on qualifying purchases.
Waterproofing and Sealing Your Shower Drain Correctly

After establishing the proper slope for your shower floor, ensuring the drain area is waterproofed and sealed correctly is the next essential step. Start by applying grout sealing around the drain to prevent water infiltration and protect your subfloor. Make sure the grout sealing is thorough, covering all gaps between the drain and the surrounding surface. Next, install the drain cover securely, ensuring it fits snugly and creates a watertight seal. This prevents water from seeping into the drain assembly and damaging the underlying structure. Double-check that the sealant around the drain cover is complete and even. Proper waterproofing and sealing not only improve durability but also help maintain a leak-free, safe, and long-lasting curbless shower. Additionally, inspecting the drain installation regularly ensures ongoing performance and prevents potential leaks over time. Understanding waterproofing techniques can further enhance your shower’s integrity and longevity. Using high-quality sealants and adhesives can provide extra protection against water intrusion and extend the lifespan of your shower, especially in areas prone to movement or temperature fluctuations. Incorporating proper drainage design principles is also crucial to ensure efficient water flow and prevent pooling or standing water.
Step-by-Step Guide to Installing Your Curbless Shower Drain

Installing your curbless shower drain begins with positioning it correctly to guarantee proper drainage and a sleek, seamless look. Verify the drain is centered and aligned with your planned slope to optimize water flow and enhance shower aesthetics. Use a level to set the drain at the right height, maintaining a gentle slope toward the drain for efficient drainage and consistent water temperature. Secure the drain flange firmly to prevent movement or leaks, which could compromise the shower’s appearance. Double-check that the drain cover sits flush with the surface for a clean finish. Proper placement and secure installation help maintain water temperature stability and prevent pooling. Taking your time during this step ensures your shower remains functional, attractive, and easy to clean. Ensuring the correct drain placement is essential for avoiding future issues and achieving a professional-quality result. Additionally, paying attention to slope details guarantees water flows properly toward the drain, reducing the risk of standing water or leaks. Proper slope construction also helps prevent water pooling, which can lead to mold or water damage over time, especially if you incorporate proper waterproofing techniques.
Troubleshooting Drainage and Slope Problems

If your shower isn’t draining properly, you might be facing common drainage blockages. Ensuring the slope is correctly installed is key to avoiding standing water and poor drainage. Let’s look at how to identify and fix these issues effectively.
Common Drainage Blockages
Drainage blockages are a common issue in curbless shower pans, often caused by debris, soap scum, or buildup accumulating in the drain or along the slope. Poor tile selection can contribute to drainage problems if tiles are uneven or don’t promote proper water flow. Additionally, grout sealing plays a significant role—if grout isn’t sealed properly, it can trap dirt and debris, leading to clogs. Regular cleaning of the drain and inspecting the slope for buildup help prevent blockages. Avoid using overly textured tiles that trap debris, and ensure grout is sealed tight to prevent moisture and grime from settling. Keeping the drain clear and maintaining proper tile installation reduces the risk of drainage issues and keeps your shower functioning smoothly.
Proper Slope Installation
Proper slope installation is essential for guaranteeing water flows smoothly toward the drain in your curbless shower. To achieve this, consider how your tile pattern can influence slope accuracy; irregular patterns can hide subtle slope inconsistencies. Use a level to verify the slope, aiming for about 1/4 inch per foot toward the drain. When selecting grout, choose a flexible, waterproof type that prevents cracks and maintains slope integrity over time. Properly installed slope directs water efficiently and prevents pooling or drainage issues. Make certain your tile surface is even and consistent, avoiding high or low spots. Double-check the slope during installation to catch problems early. A well-executed slope minimizes drainage problems and keeps your shower safe and functional.
Tips for Maintaining Your Shower Drain and Preventing Leaks
Regularly inspecting and cleaning your shower drain is essential to prevent leaks and keep water flowing smoothly. Remove the drain cover periodically to clear out hair, soap scum, and debris that can clog the drain. Be careful when using shower soap; residue can build up and cause blockages. Use a brush or a small tool to scrub the drain cover and surrounding area, ensuring no buildup remains. Check the seal around the drain for cracks or gaps, and replace it if necessary to prevent leaks. Keeping the drain cover tight and clean helps maintain proper drainage and prevents water from pooling. Consistent maintenance saves you from costly repairs and keeps your curbless shower functioning efficiently.
Common Mistakes to Avoid When Installing a Curbless Shower Drain
Installing a curbless shower drain might seem straightforward, but overlooking common mistakes can lead to costly issues down the line. One mistake is neglecting proper shower design, which affects slope and drainage. If the slope isn’t adequate, water won’t drain efficiently, causing pooling and potential leaks. Another pitfall is poor tile selection; using incompatible or overly thick tiles can interfere with the drain’s function and the overall slope. Make sure your tile thickness aligns with the drain’s specifications to avoid height mismatches. Also, failing to secure the drain properly or ignoring waterproofing details can result in leaks or water damage. Take your time to plan the layout carefully, ensuring the slope, tile choice, and installation steps all work harmoniously for a durable, leak-free shower.
Frequently Asked Questions
How Do I Determine the Best Slope Angle for My Shower Floor?
You should aim for a drain slope of about 1/4 inch per foot, ensuring proper water flow. Consider your material selection because different materials, like tiles or acrylic, may require slight adjustments for ideal drainage. To determine the best slope angle, measure from the drain outward, maintaining that 1/4 inch per foot slope, which prevents pooling and promotes efficient drainage, making your shower safe and functional.
What Types of Materials Are Best for Curbless Shower Pans?
Think of your shower pan as the backbone of your bathroom oasis. You’ll want waterproof membranes like PVC or membrane liners that act as a shield against leaks, while materials like textured tiles or rubberized coatings provide slip-resistant surfaces for safety. These durable, waterproof options not only stand strong against moisture but also keep your space safe and stylish, turning your shower into a sanctuary of comfort and confidence.
How Often Should I Inspect My Shower Drain for Clogs or Leaks?
You should inspect your shower drain monthly for clogs or leaks. Regular drain maintenance helps prevent blockages and catch leaks early. Look for slow drainage, unusual noises, or water pooling, which may indicate a clog or leak. Use a drain snake or cleaner if needed, and check around the drain for any signs of moisture or damage. Staying vigilant guarantees your shower stays functional and leak-free.
Can I Retrofit a Curbless Shower Drain Into an Existing Bathroom?
Yes, you can retrofit a curbless shower drain into your existing bathroom, but it requires careful planning. You’ll need to adjust shower waterproofing and guarantee proper slope for drainage. During tile installation, make sure the waterproof membrane is compatible with the new drain. It’s best to consult a professional to assess your space, as retrofitting involves precise modifications to prevent leaks and maintain a seamless, functional shower.
What Are the Signs of Improper Drainage in a Curbless Shower?
You’ll notice improper drainage in your curbless shower if water pools in certain areas or takes too long to drain. Foul odors can also signal drainage issues, especially if they linger. If your shower isn’t draining smoothly, check for standing water or unpleasant smells, which indicate the slope isn’t correct or the drain is blocked. Address these signs promptly to prevent water damage and maintain a fresh, functional shower space.
Conclusion
Remember, proper drain placement and slope are vital for a functional curbless shower. For instance, if you neglect to slope the floor correctly, standing water might pool, causing leaks or mold. By following the right steps—like choosing the right drain and sealing it properly—you guarantee your shower stays watertight and safe. Take your time with installation, and you’ll enjoy a sleek, hassle-free shower that lasts for years.