
To give your old dresser a fresh look, start by cleaning and lightly sanding it to create a smooth surface. Choose a durable, furniture-specific paint in a color that complements your room’s decor, and apply thin, even coats, letting each dry thoroughly. Update the hardware or add decorative touches for a personalized finish. With patience and proper prep, your transformation will be rewarding. Keep going to discover all the steps for a perfect furniture flip.
Key Takeaways
- Thoroughly clean and lightly sand the dresser to ensure a smooth surface before painting.
- Choose a durable, furniture-specific paint and apply in thin, even coats for best results.
- Work in a well-ventilated area, wearing masks and gloves for safety during painting.
- Add hardware updates or decorative accents after the paint dries for a personalized touch.
- Seal the finished piece with a clear sealant to protect the new paint and enhance durability.
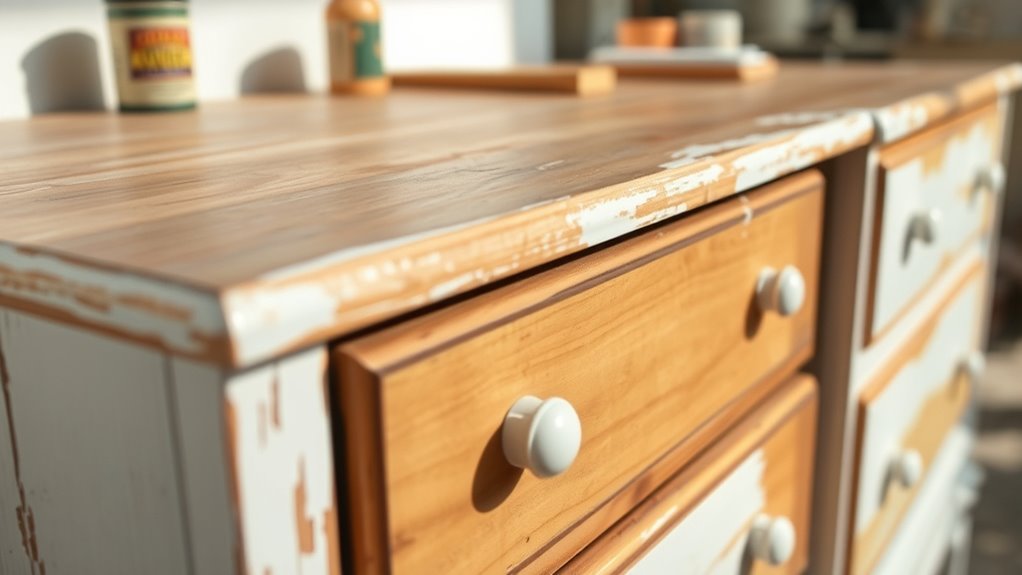
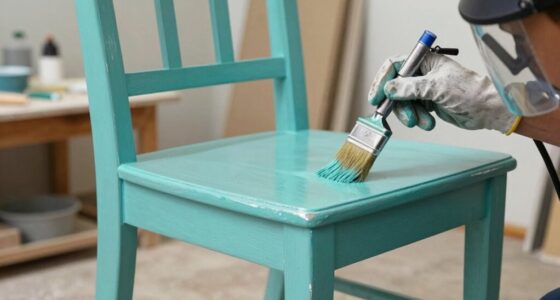
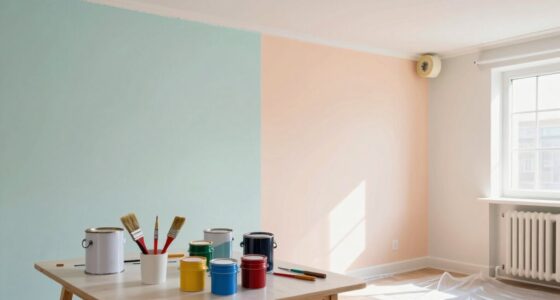
A furniture flip is a rewarding way to turn old, unwanted pieces into stylish, functional treasures. When you decide to paint an old dresser for a fresh look, you not only breathe new life into a piece that might have been destined for the trash but also create a customized addition to your space. The process begins with choosing a color scheme that complements your room’s decor. Think about the overall vibe you want—soft neutrals for a calming effect, bold hues for a statement piece, or pastel shades for a light, airy feel. Your choice of colors can completely transform the dresser’s appearance and influence the mood of the room it inhabits.
Before diving into painting, it’s essential to prioritize safety. Always work in a well-ventilated area and wear a mask to avoid inhaling fumes from paints and primers. Use gloves to protect your skin, especially if you’re working with chemical-based paints or cleaners. Keep your workspace clean and free of clutter to prevent accidents. When handling tools like sandpaper or brushes, follow proper techniques to avoid injuries, and always read the labels on your supplies for specific safety instructions. Using safety tips not only protects you but also ensures the quality of your work, helping your paint job last longer and look better.
Prioritize safety with ventilation, masks, gloves, and proper tool techniques for better results and protection.
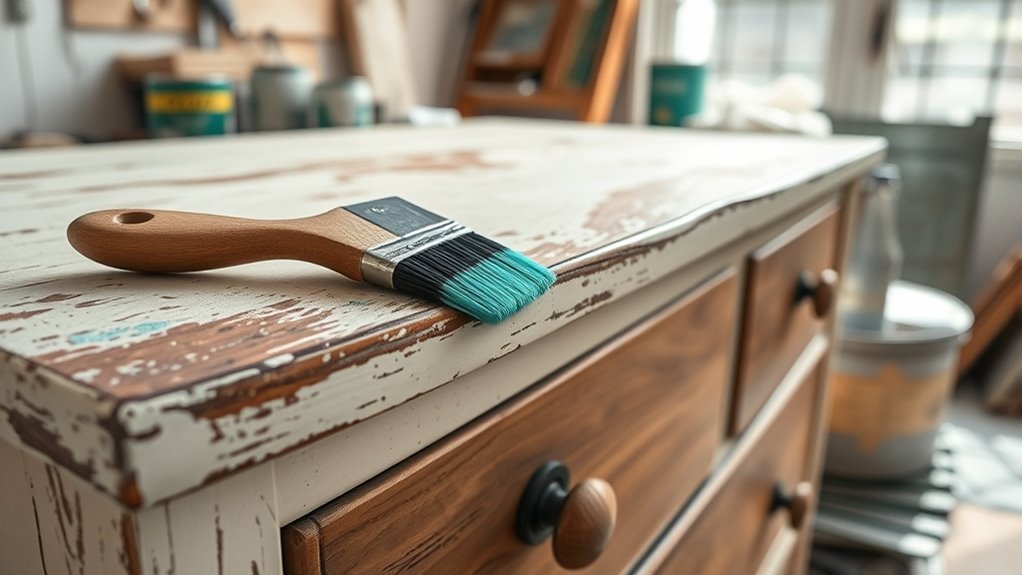
Once you’ve set your color scheme and prepared your workspace, start by cleaning the dresser thoroughly to remove dust and grease. Lightly sand the surface to create a smooth base for the paint, ensuring better adhesion. If the piece has existing paint or varnish, you might need to strip it or use a primer to prevent bleeding or uneven coverage. When selecting your paint, consider a durable, furniture-specific type that can withstand daily use. Apply the paint in thin, even coats, allowing each layer to dry completely before adding the next. This technique prevents drips and streaks, resulting in a polished finish. Additionally, understanding color temperature adjustments can help you achieve the perfect ambiance in your space.
Finally, add your personal touch with hardware updates or decorative accents once the paint has dried. Protect your work with a clear sealant if desired, especially if the dresser will see heavy use. Remember, patience is key; rushing the process can lead to mistakes or a less professional look. With careful planning, attention to detail, and safety precautions, your painted dresser will become a stunning centerpiece that reflects your style and effort. Turning an old piece into something new is not just satisfying—it’s a creative journey that boosts your confidence and home’s charm.
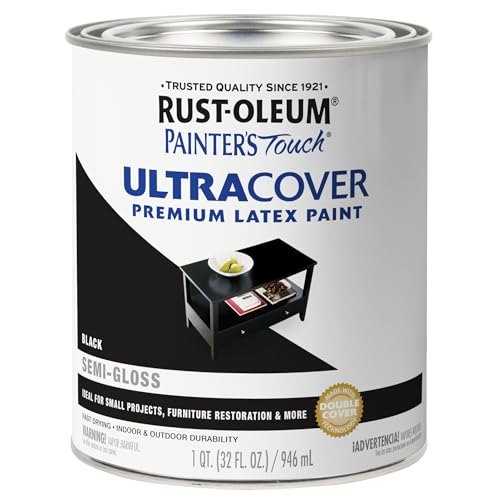
Rust-Oleum 1974502 Painter's Touch Latex Paint, Quart, Semi-Gloss Black 32 Fl Oz (Pack of 1)
Use for a variety of indoor and outdoor project surfaces including wood, metal, plaster, masonry or unglazed ceramic
As an affiliate, we earn on qualifying purchases.
As an affiliate, we earn on qualifying purchases.
Frequently Asked Questions
What Types of Paint Are Best for Furniture Flipping?
You should choose latex or chalk paint for furniture flipping because they offer excellent coverage and a smooth finish. Consider color matching to guarantee your piece complements your space, and select the right brush—preferably a high-quality synthetic or flat brush—for a flawless application. These paints are easy to work with, durable, and perfect for achieving a professional look on your dresser.
How Do I Remove Old Paint or Varnish Effectively?
You’ll want to tackle old paint or varnish like a demolition expert. Start with a chemical stripper or a heat gun to loosen stubborn layers, then use heavy-duty sanding techniques—coarse grit first, then finer grit for a smooth finish. After removing the old finish, clean the surface thoroughly, apply a primer to seal it, and prep it perfectly for your new paint. This process guarantees a flawless, lasting transformation.
Can I Reuse Hardware or Should I Replace It?
You can reuse hardware if it’s in good shape, but consider hardware options like replacing old knobs or handles for a fresh look. Clean the existing hardware thoroughly with a gentle hardware cleaning solution to remove dirt and grime. If the hardware is damaged or outdated, replacing it might be your best bet. Reusing hardware saves money and adds a unique touch, but make certain it complements your dresser’s new style.
What Safety Precautions Are Necessary During Painting?
You should always wear protective gear like gloves and a mask when painting to avoid fumes and skin irritation. Make sure your workspace is well-ventilated by opening windows or using fans, especially since paint fumes can be surprisingly strong. Coincidentally, taking these precautions keeps you safe and makes your project more enjoyable. By prioritizing safety, you’ll achieve a beautiful finish without risking your health or comfort.
How Long Does the Entire Furniture Flipping Process Typically Take?
The entire furniture flipping process typically takes one to two weeks, depending on your budget considerations and furniture selection. You spend a few days sourcing the right piece, then allocate time for cleaning, sanding, and painting. Allow extra days for drying and finishing touches. Staying organized helps streamline the process, so plan your steps carefully, and remember that patience guarantees a high-quality, satisfying transformation.

Romeda 18 Piece Drawer Hardware – Black 30mm Cabinet Knobs & Pulls for Dressers & Kitchens with Screw
Cabinet Knobs size: Each drawer knobs measures approximately 1.2inch/30mm in diameter and 0.92inch/23.4mm in height; The length of…
As an affiliate, we earn on qualifying purchases.
As an affiliate, we earn on qualifying purchases.
Conclusion
As you step back to admire your newly transformed dresser, it’s funny how a simple paint job can breathe new life into old furniture. Sometimes, all it takes is a fresh coat and a little creativity to turn something forgotten into a standout piece. Who would’ve thought that a chance encounter with that tired dresser would lead to such a rewarding project? Now, you’ve not only updated your space but also rediscovered your love for DIY.

Minwax 233334444 Polycrylic Protective Wood Finish, Clear Satin, ½ Pint
PROTECT WOOD SURFACES – Minwax Polycrylic Protective Finish protects and adds beauty to your interior wood projects, including…
As an affiliate, we earn on qualifying purchases.
As an affiliate, we earn on qualifying purchases.

24 Pcs Sanding Sponge 80-3000 Grit Sandpaper Assortment, Washable & Reusable Sanding Blocks for Wood, Metal, Drywall, Glazing, Wet Dry Sandpaper for Smooth Finishing
Assortment Pack: This sanding sponge set includes 24 pieces with grits 80/120/180/240/320/400/500-600/800-1000/1200-1500/2000/2500/3000,each of 2, covering coarse material removal…
As an affiliate, we earn on qualifying purchases.
As an affiliate, we earn on qualifying purchases.