
To make your slat wall look custom-built, focus on precise spacing that creates visual harmony. Use consistent gaps for a sleek, modern look or vary gaps to add depth and interest. Measure carefully, marking your wall for consistent spacing, and double-check your measurements regularly. Proper alignment and attention to detail prevent gaps from looking uneven. Keep experimenting with spacing variations for unique effects—more tips to help you perfect your wall come your way.
Key Takeaways
- Consistent, even gaps create a seamless, professional look that mimics custom-built craftsmanship.
- Precise measurement tools and marking techniques ensure uniform spacing for a polished appearance.
- Varying gaps strategically adds depth, layered effects, and visual interest to the slat wall.
- Proper lighting and color coordination enhance the perception of quality and hide minor spacing irregularities.
- Attention to detail in spacing and alignment elevates the overall aesthetic, making panels look expertly installed.

Slatwall Panel Garage Organizer Heavy Duty Wall Mounted, PVC Slat Panels Home Storage System, Tool Organization Peg Board 4ft by 4ft (White)
MAKE FULL USE OF YOUR SPACE: Unleash the true potential of your garage wall organizer for tools with…
As an affiliate, we earn on qualifying purchases.
As an affiliate, we earn on qualifying purchases.
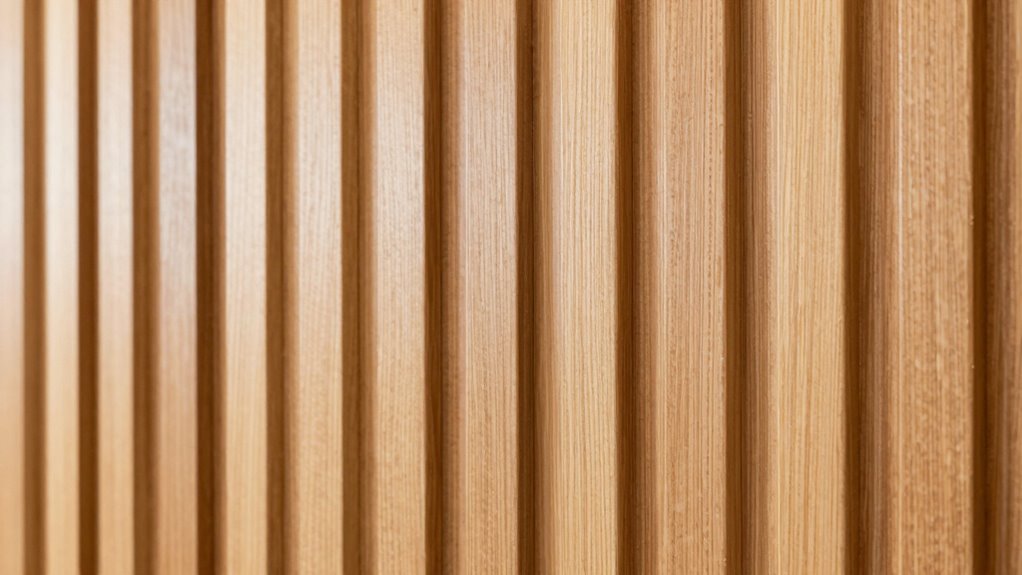
Why Proper Spacing Makes Your Slat Wall Look High-End
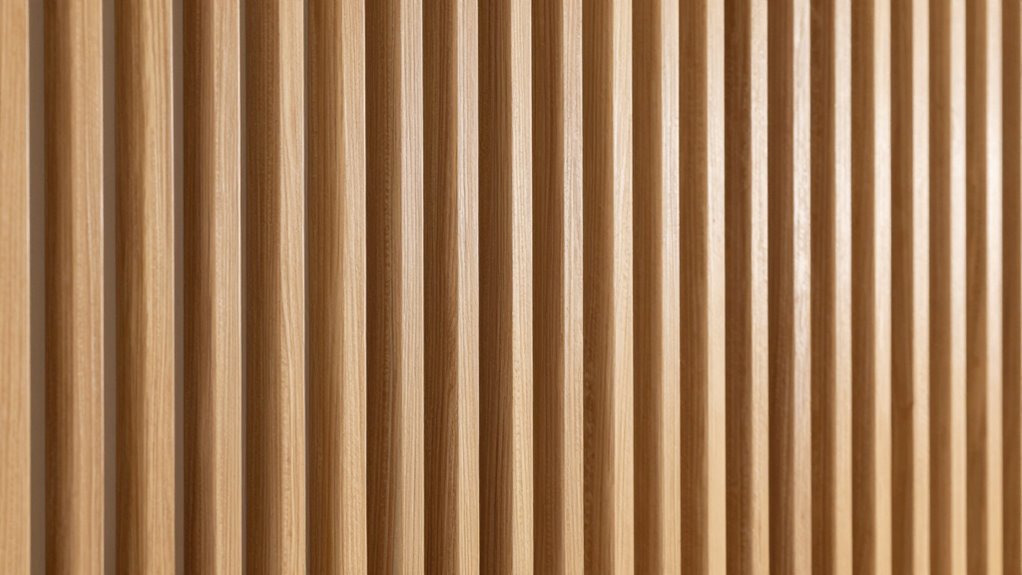
Proper spacing between slats is essential for creating a polished, high-end look. When you guarantee consistent gaps, your slat wall appears seamless and sophisticated. This precision enhances color coordination, allowing your chosen hues to stand out without distraction. Proper spacing also maximizes lighting effects, casting subtle shadows that add depth and dimension. When slats are evenly spaced, light reflects evenly across the surface, highlighting textures and colors beautifully. This attention to detail elevates the overall aesthetic, making your display feel custom-built rather than generic. You’ll notice that the right gaps create a cohesive visual flow, drawing the eye smoothly across the wall. Incorporating consistent spacing into your design is a simple visual trick that makes a big difference in achieving a professional look. Additionally, maintaining precise measurements contributes to the overall durability and stability of the installation, ensuring it remains attractive over time. For example, using a spacing gauge can help ensure uniform gaps throughout your project.

PYBTOOL 12Pack Slatwall Hooks Heavy Duty Slatwall Accessories Garage Slatwall Hooks and Hangers Small U Hook(Black)
[Compatibility] Fit Slat Panel brands: Proslat, Crownwall, StoreWALL, HandiWall, Garage King, Garage Tek, Hello Garage Slatwall, etc.
As an affiliate, we earn on qualifying purchases.
As an affiliate, we earn on qualifying purchases.
What’s the Difference Between Standard and Custom Slat Wall Gaps?
Standard slat walls offer uniform gap spacing, making installation straightforward and consistent. Custom gaps give you flexibility to adjust spacing for a unique look or specific needs. Understanding these differences helps you choose the right option for your space and style. Additionally, color accuracy plays a vital role in the overall appearance of your wall, especially if the slats are painted or finished in specific shades.
Uniform Gap Spacing
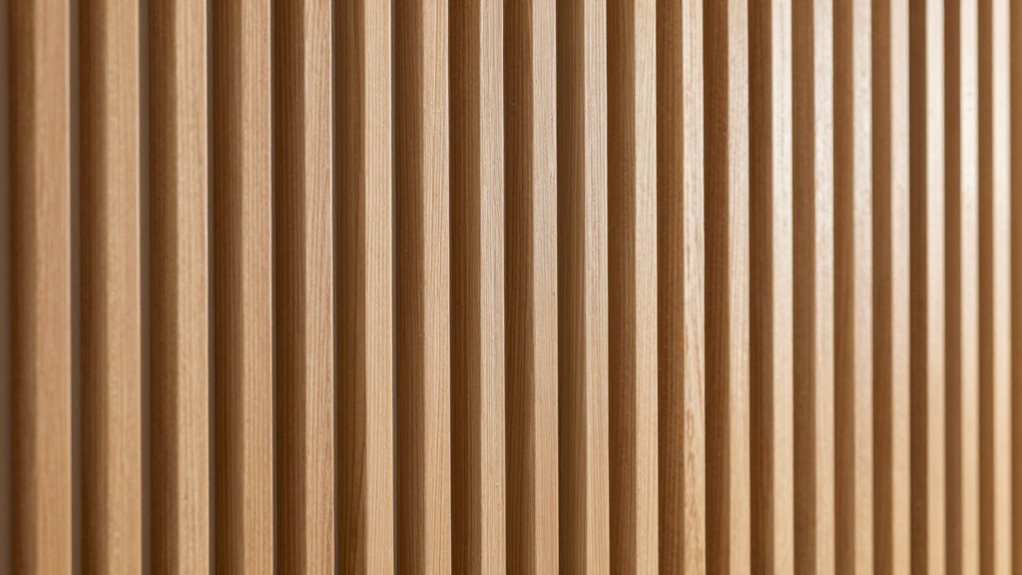
When choosing between standard and custom slat wall gaps, understanding the differences in spacing can make a big impact on your display’s functionality. Uniform gap spacing guarantees consistent panel alignment, which creates a sleek and professional look. With evenly spaced gaps, your display appears seamless, making it easier to arrange hooks and shelves precisely. This consistency also enhances color coordination, as the uniform gaps prevent visual distractions and maintain an organized aesthetic. Custom gaps allow you to fine-tune spacing to match your specific needs, while standard gaps offer a reliable, quick solution. Additionally, understanding modular design principles can help you optimize your slat wall setup for maximum flexibility. Ultimately, maintaining uniform gaps helps your slat wall look polished and intentional, whether you’re showcasing products or creating a visual display.
Customization Flexibility
Choosing between standard and custom slat wall gaps gives you the flexibility to tailor your display to your specific needs. Custom gaps allow you to adjust spacing for better lighting techniques, highlighting products or creating focal points. You can also match the gaps to your color coordination strategy, ensuring a seamless, cohesive look. Standard gaps are convenient but may limit your design options. Customizing the spacing lets you experiment with different arrangements, making your display more dynamic and visually appealing. Whether you want to emphasize certain items or create a more polished, professional appearance, adjustable gaps give you control. This flexibility guarantees your slat wall not only functions well but also enhances the overall aesthetic, making your space feel tailored and unique. Understanding spacing options can help you achieve the most effective and visually appealing display.

Landical PVC Slat Wall Panels 4 x 4 Ft, 4 Panels, Garage and Home Organizer Storage System for Tool Organization, Peg Board Storage Rack, White
Complete Package for Easy Setup: this package comes complete with 1 set of slat wall panels and mounting…
As an affiliate, we earn on qualifying purchases.
As an affiliate, we earn on qualifying purchases.
How to Measure and Mark the Perfect Spacing for Your Slat Wall
Before you start measuring and marking for your slat wall, establishing the spacing that best suits your space and storage needs is essential. Accurate measurements ensure your wall paneling looks seamless and professional. Begin by evaluating your design considerations—think about the height and width of individual panels, as well as the objects you’ll hang. Use a level and tape measure to mark a straight, horizontal baseline at your desired height. From there, divide the wall into equal sections based on your panel width, marking each point lightly with a pencil. Consistent spacing creates a balanced, polished look. Remember, precise measurements help avoid misalignments and make installation smoother, guaranteeing your slat wall is both functional and visually appealing.

INCLY 30PCS Slatwall Accessories Set with Slatwall Baskets, Slatwall Hooks, Slatwall Shelves, Slatwall Bins, Slatwall Cups, Heavy Duty Slat Wall Accessory for Garage Room Shop Organizing Display
VALUDED PACKAGE: Our slatwall accessories kit comes with 20pcs multisized slatwall hooks, 2pcs slatwall shelves, 3pcs slatwall bins,…
As an affiliate, we earn on qualifying purchases.
As an affiliate, we earn on qualifying purchases.
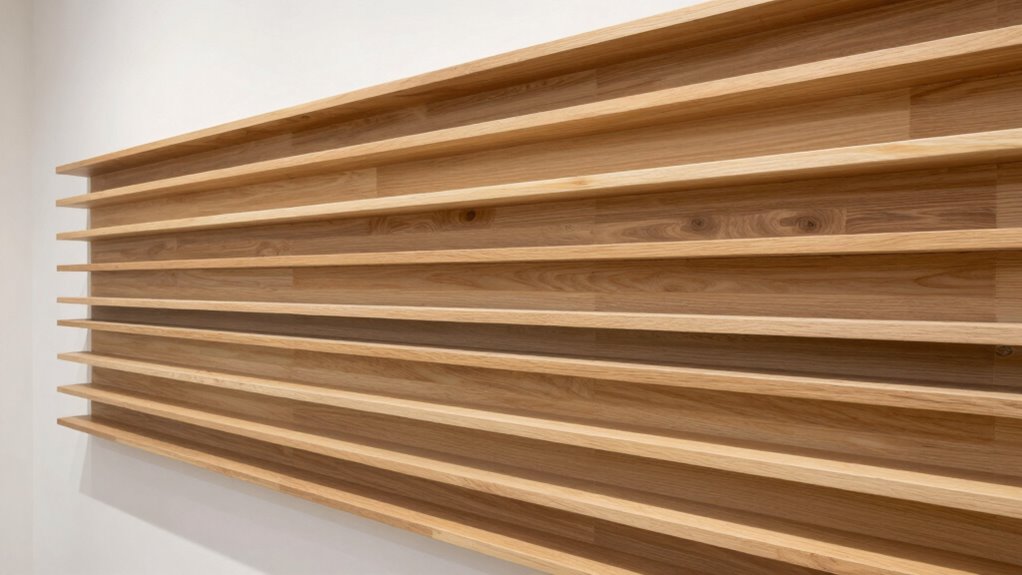
How to Use the Spacing Trick to Add Visual Interest and Depth
To add visual interest and depth, you can vary the spacing between slats to create dynamic patterns. Experiment with different gaps to achieve a layered, textured look that draws the eye. This technique makes your slat wall more engaging and helps highlight your display or decor.
Varying Spacing Techniques
Varying the spacing between slat wall panels can considerably enhance the visual appeal of your display. By adjusting gaps, you create a dynamic look that captures attention and adds depth. Use color contrast strategically—placing darker panels next to lighter ones—to make each section stand out. Material selection also plays a key role; mixing wood, metal, or laminate panels can add texture and interest. Consider these ideas:
- Vary spacing widths for a rhythmic pattern
- Combine contrasting colors to emphasize offsets
- Use different materials to create visual layers
- Incorporate visual interest by playing with panel arrangements and textures. Additionally, understanding design principles can help you craft a more cohesive and engaging display. This approach breaks the uniformity, making your setup feel more custom and engaging. Experiment with these techniques to guide the viewer’s eye and build a more compelling, visually appealing display.
Creating Visual Layering
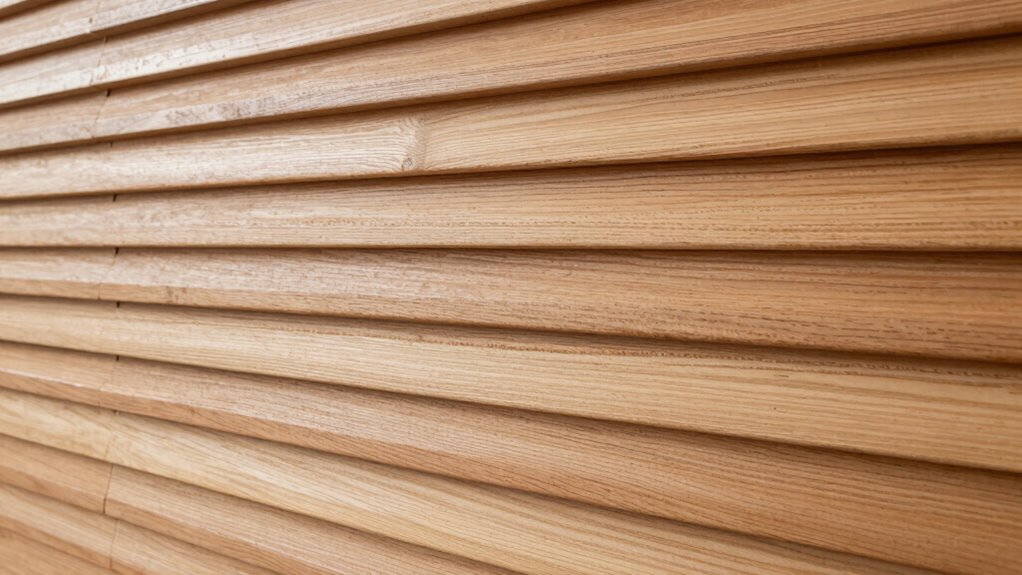
By adjusting the spacing between slat wall panels, you can create a layered, three-dimensional effect that adds depth and visual interest to your display. Proper spacing allows lighting effects to cast shadows and highlights, enhancing the sense of dimension. Use color coordination to emphasize layers; lighter shades appear closer, while darker tones recede. To achieve a balanced look, consider the following:
| Spacing Effect | Visual Result |
|---|---|
| Tight spacing | Creates a sleek, unified look |
| Wide spacing | Adds depth and separation |
| Mixed spacing | Introduces dynamic visual layers |
Additionally, understanding lighting techniques can help you optimize shadow play and highlight the layered design for maximum impact. Incorporating visual hierarchy principles ensures that the arrangement draws attention effectively and maintains aesthetic appeal. Recognizing the importance of space management can also assist in achieving a professional, polished appearance that enhances your overall display. Paying attention to panel placement allows you to customize the visual flow and balance, making your panels look truly custom-built.
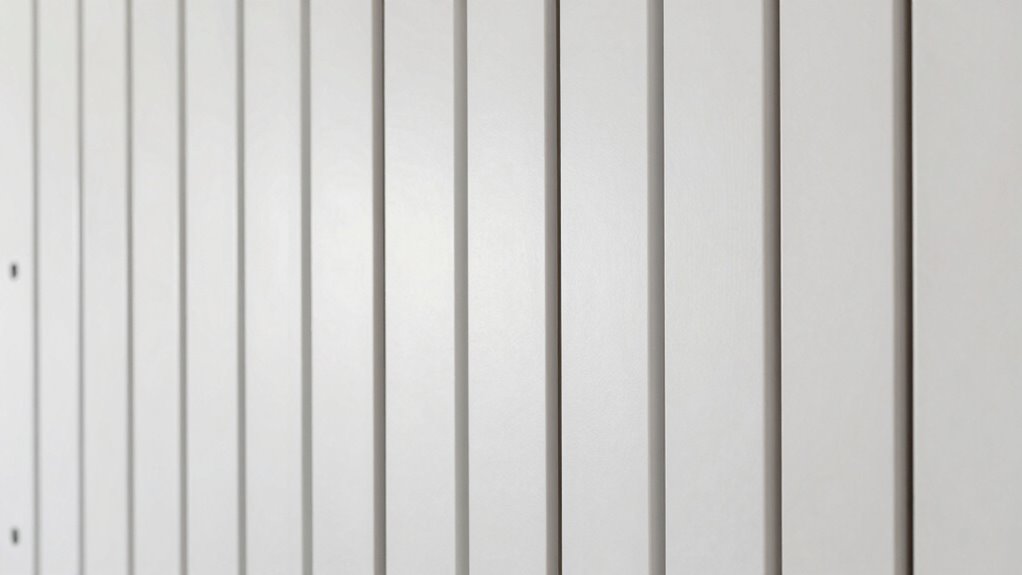
Should You Keep Gaps Uniform or Vary Them for Different Effects?

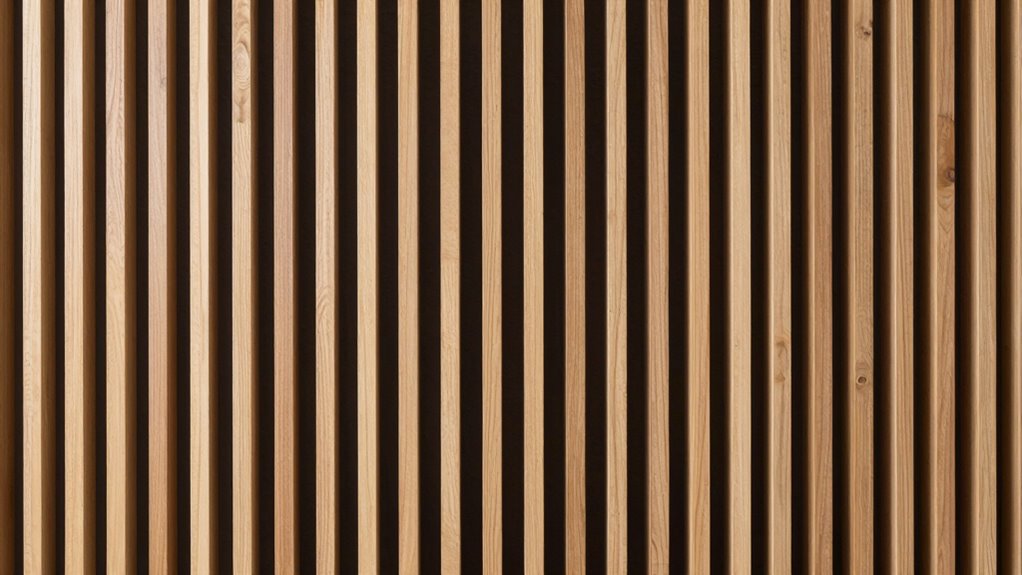
Deciding whether to keep gaps uniform or vary them depends on the visual effect you want to achieve. Uniform gaps create a clean, cohesive look, emphasizing consistent panel orientation and simplifying color contrast. Varying gaps introduces visual interest, drawing attention to different sections and adding a dynamic feel. Think about these options:
- Uniform gaps for a sleek, minimalist style
- Varying gaps to highlight specific panels or areas
- Adjusting gaps based on panel orientation for contrasting effects
If you prefer a sophisticated, orderly appearance, keep gaps consistent. For a more playful or artistic vibe, experiment with varied spacing. Remember, inconsistent gaps can make your slat wall look custom-built, but only if managed carefully. The key is aligning gaps with your overall design intent and desired visual impact.
Tools and Tips for Achieving Precise Slat Wall Spacing

To get perfect slat wall spacing, you need reliable measurement techniques and tools designed for consistency. Using a ruler, tape measure, or specialized spacers helps you maintain even gaps throughout. These simple tools make it easier to achieve professional-looking results every time.
Precise Measurement Techniques
Achieving consistent slat wall spacing requires careful measurement and the right tools. Proper panel alignment depends on precise measurements, so selecting quality tools is essential. Use a tape measure or a laser level to mark accurate intervals. Double-check measurements before drilling to avoid errors that can affect material selection and overall panel appearance.
Key techniques include:
- Using a chalk line or straightedge to ensure consistent spacing across panels
- Measuring from a fixed reference point for uniformity
- Verifying measurements with a square for accurate panel alignment
These methods ensure your panels sit evenly, creating a professional, custom look. Precise measurement minimizes errors, enhances panel alignment, and makes the material selection process smoother. Accurate spacing is the foundation of a flawless slat wall.
Consistent Spacing Tools
Using the right tools is essential for maintaining consistent slat wall spacing. A spacing gauge or adjustable spacer ensures each panel aligns perfectly, preventing uneven gaps. When selecting tools, consider material contrast; a bright, easily visible spacer against darker wall panels helps you see spacing clearly. Material selection also matters—sturdy, durable tools resist wear and maintain accuracy over time. Using these tools consistently helps you achieve a uniform look that mimics custom-built panels. For added precision, keep a set of measurement marks or a laser level handy to verify spacing regularly. Proper tool use minimizes errors and guarantees your slat walls look professional, with consistent gaps that enhance visual appeal. Additionally, understanding precision measurement techniques can further improve your results, ensuring every panel is perfectly spaced. This simple step makes a significant difference in your finished project.
Common Mistakes to Watch Out for When Spacing Your Slat Panels
One common mistake when spacing your slat panels is not planning the layout carefully before installation. Without proper planning, panels can look uneven or cluttered, ruining the desired sleek look. To avoid this, focus on these key points:
Proper planning ensures a sleek, professional-looking slat wall with even spacing and cohesive design.
- Ensure color coordination to maintain a cohesive aesthetic.
- Choose materials that complement each other and suit the space.
- Use consistent spacing tools to keep gaps uniform throughout.
- Pay attention to cleaning and maintenance, as proper spacing can facilitate easier upkeep and longevity of your slat wall. Additionally, understanding installation techniques can help you achieve a more professional and polished appearance. Properly planning your layout also involves considering visual balance, which can prevent awkward gaps and enhance the overall design. Moreover, applying knowledge about backup power systems can help you prepare your space for unforeseen outages, ensuring your setup remains functional and stylish even during disruptions. Being aware of material durability can also guide you in selecting panels that withstand wear over time.
Skipping these steps can lead to mismatched panels or awkward gaps, making your installation appear unprofessional. Properly planning your layout helps you visualize the final look, ensuring the spacing tricks you use create a clean, custom‑built appearance. Remember, attention to detail in spacing and material selection goes a long way in achieving a polished, stylish slat wall.
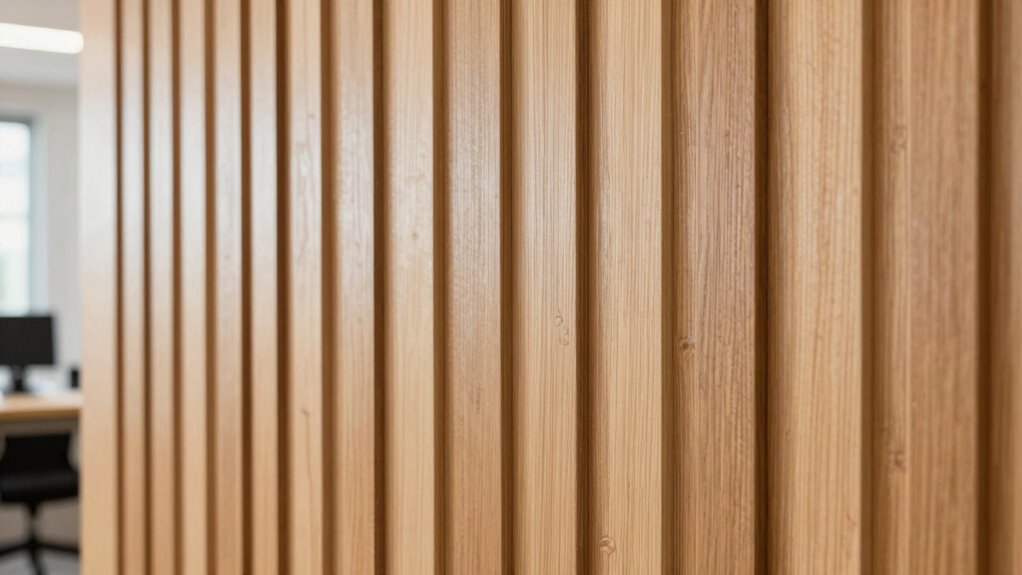
Real-Life Examples: Custom-Looking Slat Wall Installations
Ever wondered how some slat walls look like they were custom-built for the space? The secret lies in precise panel alignment and thoughtful color coordination. Check out these real-life examples:
| Space Type | Panel Alignment Strategy | Color Coordination Approach |
|---|---|---|
| Retail Store | Use staggered panel heights for visual interest | Match wall colors with brand palette |
| Office Space | Align panels to create seamless lines | Contrast panels with accent colors |
| Home Garage | Offset panels for a dynamic look | Use neutral tones to hide imperfections |
| Boutique Shop | Incorporate varied panel widths | Bright, coordinated accents |
These examples show how attention to detail transforms standard panels into eye-catching, custom-like installations. Additionally, selecting panel spacing that complements the overall design enhances the visual appeal and creates a more polished appearance.
Troubleshooting Spacing Problems on Your Slat Wall
Even the most carefully planned slat wall installations can encounter spacing issues that disrupt the overall look. If panels seem uneven or misaligned, start by checking the paint color and lighting effects in your space. These elements can accentuate gaps or irregularities. To troubleshoot:
- Adjust the spacing between slats to ensure consistent gaps
- Use lighting to highlight or mask uneven areas
- Reassess paint color choices to create visual cohesion
- Consider market trends when selecting materials and finishes to ensure your design remains timeless and appealing
Sometimes, lighting effects can cast shadows that make spacing look uneven, so experiment with different angles. A uniform paint color can also help hide small inconsistencies. Always step back and view your slat wall from different angles to identify problem spots and determine whether adjustments are needed.
Final Tips for a Professional, Custom-Like Slat Wall Finish
Achieving a professional, custom-like finish on your slat wall hinges on attention to detail and proper techniques. To elevate your project, add decorative accents that complement your overall design. These touches create visual interest and make your slat wall stand out. Also, focus on color coordination—choose hues that enhance your space without clashing. Before finalizing, double-check spacing and alignment for a seamless look. Incorporate contrasting or coordinated colors to emphasize the slats’ depth and craftsmanship. Use small decorative items sparingly but intentionally to avoid clutter. Remember, the key is consistency—uniform gaps and thoughtfully selected accents will give your slat wall a polished, custom appearance. Paying attention to visual harmony can make all the difference in achieving a cohesive and refined finish. Additionally, understanding how to manage spacing techniques ensures your panels look perfectly balanced and professional.
Frequently Asked Questions
Can Different Wood Types Affect the Perceived Spacing Quality?
Yes, different wood types can affect perceived spacing quality. The wood grain and color matching influence how seamless the panels look; mismatched grains or colors can highlight gaps or irregularities. Choosing woods with similar grain patterns and hues creates a uniform appearance, making spacing seem intentional and well-crafted. Proper selection guarantees your slat wall looks polished, cohesive, and custom-built, regardless of the wood types used.
How Does Lighting Influence the Appearance of Slat Wall Gaps?
Lighting effects considerably influence how slat wall gaps appear. Bright, direct lighting minimizes shadows and can make gaps look more uniform, creating a sleek, seamless look. In contrast, shadow play from angled or softer lighting accentuates the gaps, giving a textured, dynamic appearance. You can manipulate lighting to either highlight or downplay the gaps, making your slat wall look more custom or polished based on your desired aesthetic.
Are There Specific Tools Recommended for Large-Scale Spacing Projects?
Did you know that using the right tools can speed up large-scale spacing projects by up to 30%? You should use measuring tools like tape measures and levels to guarantee precision. Spacing templates are also essential—they help maintain consistent gaps across multiple panels. This combination makes your installation more efficient and professional-looking, especially when working on extensive walls. Trust these tools to make your project seamless and visually appealing.
What Are the Best Methods to Hide Imperfections in Spacing?
To hide imperfections in spacing, you should start with paint touch-ups that match your wall color to conceal gaps. Use filler compounds to fill any visible cracks or uneven spots before painting. Applying these materials carefully guarantees a smooth, seamless appearance. Additionally, consider installing trim or molding along the edges to further disguise minor flaws, creating a polished, professional look that mimics custom-built panels.
How Do Wall Irregularities Impact the Spacing Consistency?
Wall irregularities can disrupt spacing consistency by affecting wall alignment, making panels appear uneven. You’ll notice gaps or overlaps where the wall isn’t perfectly flat. Panel flexibility helps, but addressing irregularities early guarantees smooth installation. Use shims or filler strips to correct unevenness, maintaining even spacing. Properly preparing your wall surface prevents these issues, allowing the slat wall to look seamless and professionally installed, even on slightly irregular surfaces.
Conclusion
By mastering the spacing trick, you’ll transform your slat wall into a stunning, custom-looking feature that rivals high-end boutiques. Remember to measure carefully, vary gaps for visual interest, and avoid common mistakes. With patience and a keen eye, even a humble DIY setup can look like it was crafted by a seasoned artisan. So go ahead—channel your inner Renaissance artist and create a wall that’s truly a feast for the eyes!