
To prevent wrinkles and waves in your motorized screen, ensure proper surface preparation, like cleaning and smoothing, before installation. Use high-quality hardware and evenly tension the fabric to keep it taut. Accurate measurements and leveling are vital for alignment, and secure mounting brackets prevent slack. Avoid uneven tension, misaligned framing, or poor hardware choices, which cause imperfections. By paying attention to these details, you’ll achieve a sleek, wrinkle-free finish—and there’s more to master for perfect results.
Key Takeaways
- Proper surface cleaning and surface preparation prevent dust and debris that cause wrinkles during installation.
- Ensuring even fabric tension and correct hardware alignment avoids wrinkles and waves in the screen.
- Using high-quality, compatible framing and track systems maintains consistent tension and prevents sagging.
- Precise measurement, level installation, and secure mounting are essential to prevent misalignment and surface distortions.
- Regular tension adjustments and inspections help maintain a smooth, wrinkle-free surface over time.
Elite Screens Spectrum RC 1 Remote KIT, 100-INCH Diag 4:3, Motorized Projection Screen Movie Home Theater 4K/8K Ultra HD Ready, ELECTRIC100V2
DIMENSIONS: 100" Diag. 4:3 Aspect Ratio. View Size: 60.0" H x 80.0" W. Overall Size: 71.0" H x…
As an affiliate, we earn on qualifying purchases.
As an affiliate, we earn on qualifying purchases.
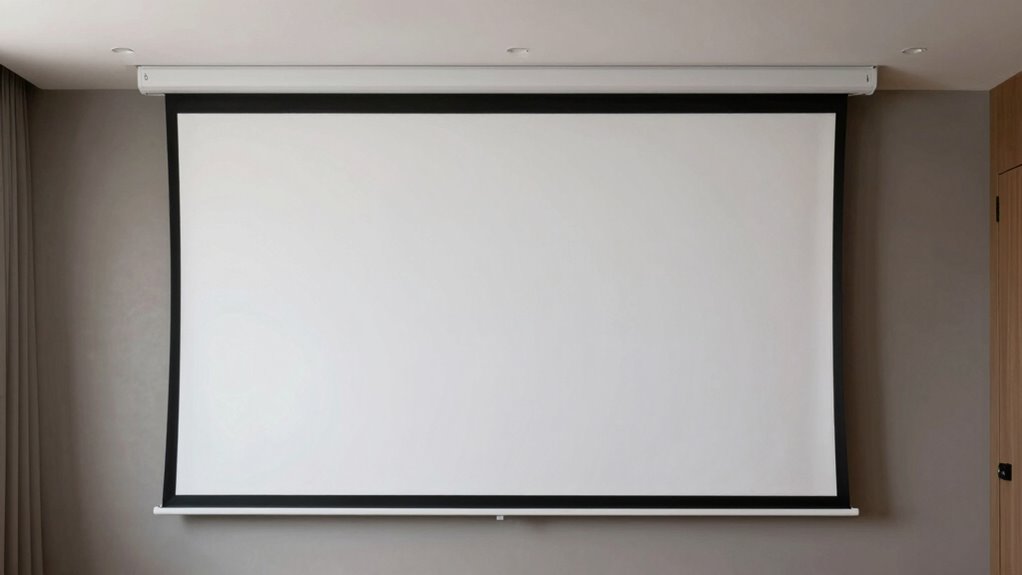
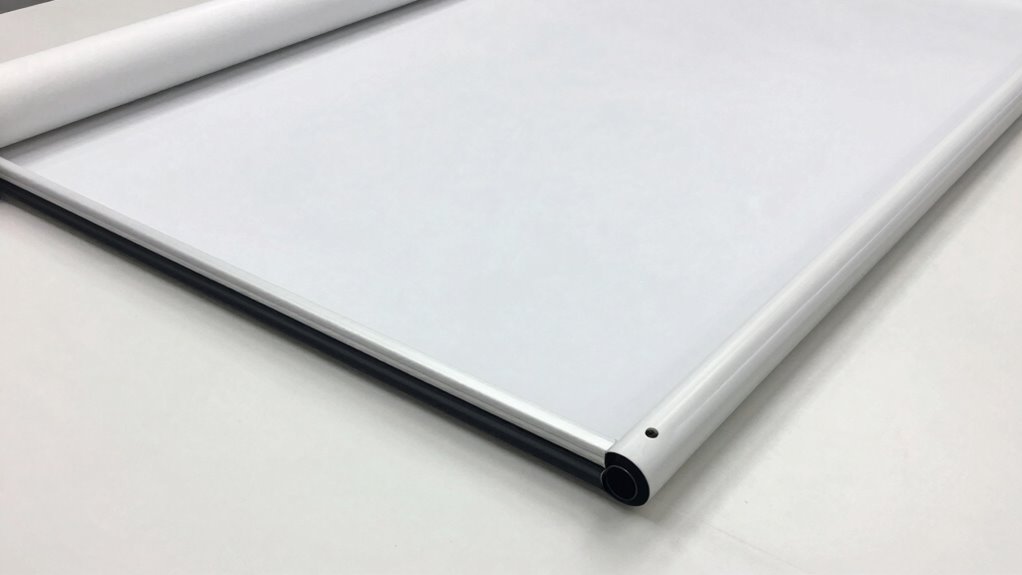
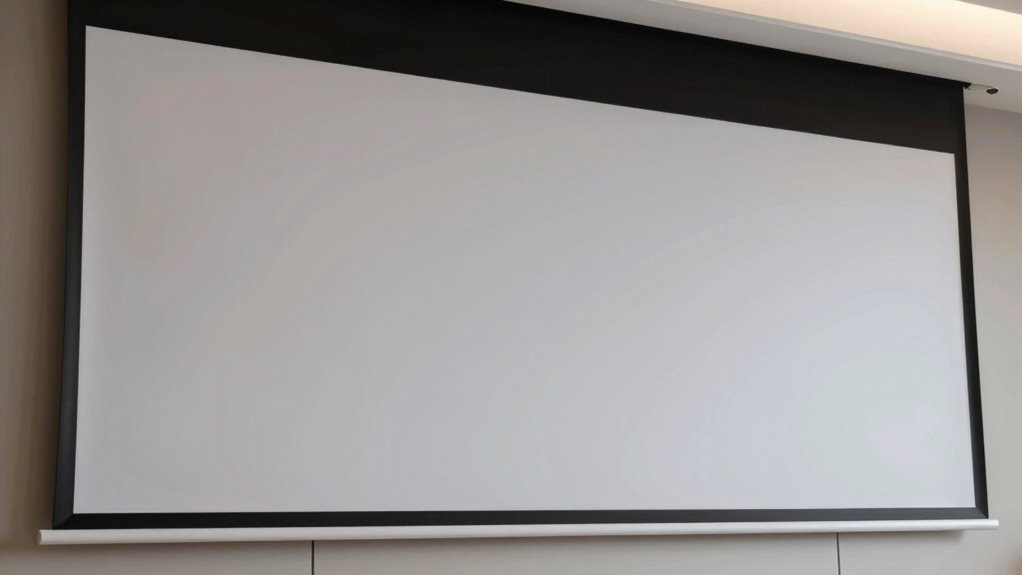
Why Proper Installation Matters for Wrinkle-Free Motorized Screens
Proper installation is essential to guarantee your motorized screen remains wrinkle-free and functions smoothly. The quality of your screen material plays a vital role, but even the best fabric can develop waves if not installed correctly. Ensuring the frame has high durability is equally important, as a sturdy frame keeps the fabric taut and prevents sagging over time. When installing, you need to carefully secure the screen material to the frame, avoiding slack that causes wrinkles. Proper alignment and tensioning are key to maintaining a sleek, flat surface. Skimping on installation can lead to uneven fabric, waves, and premature wear. Investing time and effort into a precise setup helps preserve the integrity of both the screen material and the frame, ensuring flawless operation and a clean look. Additionally, utilizing energy-efficient components during installation can enhance the overall sustainability of your motorized screen setup. Paying attention to installation techniques can make a significant difference in the longevity and appearance of your motorized screen. For optimal results, consider proper tensioning methods to evenly distribute stress across the fabric and prevent future wrinkles. Regular system maintenance is also crucial to identify and address issues early, further extending the lifespan and performance of your motorized screen.

3 Yards 1.27 Meters Silk Screen Printing Fabric Mesh Screen Printing Mesh Wide High Tension Mesh Making Ink Supplies 110 Mesh(43T)
Products using high-quality polyester filaments as raw materials, using sophisticated machines to produce monofilament screen printing mesh yarn
As an affiliate, we earn on qualifying purchases.
As an affiliate, we earn on qualifying purchases.
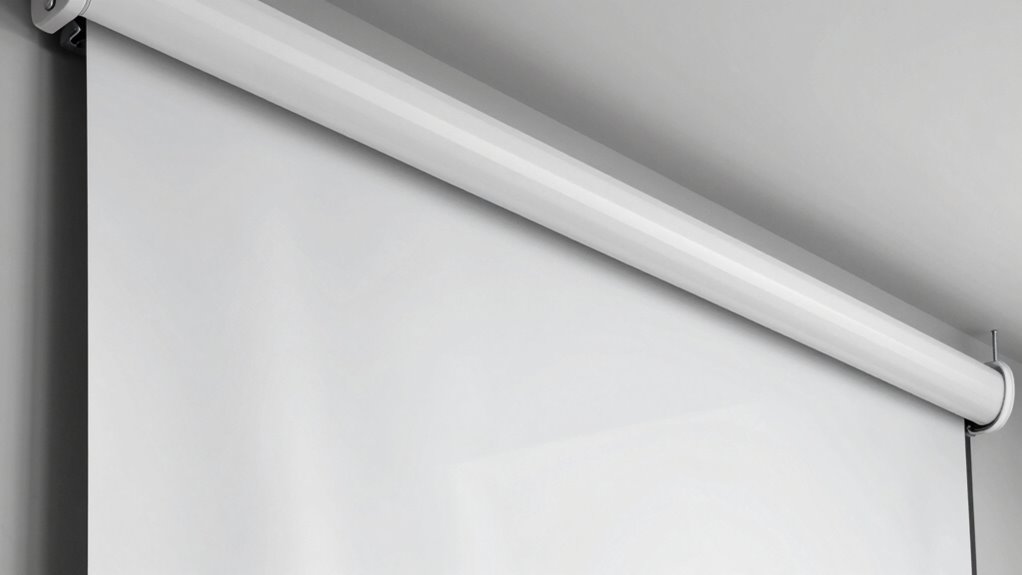
How to Choose the Best Hardware and Track System for Your Space
Choosing the right hardware and track system is vital to guarantee your motorized screen operates smoothly and fits seamlessly into your space. Focus on hardware selection that supports your screen’s size, weight, and mounting requirements. A sturdy, high-quality track system ensures the fabric stays taut and prevents wrinkles or waves. Consider the track’s material, whether aluminum or steel, for durability and smooth operation. Measure your space carefully to select a track system that fits perfectly, avoiding gaps or misalignments. Compatibility between the hardware and your motorized screen is essential for reliable performance. Properly chosen hardware and a precise track system not only enhance the screen’s appearance but also prolong its lifespan by reducing strain on the motor and fabric.

IMPACT SPORTS Motorized Golf Simulator Screen & Enclosure for Garage – Ceiling Mounted Retractable Golf Impact Screen System with Remote Control, Full Indoor Practice Setup
Full Motorized Golf Enclosure System Complete ceiling-mounted motorized golf simulator screen with side enclosures, designed to create a…
As an affiliate, we earn on qualifying purchases.
As an affiliate, we earn on qualifying purchases.
Understanding Tension and Surface Preparation for a Smooth Screen
To get a smooth, professional-looking screen, you need to focus on proper tension techniques and surface preparation. Make sure you clean the surface thoroughly to remove dust or grease before mounting. Following correct mounting procedures guarantees your screen stays taut and looks flawless over time.
Proper Tension Techniques
Achieving the right tension on your screen is essential for a smooth, professional print. Proper tension ensures fabric tension stays even and surface smoothing eliminates wrinkles or waves. To do this effectively, follow a systematic approach:
| Tension Level | Result | Technique |
|---|---|---|
| Too tight | Warped fabric | Gradually tighten |
| Too loose | Wrinkles, waves | Slightly tighten |
| Ideal | Smooth, flat surface | Attain even tension |
Focus on evenly distributing tension across the screen, checking for surface smoothing, and adjusting gradually. Incorporating proper surface preparation techniques can significantly improve the outcome. Proper tension prevents distortions, leading to crisp, flawless prints. Consistently monitoring fabric tension during installation guarantees a professional-quality result every time. Maintaining optimal Free Floating tension helps preserve the integrity of the surface over time.
Surface Cleaning Methods
Before applying your emulsion or starting your print, thoroughly cleaning the screen surface is essential to guarantee proper tension and a smooth finish. Use appropriate cleaning agents to remove ink residues, oils, and dirt that can cause imperfections. Apply the cleaning agent evenly and scrub gently to lift debris without damaging the mesh. After cleaning, perform surface polishing with a soft cloth or pad to achieve a pristine, smooth surface. This step ensures the mesh is free of particles that could cause wrinkles or waves during tensioning. Proper surface preparation creates ideal conditions for maintaining consistent tension and prevents issues that could compromise print quality. Skipping this step or rushing through it increases the risk of surface imperfections, leading to uneven prints and frustration down the line. Additionally, understanding surface tension can help optimize your cleaning process and improve overall print results. Recognizing the importance of proper surface preparation can further enhance your ability to achieve a flawless, professional finish. Paying attention to surface cleanliness is crucial for preventing defects during printing and ensuring long-lasting results. Properly cleaned and prepared surfaces also reduce the likelihood of mesh damage, which can negatively impact print quality over time.
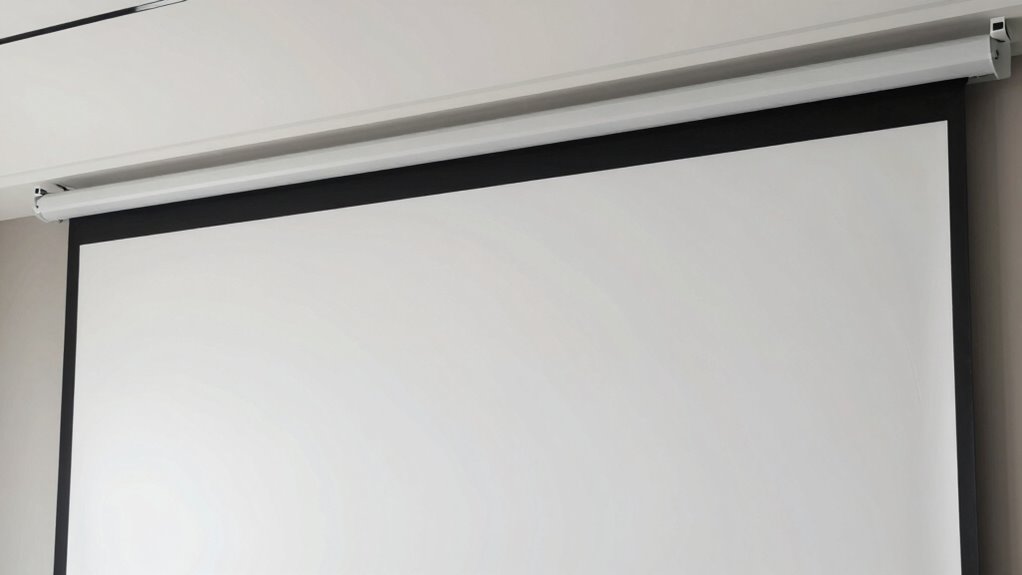
Correct Mounting Procedures
Have you ever wondered why proper tension is essential for a flawless screen print? It’s vital because uneven tension causes wrinkles and waves. To ensure a smooth surface, follow these steps:
- Securely attach mounting brackets to the wall, making sure they’re level.
- Use appropriate wall anchors to support the weight, especially on drywall or hollow surfaces.
- Tighten the tension evenly across the screen, checking for smoothness before finalizing. Proper surface preparation and correct mounting procedures prevent sagging and distortions. Make sure the brackets are firmly anchored, and the tension is uniform. This setup creates a flat, smooth surface that resists wrinkles and waves, ensuring your motorized screen functions flawlessly and looks professional. Being aware of the mounting procedures helps avoid common installation pitfalls and guarantees a professional finish. Additionally, understanding the tension management process can greatly improve the longevity and performance of your installation.
Proper surface cleaning before mounting can also help achieve better adhesion and tension consistency, reducing the risk of future issues.
Furthermore, familiarity with installation best practices can streamline the process and prevent common errors.
ZUEDA100 Inch Motorized Projector Screen with Remote, 16:9 HD Electric Movie Screen, Wrinkle-Free Matte White Wall/Ceiling Mounted Projection Screen for 4K Home Theater, Office & School (White)
【Cinematic 16:9 Visual Feast】Offers a 100-inch diagonal viewing area (87"W x 48.8"H) with a 16:9 aspect ratio, perfected…
As an affiliate, we earn on qualifying purchases.
As an affiliate, we earn on qualifying purchases.
Step-by-Step Guide to Installing Your Motorized Screen Without Wrinkles
Installing your motorized screen smoothly requires careful preparation and attention to detail. Begin by choosing the right fabric selection to guarantee it’s suitable for your space and screen type. Confirm that your motor is compatible with the screen’s weight and size to prevent future issues. Before mounting, measure the area precisely and mark the mounting points to avoid misalignment. When attaching the brackets, ensure they’re level and secure, as uneven mounting can cause wrinkles. As you install the fabric, do it gradually, smoothing it out as you go to prevent wrinkles or waves from forming. Use gentle, even tension when attaching the fabric to the rollers. Following these steps carefully will help you achieve a smooth, wrinkle-free installation, enhancing both functionality and appearance.
Common Mistakes That Cause Waves and How to Avoid Them
One common mistake that leads to waves or wrinkles in your motorized screen is uneven tension during installation. Poor fabric selection can also contribute, especially if the material is too stretchy or thin. Additionally, incorrect screen framing can cause the fabric to sag or buckle over time. To avoid these issues, it’s important to understand fabric stability and how it impacts the overall tension and appearance of the screen.
Uneven tension, poor fabric choice, and improper framing cause wrinkles; ensure proper installation for a flawless screen.
- Choose a fabric with proper stability and weight for your environment.
- Ensure the fabric is stretched evenly before attaching it to the frame.
- Use a sturdy, well-designed screen framing system that keeps tension consistent during installation and operation.
- Regularly check fabric tension and make adjustments as needed to maintain a smooth, wrinkle-free surface.
What to Do If Wrinkles or Waves Persist After Installation
If wrinkles or waves stay after installing your screen, start by adjusting the tension to see if that smooths out the surface. Also, check that the installation is properly aligned, since misalignment can cause persistent imperfections. Making these adjustments can often resolve the issues without needing a reinstallation. Ensure that the installation materials are appropriate and compatible with your screen to prevent further issues. Additionally, verifying that the installation surface is suitable can help maintain a smooth, wrinkle-free appearance over time. Proper installation techniques can further reduce the likelihood of wrinkles or waves developing after setup. Being aware of the proper tensioning methods can also help in achieving a seamless, professional look. Consulting manufacturer guidelines can provide specific recommendations tailored to your screen type.
Adjust Tension Properly
Are wrinkles or waves lingering after your motorized screen installation? The key is proper tension adjustment. First, check the surface tension of the screen fabric; if it’s too slack, wrinkles can form. To fix this, follow these steps:
- Loosen the mounting brackets slightly to allow tension adjustment.
- Gradually tighten the screen’s tension mechanism, ensuring even tension across the surface.
- Test the screen by lowering and raising it, observing for smoothness and wrinkle elimination.
Check Installation Alignment
When wrinkles or waves remain after installing your motorized screen, checking the installation alignment is essential. Begin with an alignment check to ensure the screen is properly centered and straight. Misalignment often causes wrinkles and waves, so verify that the framing is accurate and square. Use a level or measuring tape to confirm that the mounting brackets are even and aligned with each other. Adjust any misaligned brackets or hardware as needed, ensuring the entire frame is parallel to the mounting surface. Proper framing accuracy prevents tension issues that lead to wrinkles. Take your time to double-check every connection and alignment point. Incorporating thermal behavior considerations, such as ensuring even tension and support, can help prevent future issues. Correcting framing inaccuracies at this stage often resolves persistent wrinkles, resulting in a smooth, professional-looking screen.
Frequently Asked Questions
Can I Install a Motorized Screen Myself or Should I Hire a Professional?
You can attempt a DIY installation, but be aware of the challenges involved, like precise measurements and secure mounting to avoid wrinkles and waves. If you’re not comfortable with these tasks, hiring a professional offers benefits such as guaranteed proper setup, avoiding costly mistakes, and ensuring a smooth, wrinkle-free finish. Ultimately, a pro’s expertise can save you time and frustration, making the investment worthwhile.
What Are the Best Tools Needed for a Wrinkle-Free Installation?
Think you can skip the right tools? Think again. For a wrinkle-free installation, you need a tools checklist that includes a level, measuring tape, power drill, and a tensioning system. Follow installation tips precisely—don’t rush, and double-check your measurements. Proper tools guarantee a smooth, wave-free setup, saving you headaches later. Ironically, neglecting them often causes the very wrinkles you’re trying to avoid.
How Do Environmental Conditions Affect the Installation Process?
Environmental conditions play a vital role in a smooth installation. You need to prioritize humidity control and temperature regulation; high humidity can cause the screen material to warp or sag, while extreme temperatures may make it difficult to handle or stretch the screen properly. Keep the workspace climate-controlled, ideally between 68-72°F and 40-50% humidity, to prevent wrinkles and guarantee a professional, flawless finish.
Are There Specific Brands Recommended for Reliable Hardware and Track Systems?
Did you know that choosing the right brand can reduce installation errors by up to 30%? For reliable hardware and track systems, brands like Somfy, Lutron, and Silent Gliss are top choices. They’re known for exceptional hardware reliability, ensuring smooth operation and fewer wrinkles or waves in your motorized screen. Stick with these trusted names to guarantee long-lasting performance and a flawless, professional installation every time.
How Often Should I Perform Maintenance to Prevent Wrinkles Over Time?
You should perform regular cleaning and hardware inspection at least every three to six months to prevent wrinkles over time. Keep the screen surface free of dust and debris with gentle cleaning, and check the hardware for loose or damaged parts. Address any issues promptly to maintain smooth operation and prevent wrinkles or waves from forming. Consistent maintenance ensures your motorized screen stays wrinkle-free and functions at its best.
Conclusion
To guarantee your motorized screen remains flawless, pay close attention to installation details—think of it as your own personal Da Vinci sketch, precise and deliberate. Avoid common mistakes like improper tension or surface prep, and don’t rush like a hurried scribe in a bustling scriptorium. With patience and care, your screen will display a smooth, wrinkle-free surface, standing the test of time. After all, a well-installed screen is worth a thousand words of frustration.


![10 Things To Do For This Saturday in L.A. [7-4-2026]](https://charlottesfurniture.com/wp-content/uploads/2026/07/10-things-to-do-for-this-saturday-in-l-a-7-4-2026-featured-260x140.jpg)